hikes
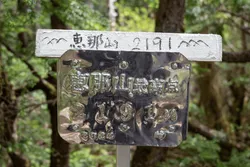
Mt Ena (恵那山)
14 Jun
2 hours from Tokyo to Shomaru station via local train.
Coming by car is not recommended, but there is a paid car park at Shomaru station.
The Hanno Alps (飯能アルプス) are a set of low-lying mountains in Saitama prefecture. The entire stretch can be hiked over 30km, but the trail is commonly done as two separate day hikes. Conveniently, the hikes start and end at train stations on the Seibu line. Today I hiked the northern portion of the trail, a 12km hike from Mt Izugatake (伊豆ヶ岳) to the Nenogongen (子ノ権現) Temple. I also hiked the southern portion of the trail a few weeks later from Mt Tenkaku to Mt Tenran.
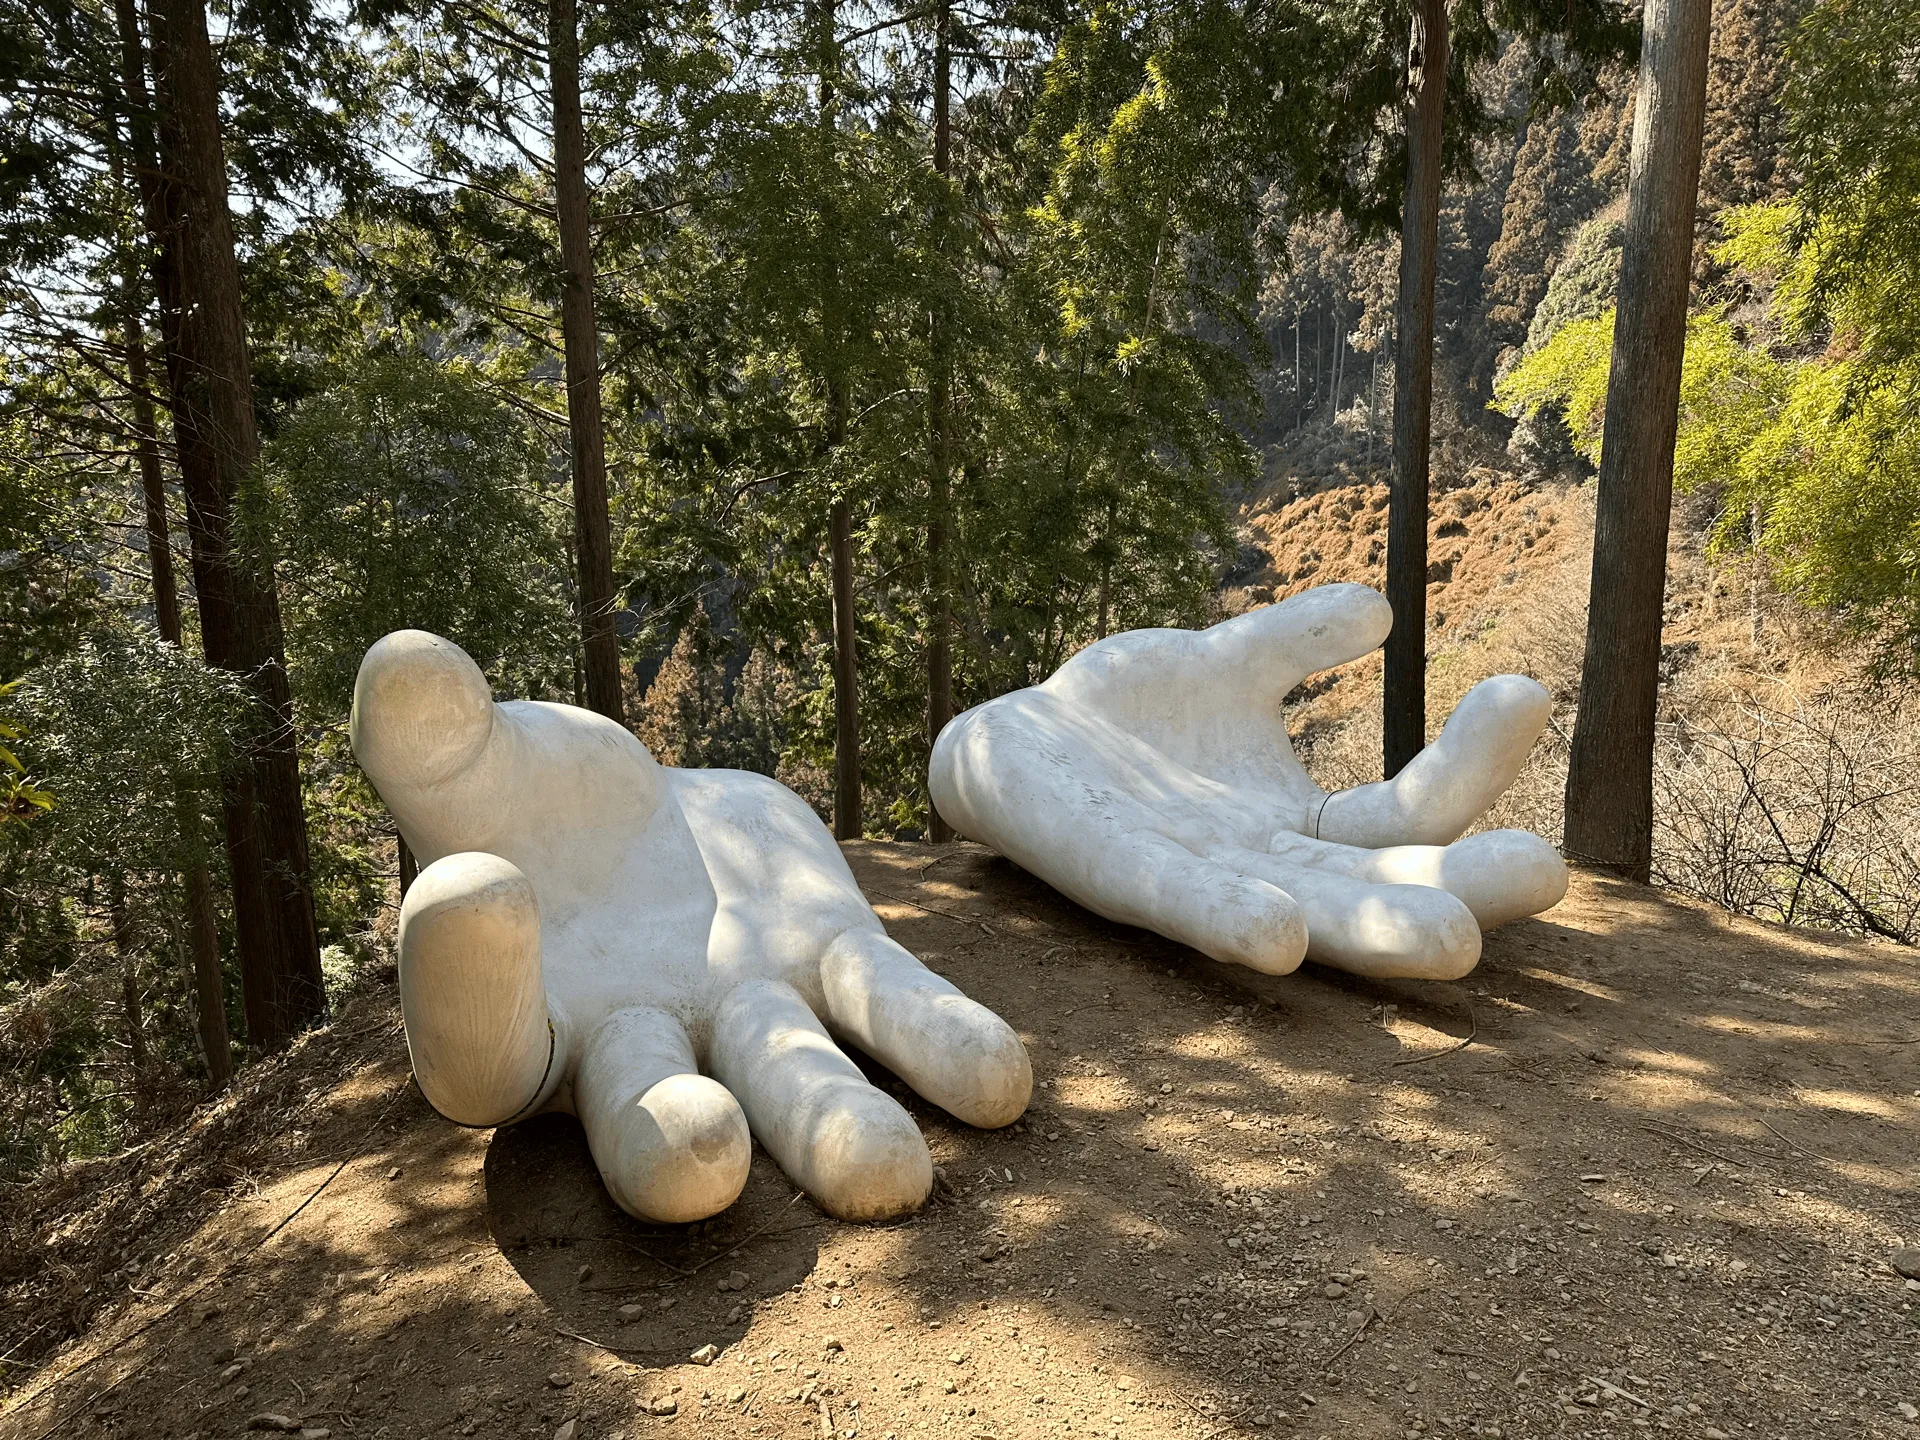
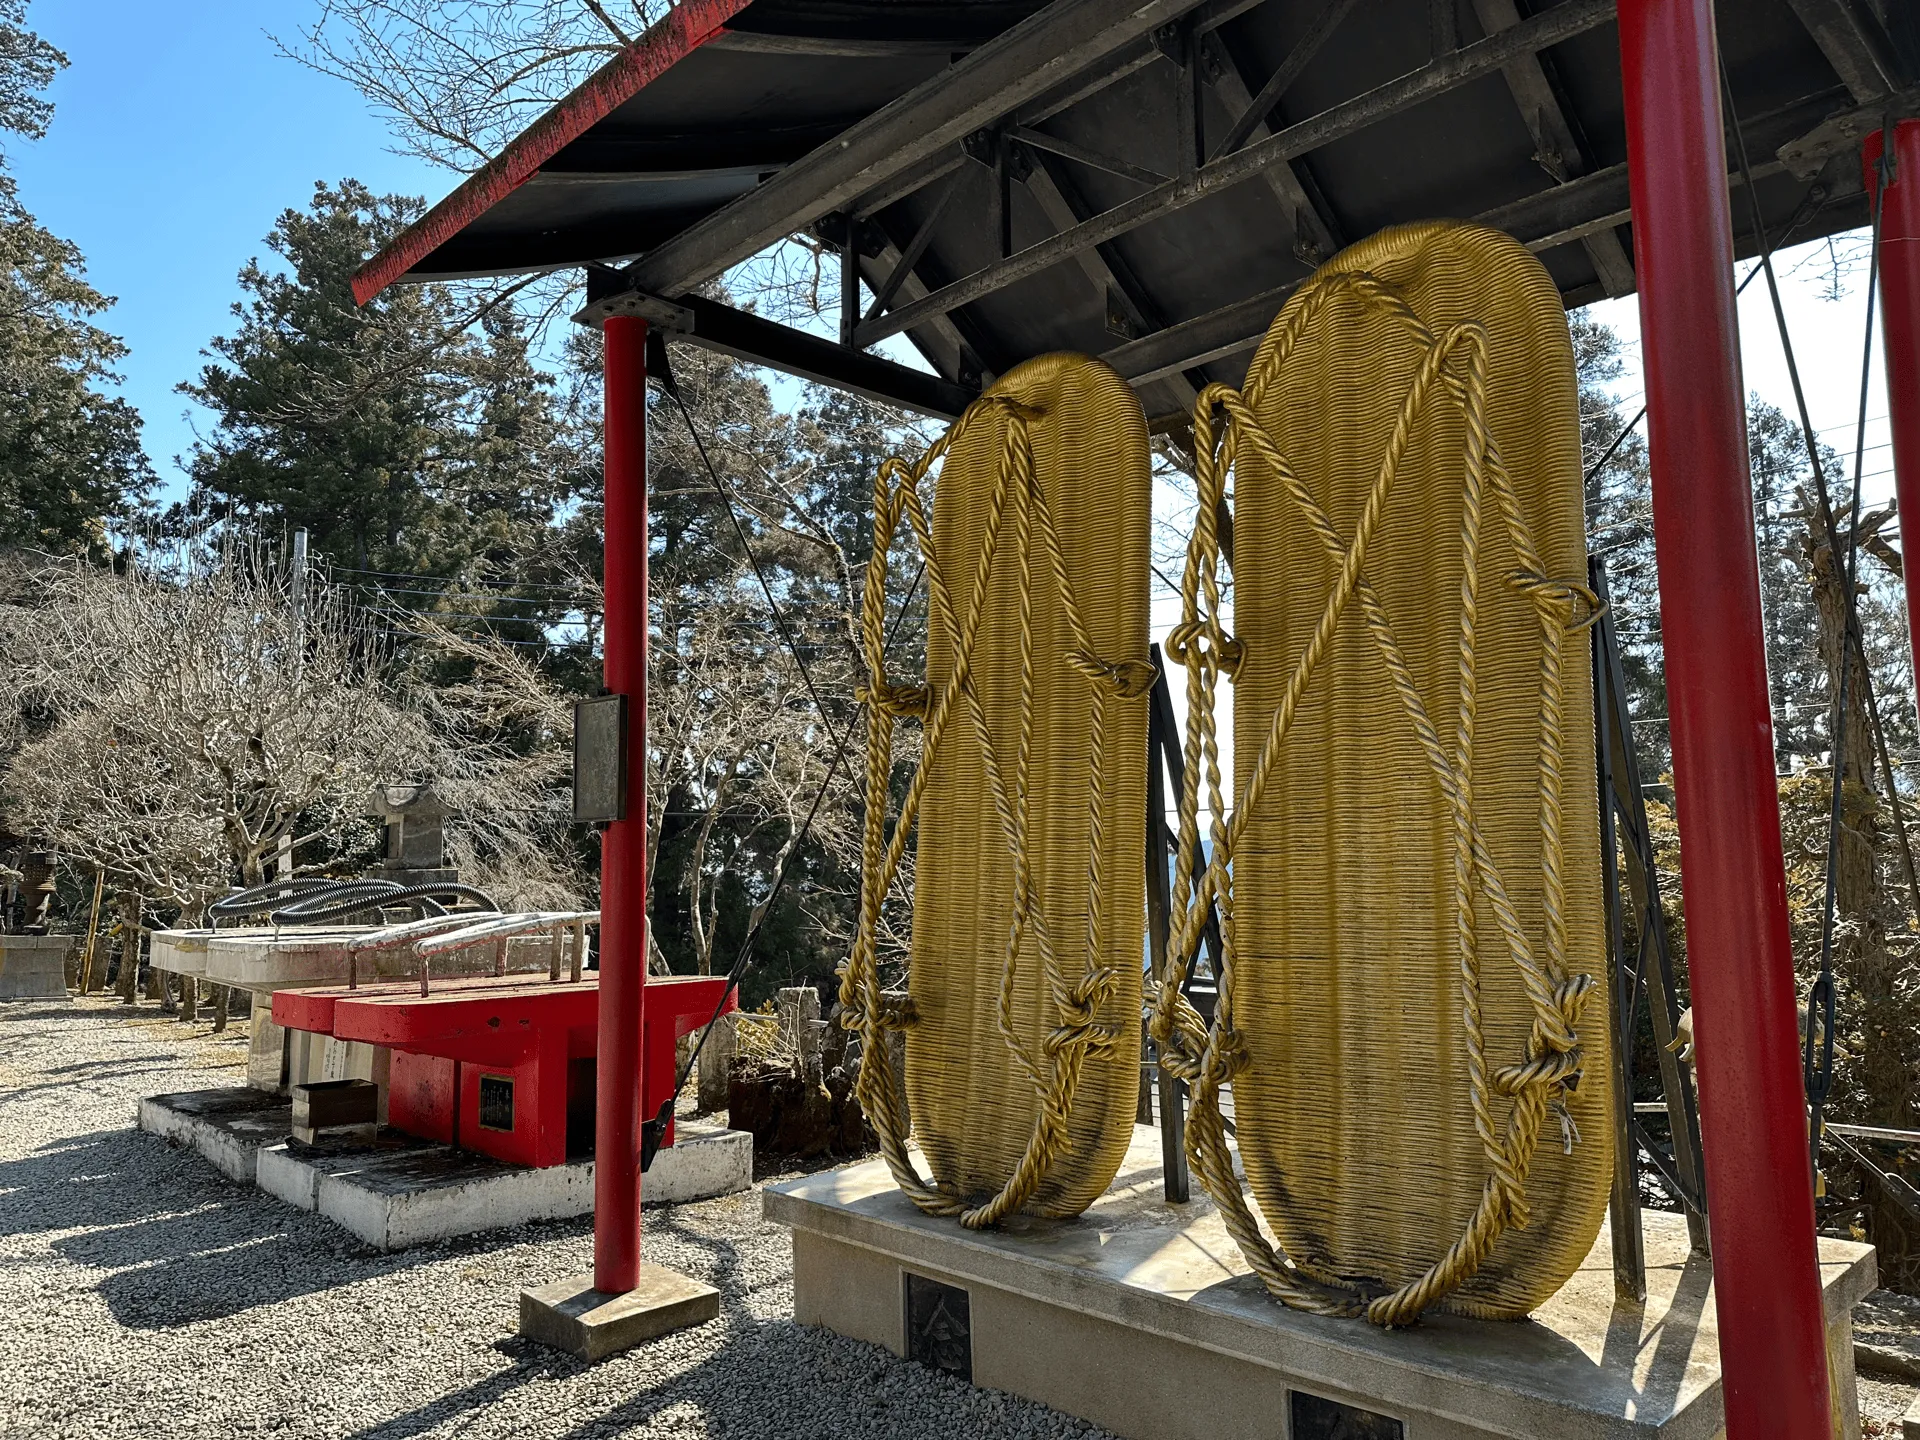
The Nenogongen Temple in particular is known for its larger-than-life sculptures of sandals and oddly, a pair of giant white hands. With only a max elevation of 851m on this course, winter was the perfect time to finally go and check it out.
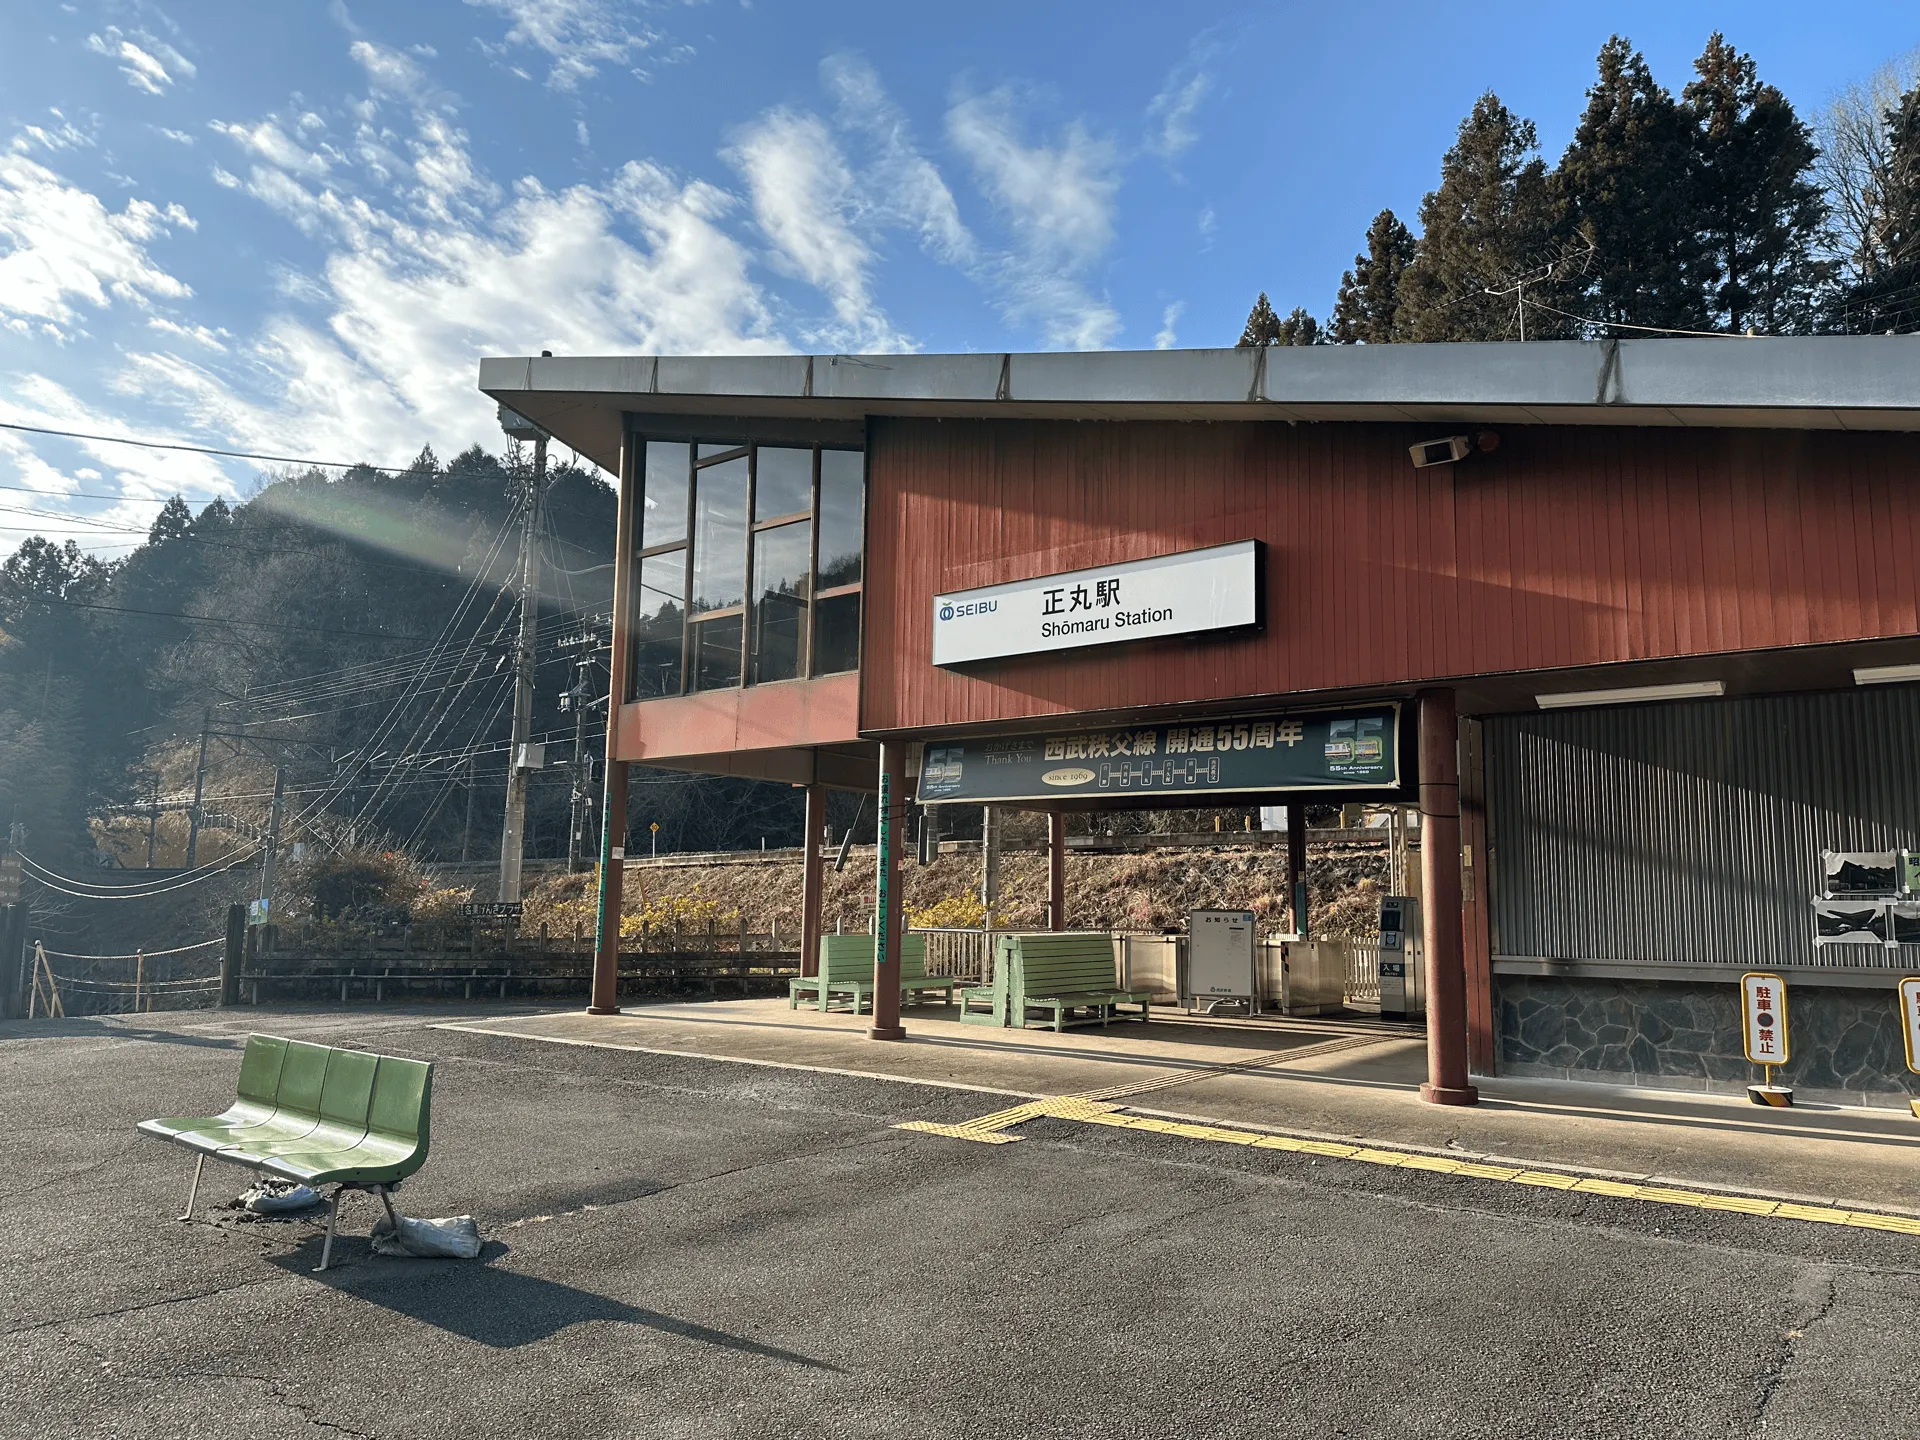
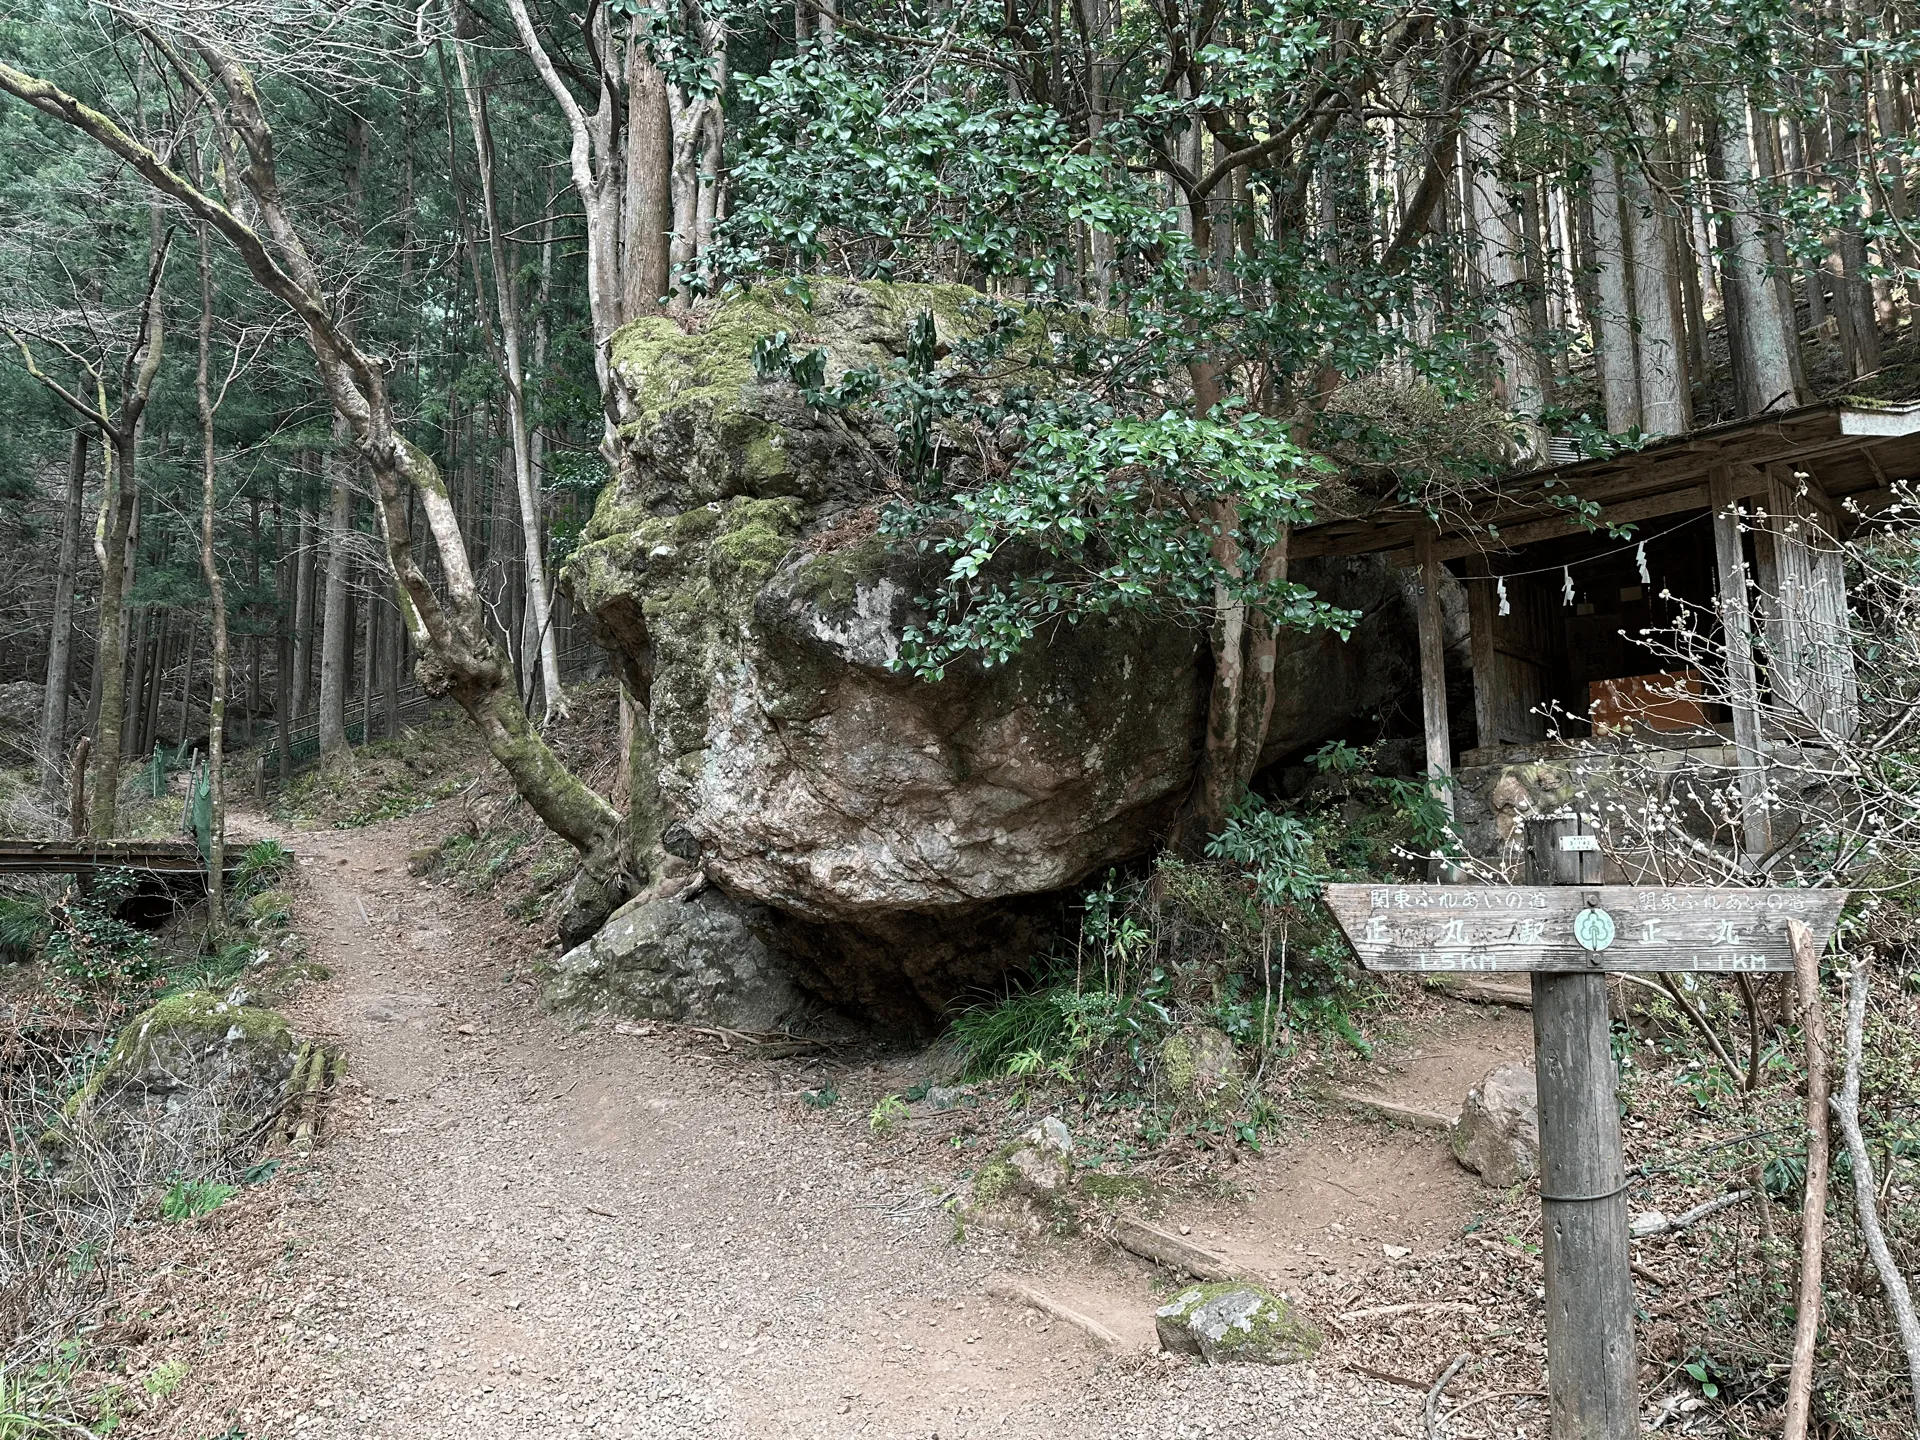
The hike begins at Shomaru (正丸) station. I hiked on a Friday, so I didn’t expect the trail to be too busy. There was one hiker that got off the train together with me at 8am, and throughout the course of the day I probably passed at least 10 people. Which speaks to the trail’s popularity - I assume there are many more hikers on the weekend.

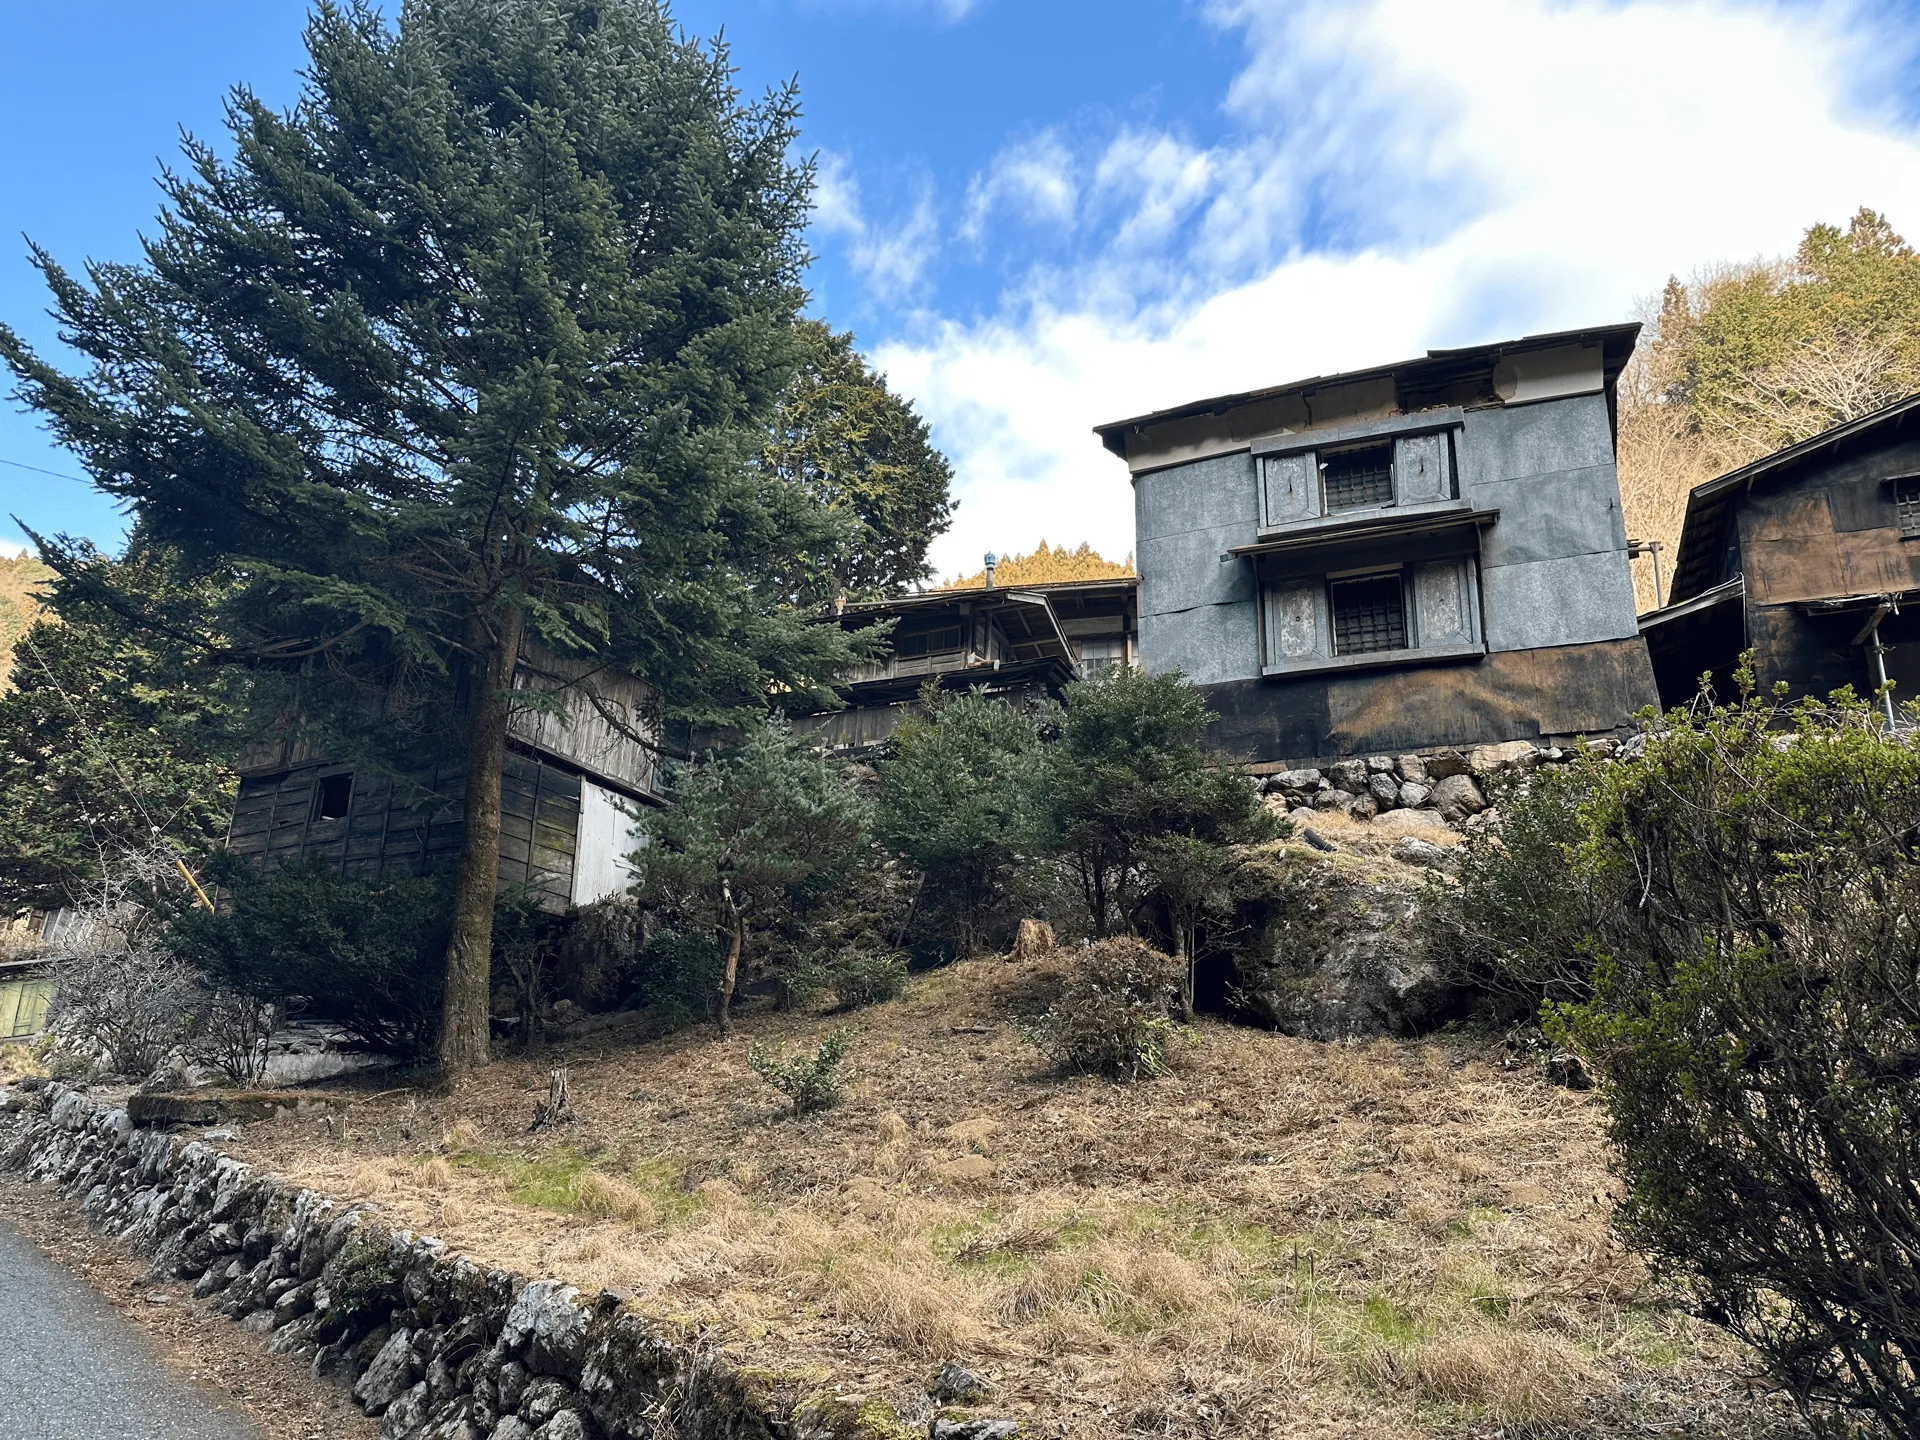
You’ll first walk down a residential road to reach the trailhead. I’m quite used to hiking down these sorts of rural roads, but interestingly the vibe of the houses felt quite different around here. There was a lot more DIY builds going on, and also a lot more security cameras (and signs pointing out that there are security cameras).
After about 20 - 30 minutes you’ll reach the trailhead. From here you’ll have 650m of elevation gain in just under 4km to reach the peak of Mt Izugatake (伊豆ヶ岳).
I found YAMAP to be quite useful today. For example, you’ll come to a fork in the trail, with the option to take a slight detour to the right to Mt Kogata (小高山). The official course has you skip this detour, but when looking at comments left by other users on YAMAP, it seemed like the direct course was a bit wilder, involving stepping over fallen trees and more steep climbs.

As I stood at the fork pondering my options, the other hiker who had gotten off the train overtook me, and took the left fork. Since the detour was only an extra 10 minutes, I decided to take the easier option. I figured it would be interesting to see who showed up at the summit first.
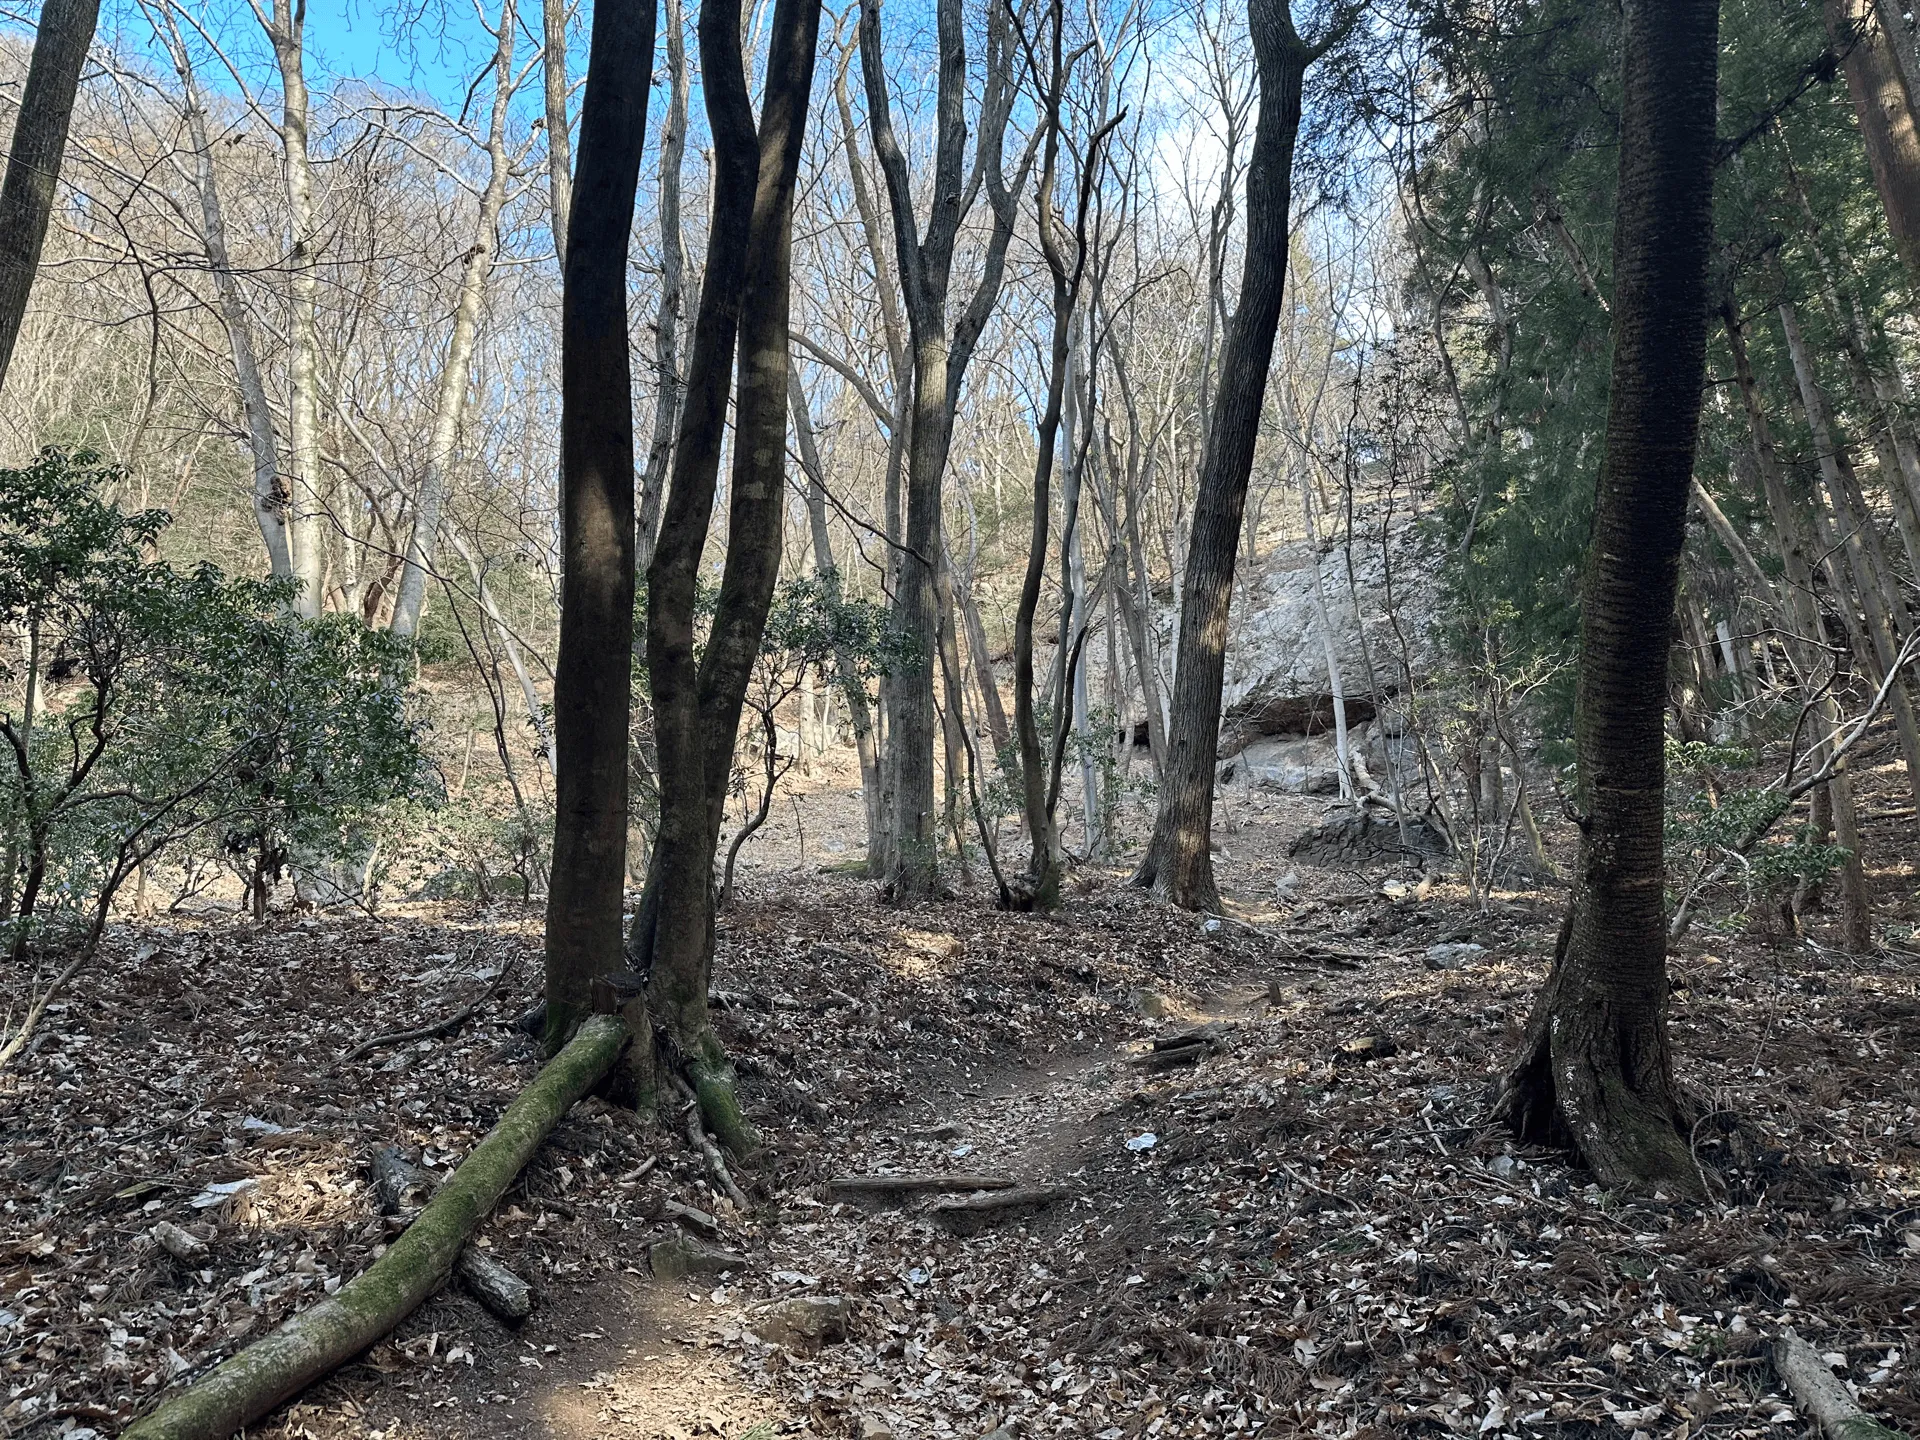
As the YAMAP user had predicted, the right-hand trail I took seemed easier to walk along, compared to the photos I had seen of the left-hand trail. Not to say that it wasn’t steep though! Since you still have a fair bit of elevation you need to gain.
Eventually I came to Mt Gorin (五輪山), wich is where the two trails converge once again. I beat the other hiker by a couple of minutes (ha).
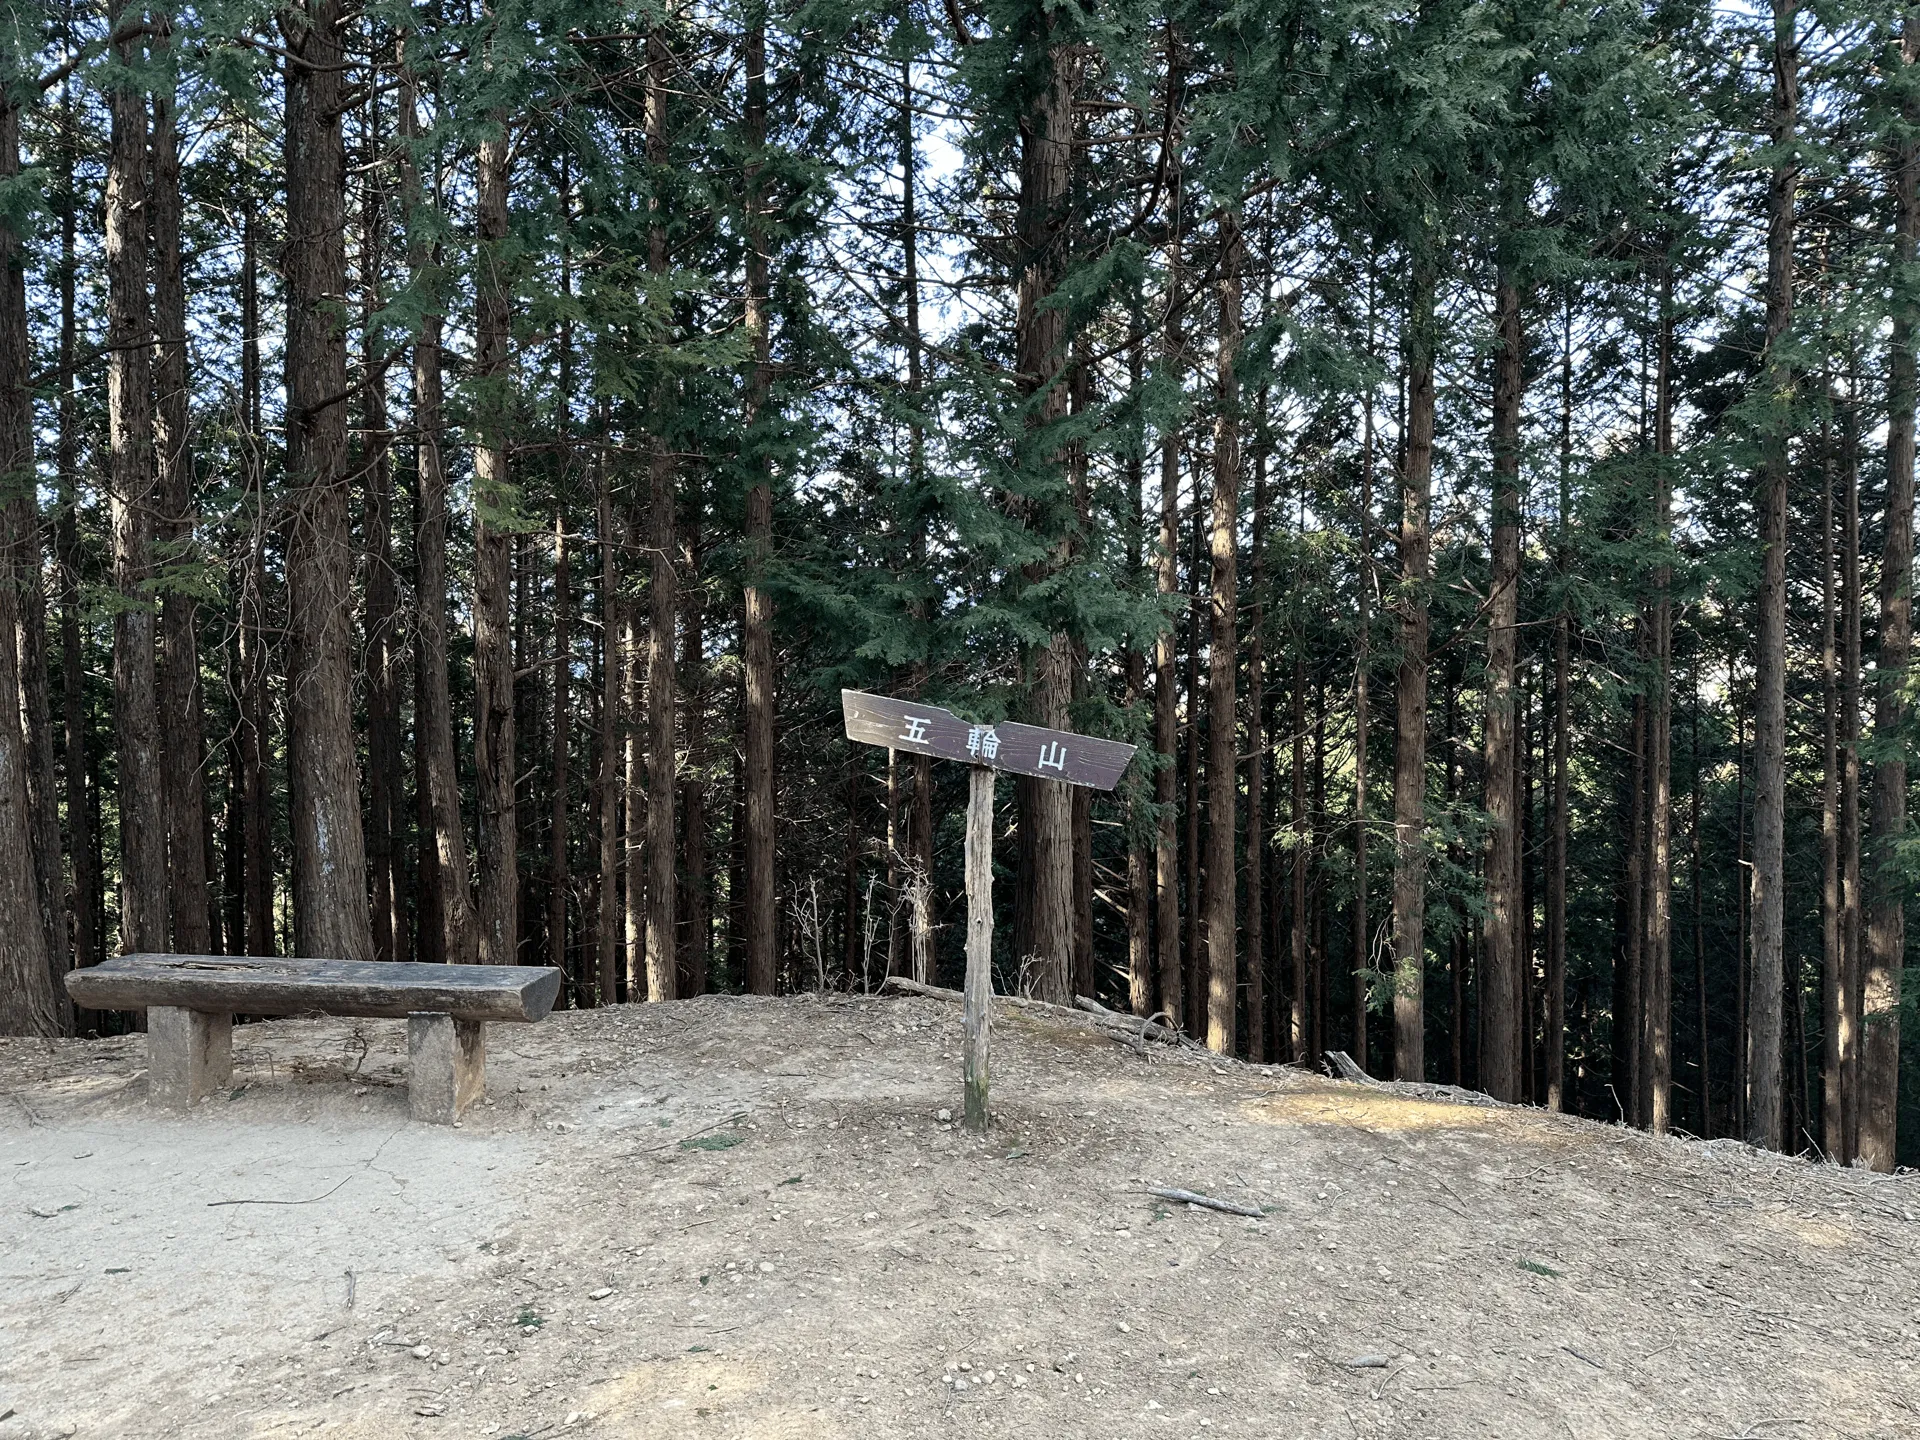
From here it’s onto Mt Izugatake. As you approach, there’s another fork where it splits off into the “male path” (男坂, otoko-zaka) and the “female path” (女坂, onna-zaka) up the summit. This terminology is used to distinguish between the harder and easier trail on mountains in Japan.
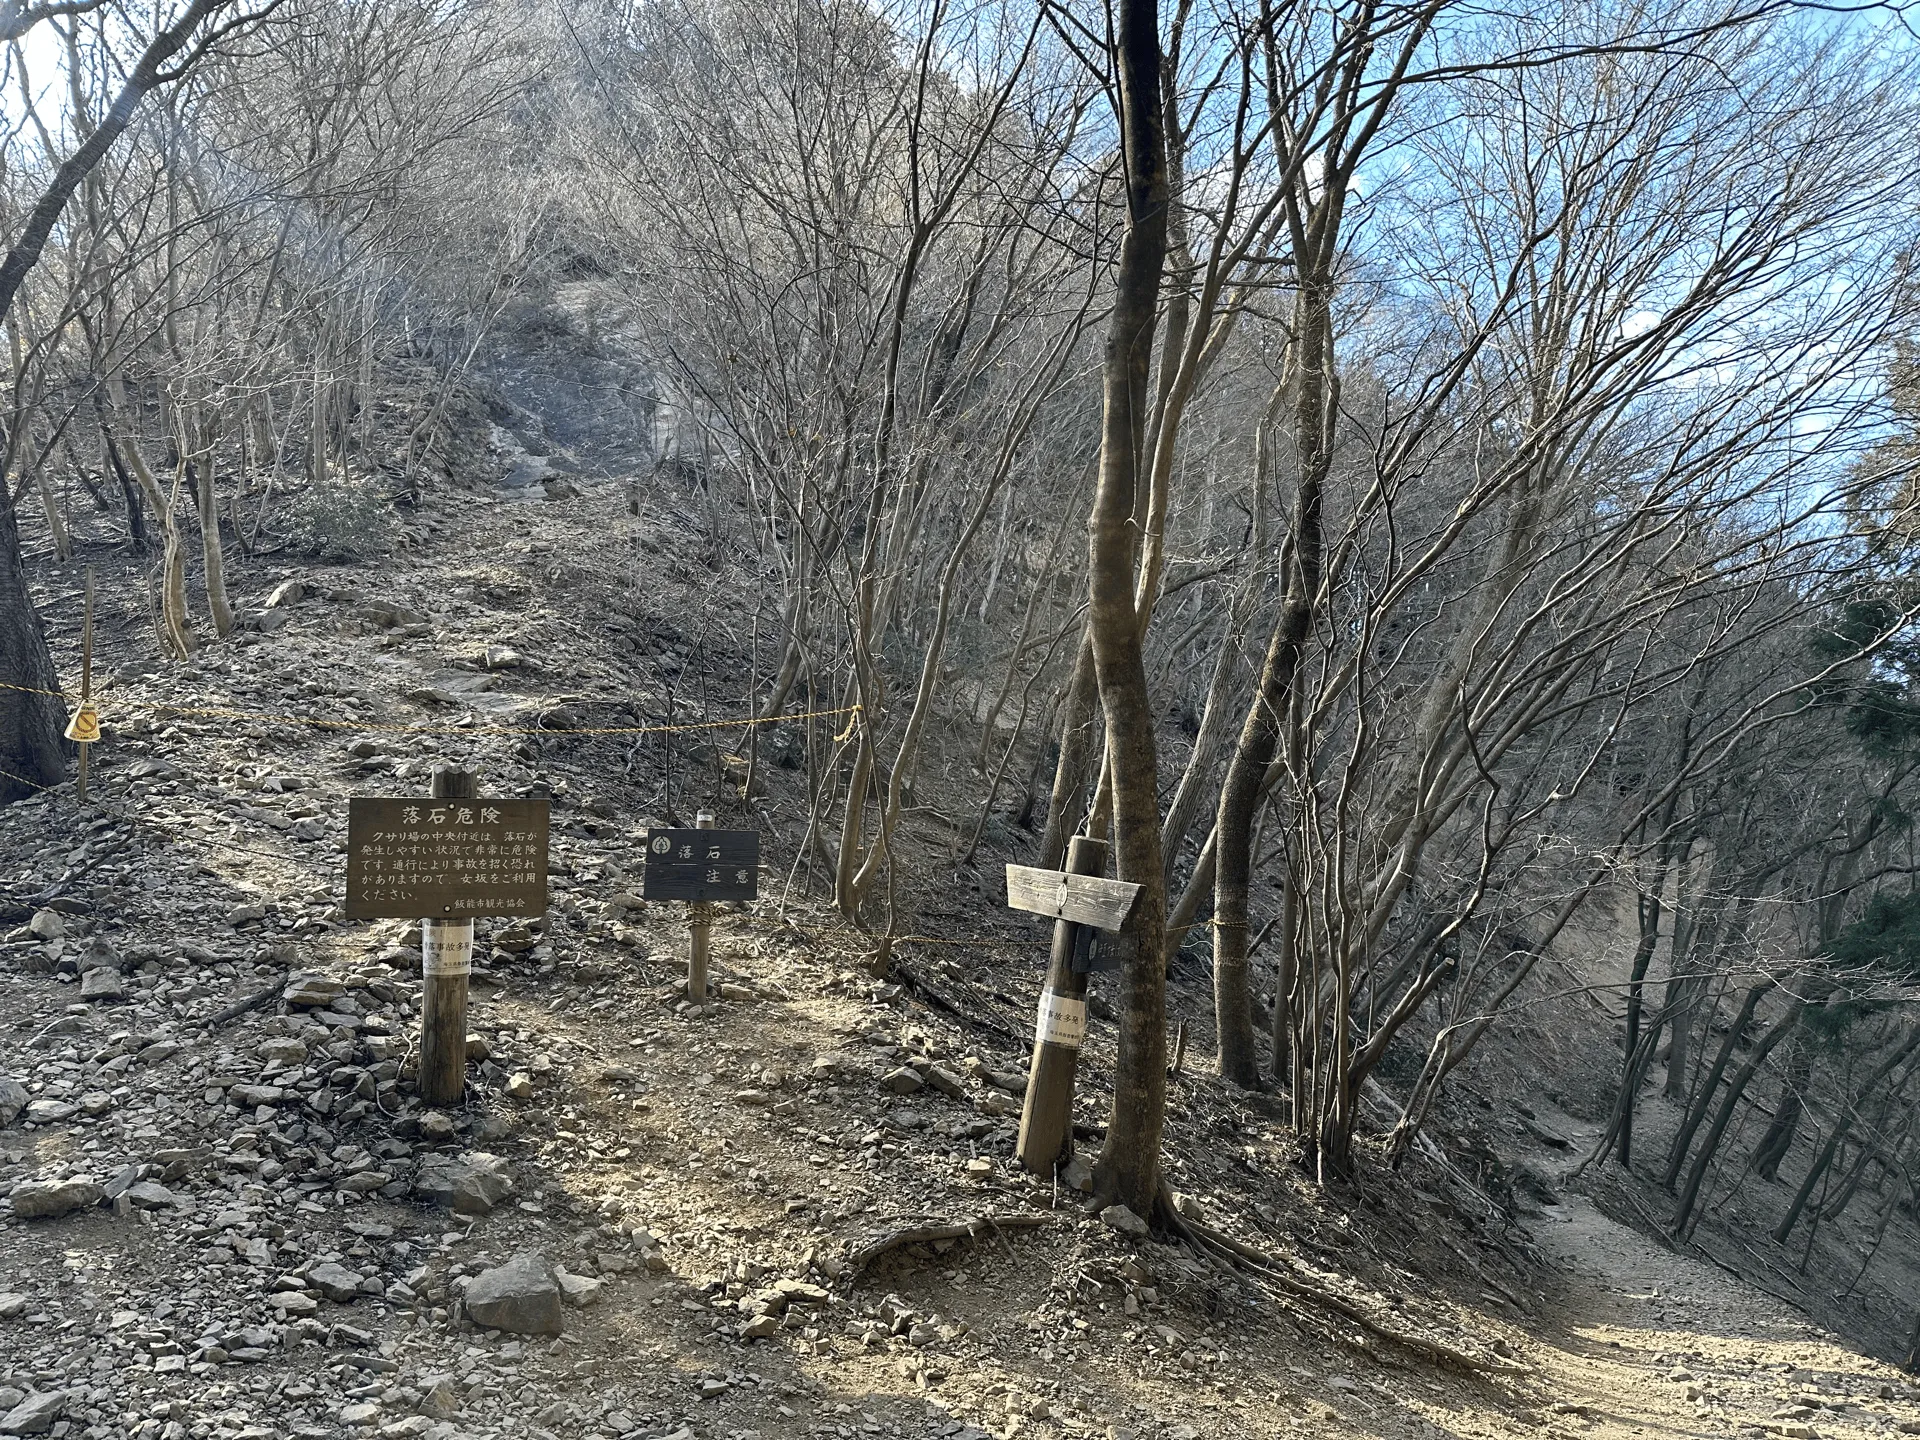
Sexist naming conventions aside, in this case the harder side is a 50m climb up a steep rock face using a chain. Before climbing Mt Izugatake, I was aware of its chain-climb, and I had seen climbing logs of YAMAP of people climbing it - so I assumed it wasn’t that bad. But to my surprise the section is actually roped off, with strong warning signs not to climb it, and reading online, people do comment that it is actually quite scary. Even with it being roped off, people still do climb it, so it’s more of a “at your own risk” kind of situation.
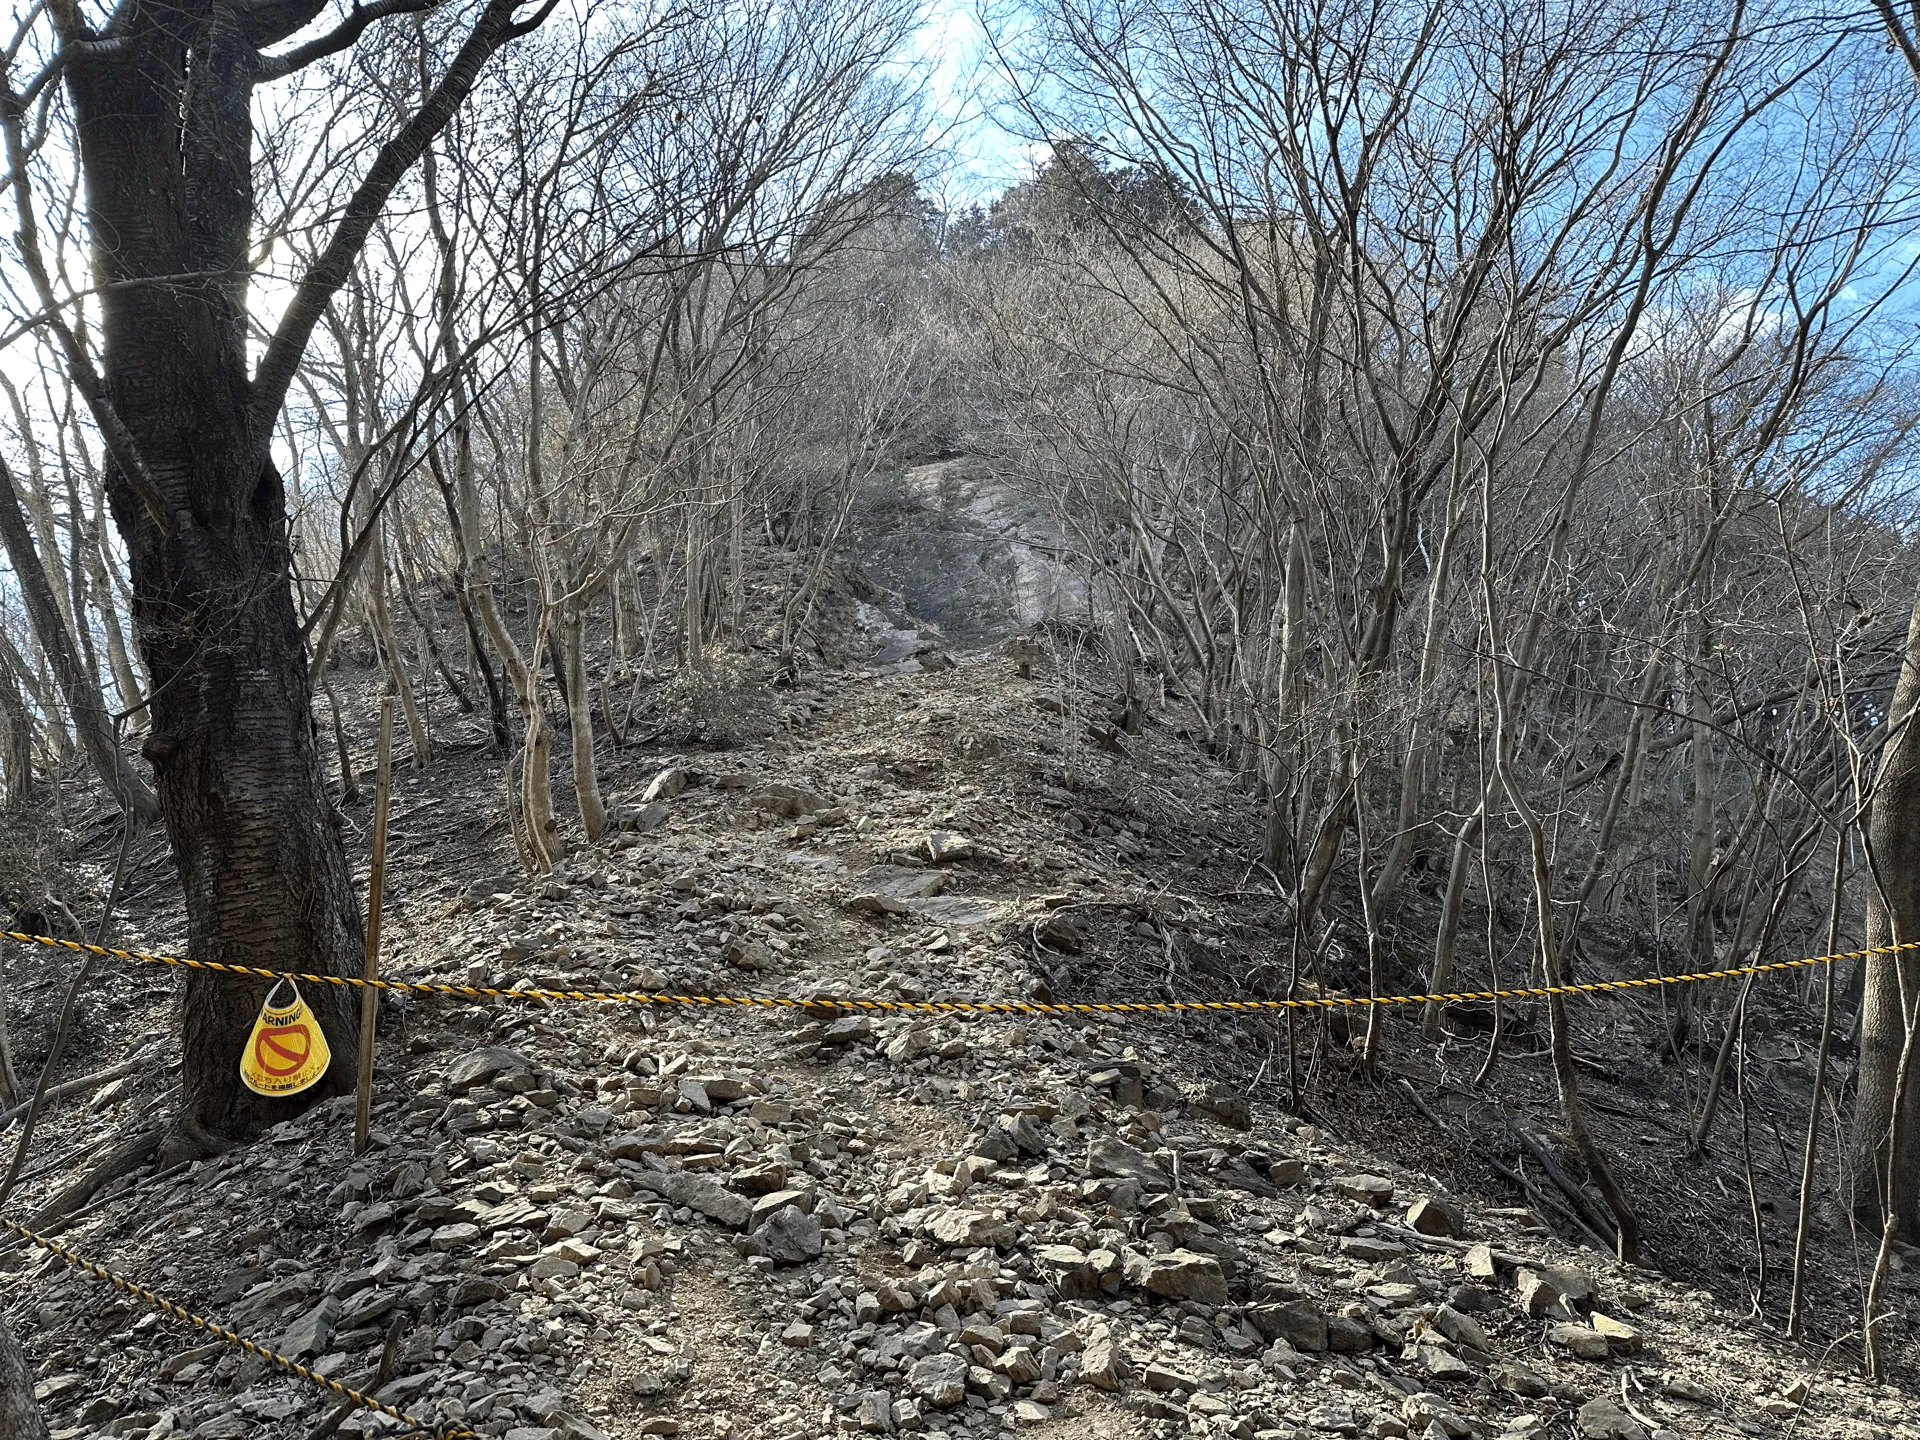
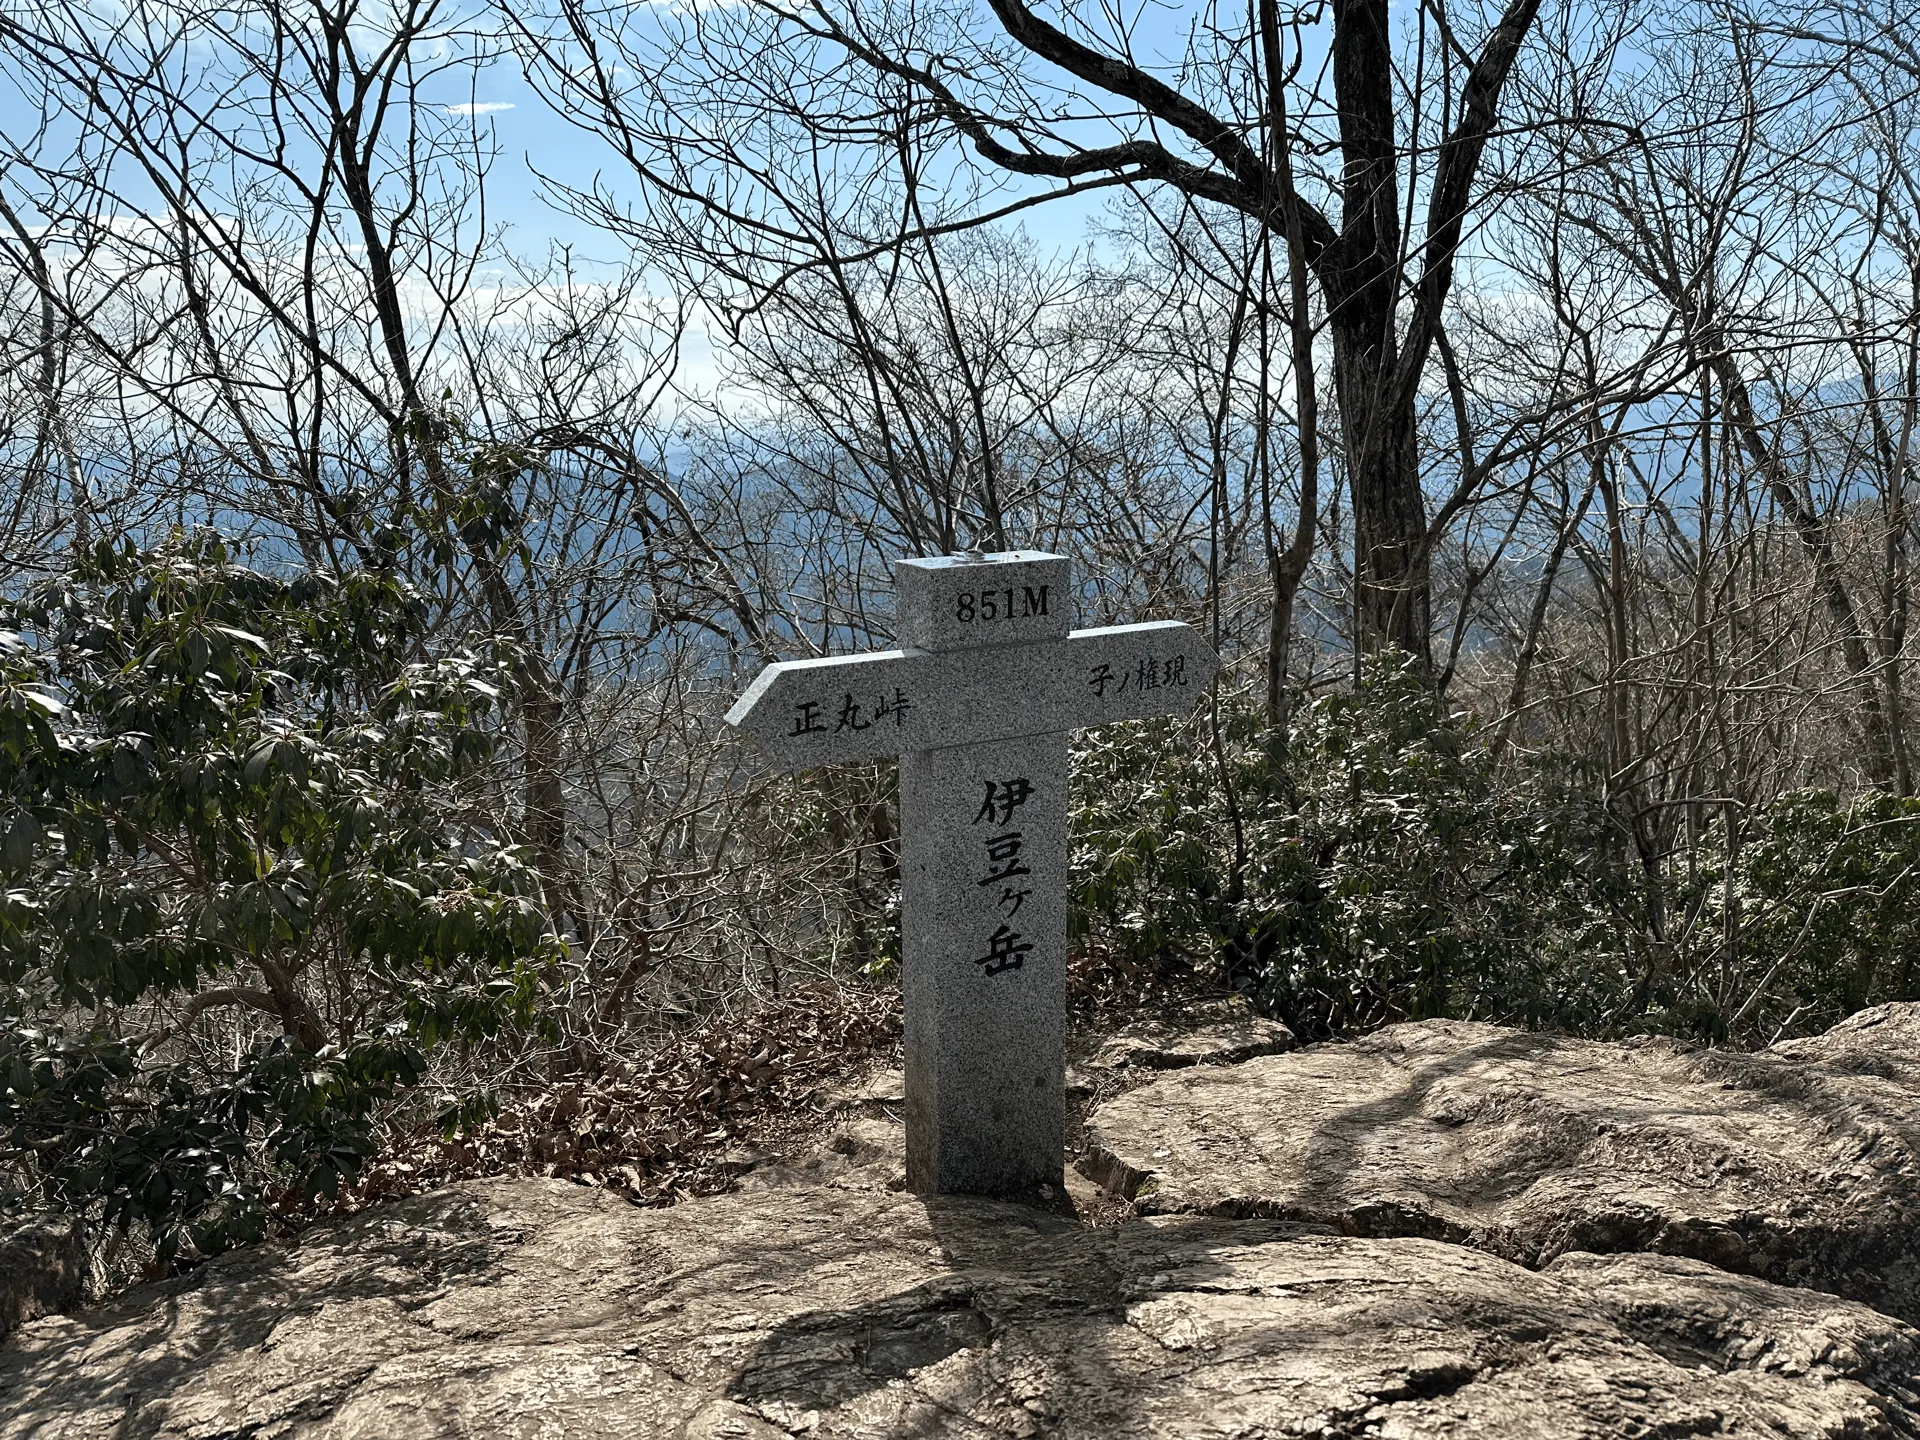
Either way, I wasn’t planning on climbing it, so I took the easier path. A bit before 10am I reached the peak of Mt Izugatake (伊豆ヶ岳, izugatake). With an elevation of 851m, this is the highest peak on the course. From here the course has some ups and downs, so there’s still 1/3 of the total elevation gain remaining.
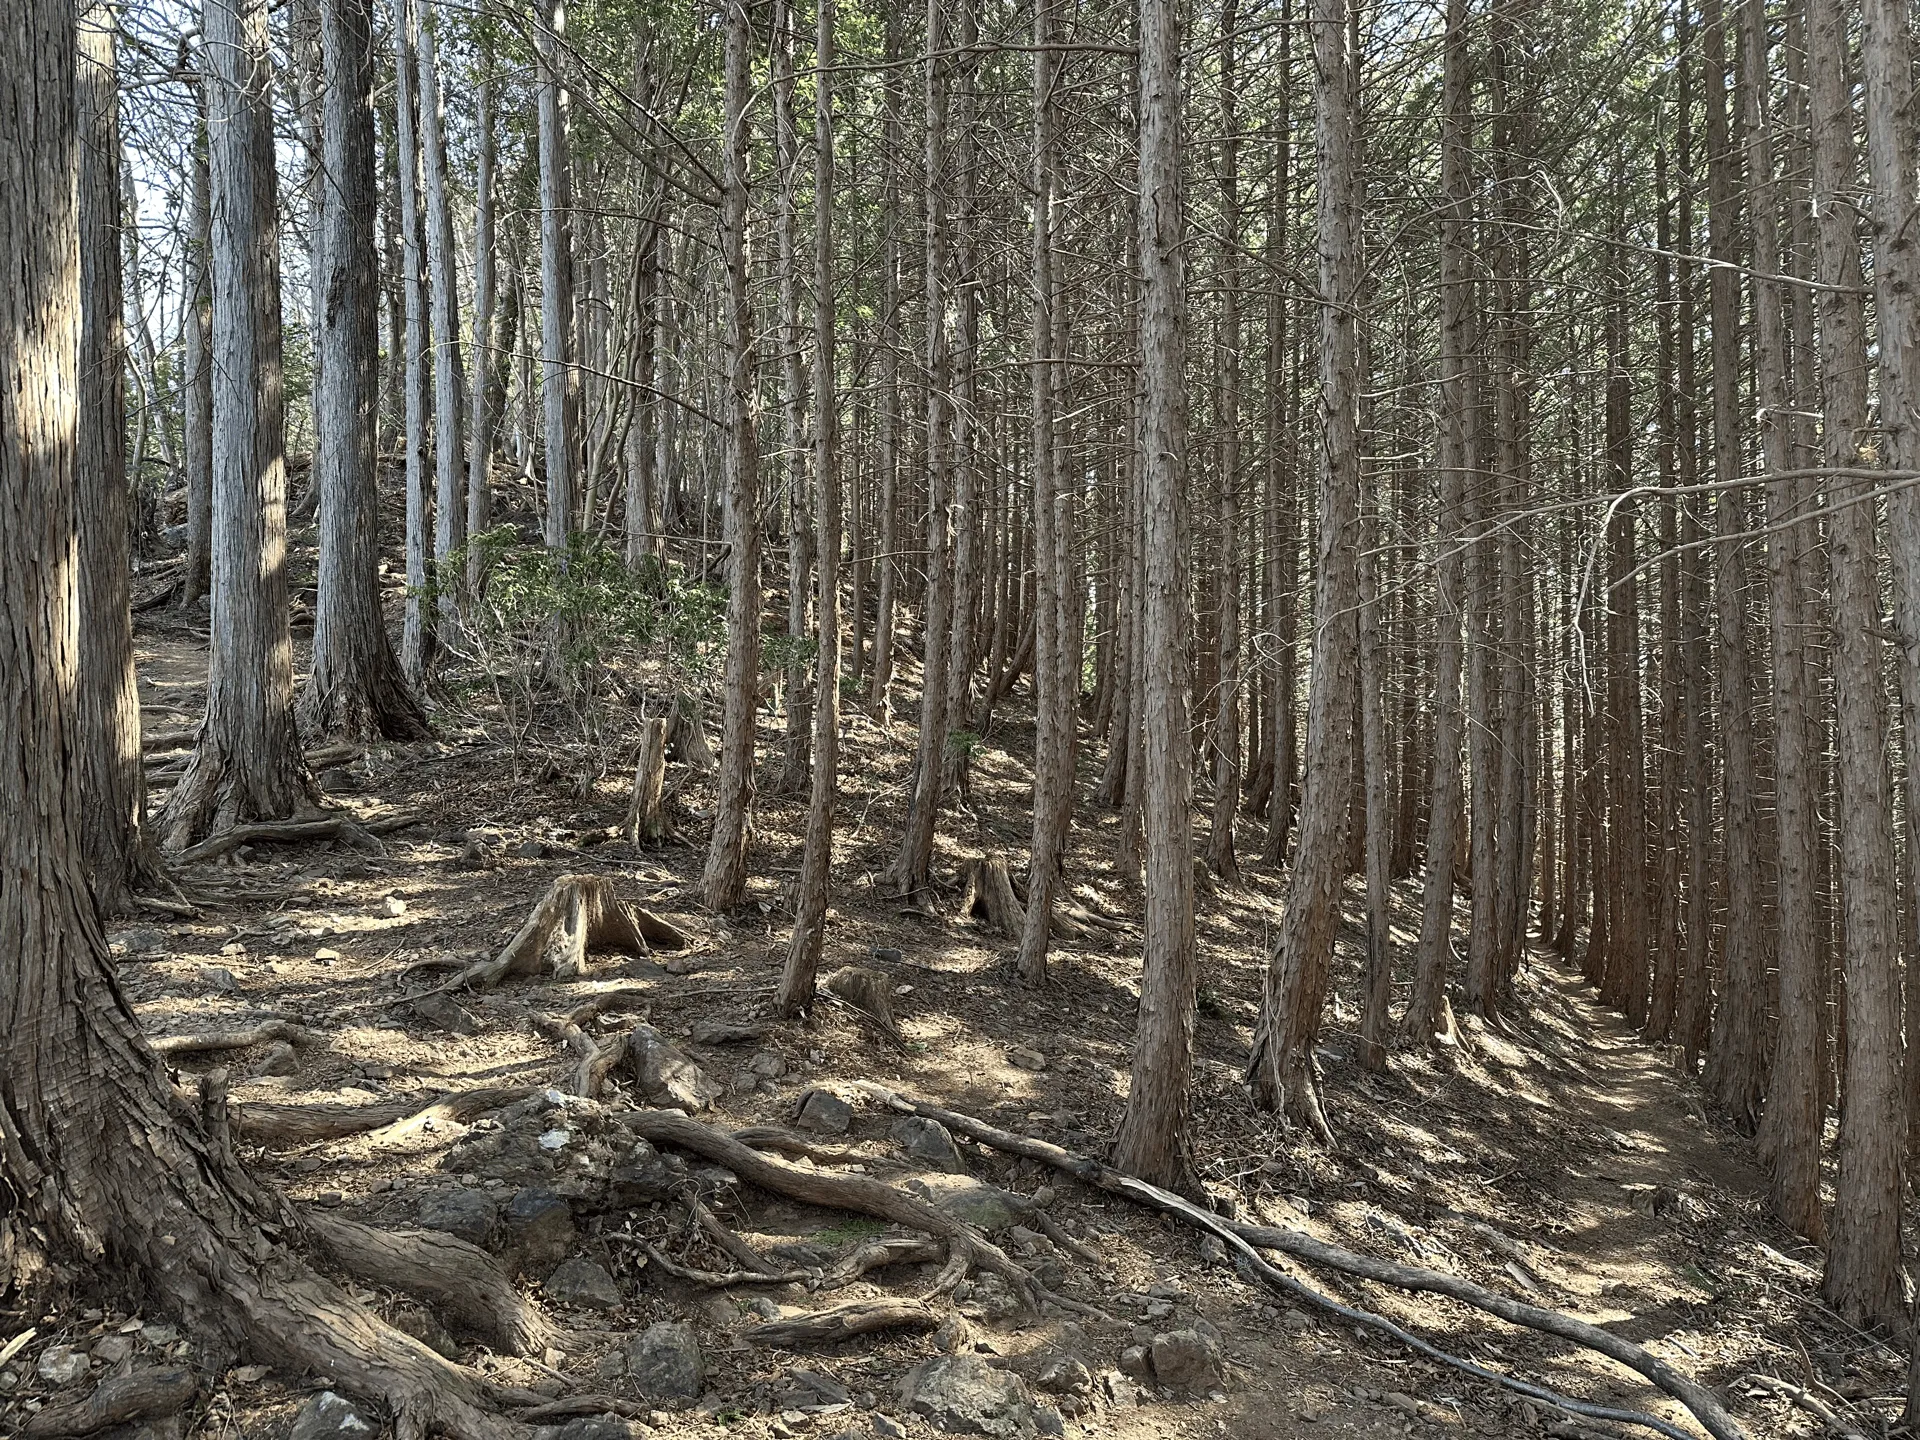
As you start descending, there are some slippery sandy bits, but handily there are also some ropes you can grab onto for support.
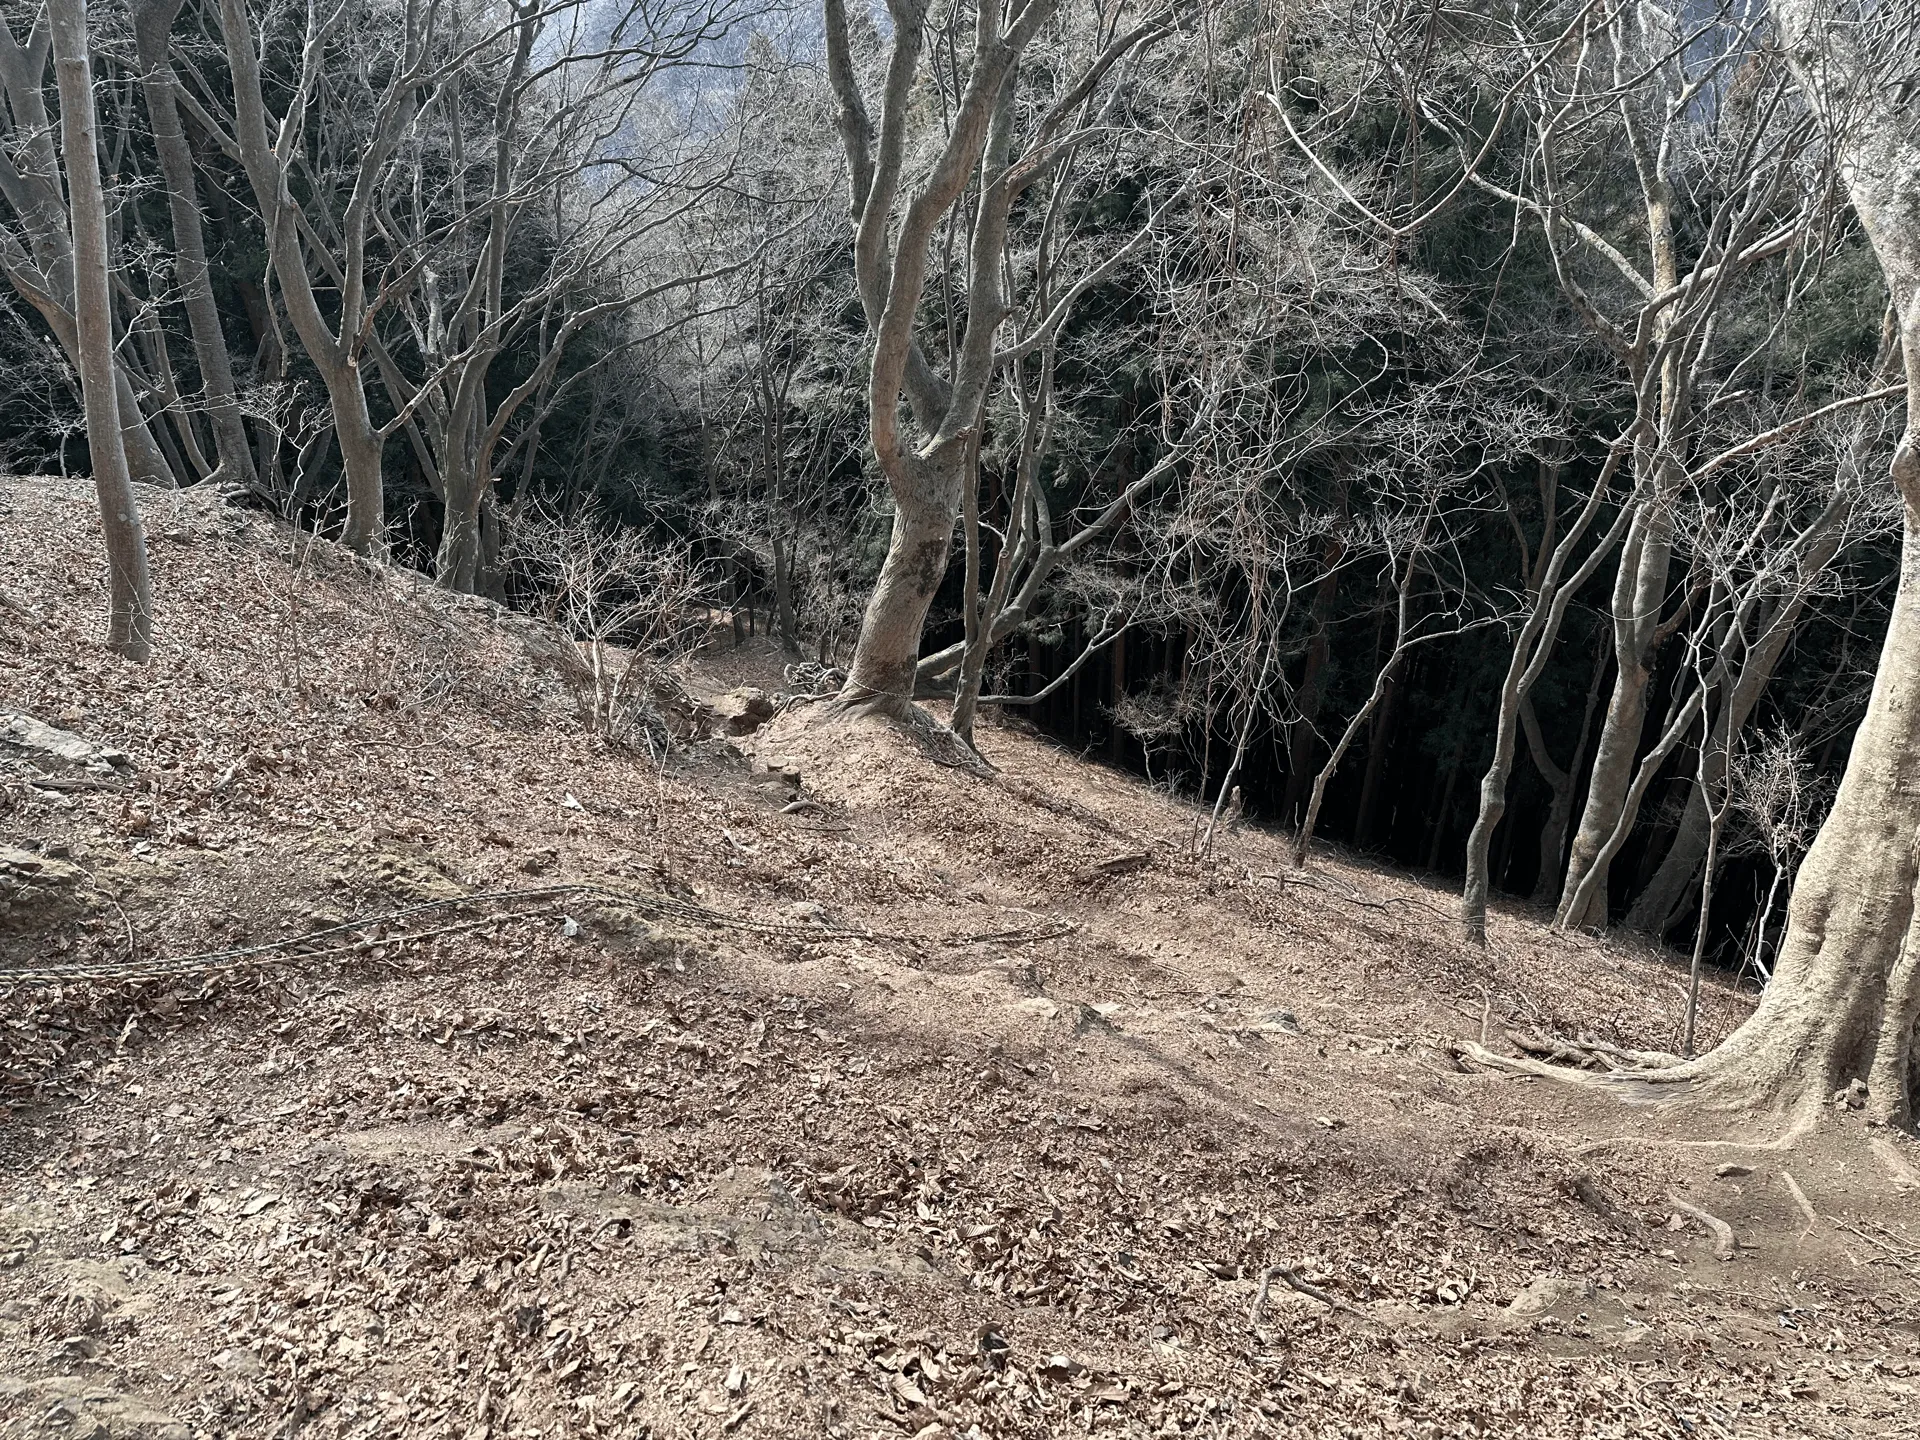
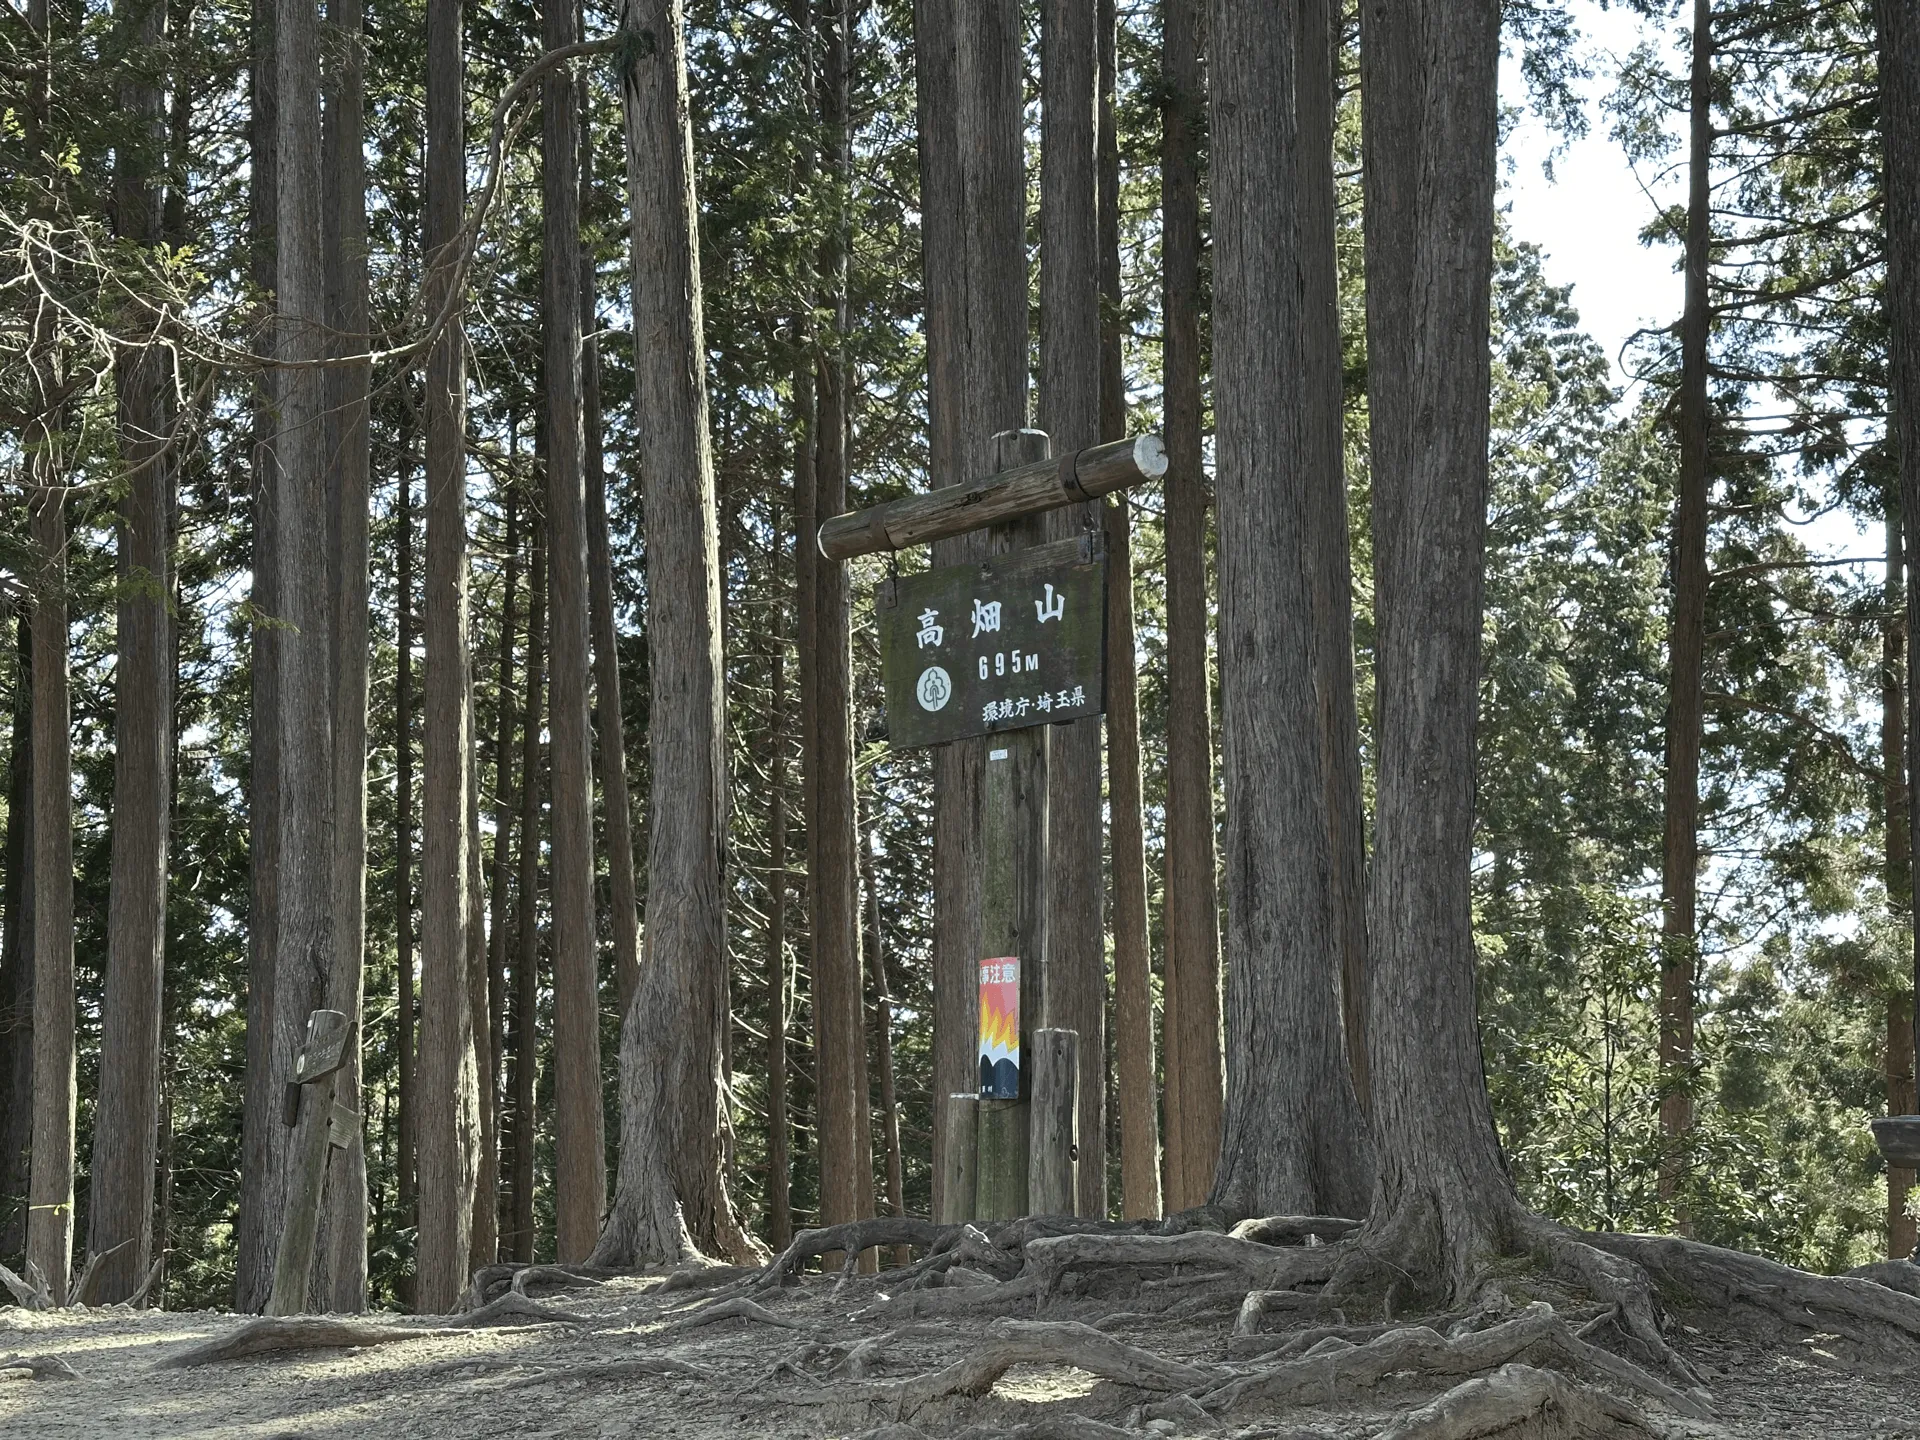
You’ll then pass the peak of Mt Komatake (古御岳) and Mt Takahata (高畑山). From here, you’ll be descending for quite a bit before you climb to your final climb.
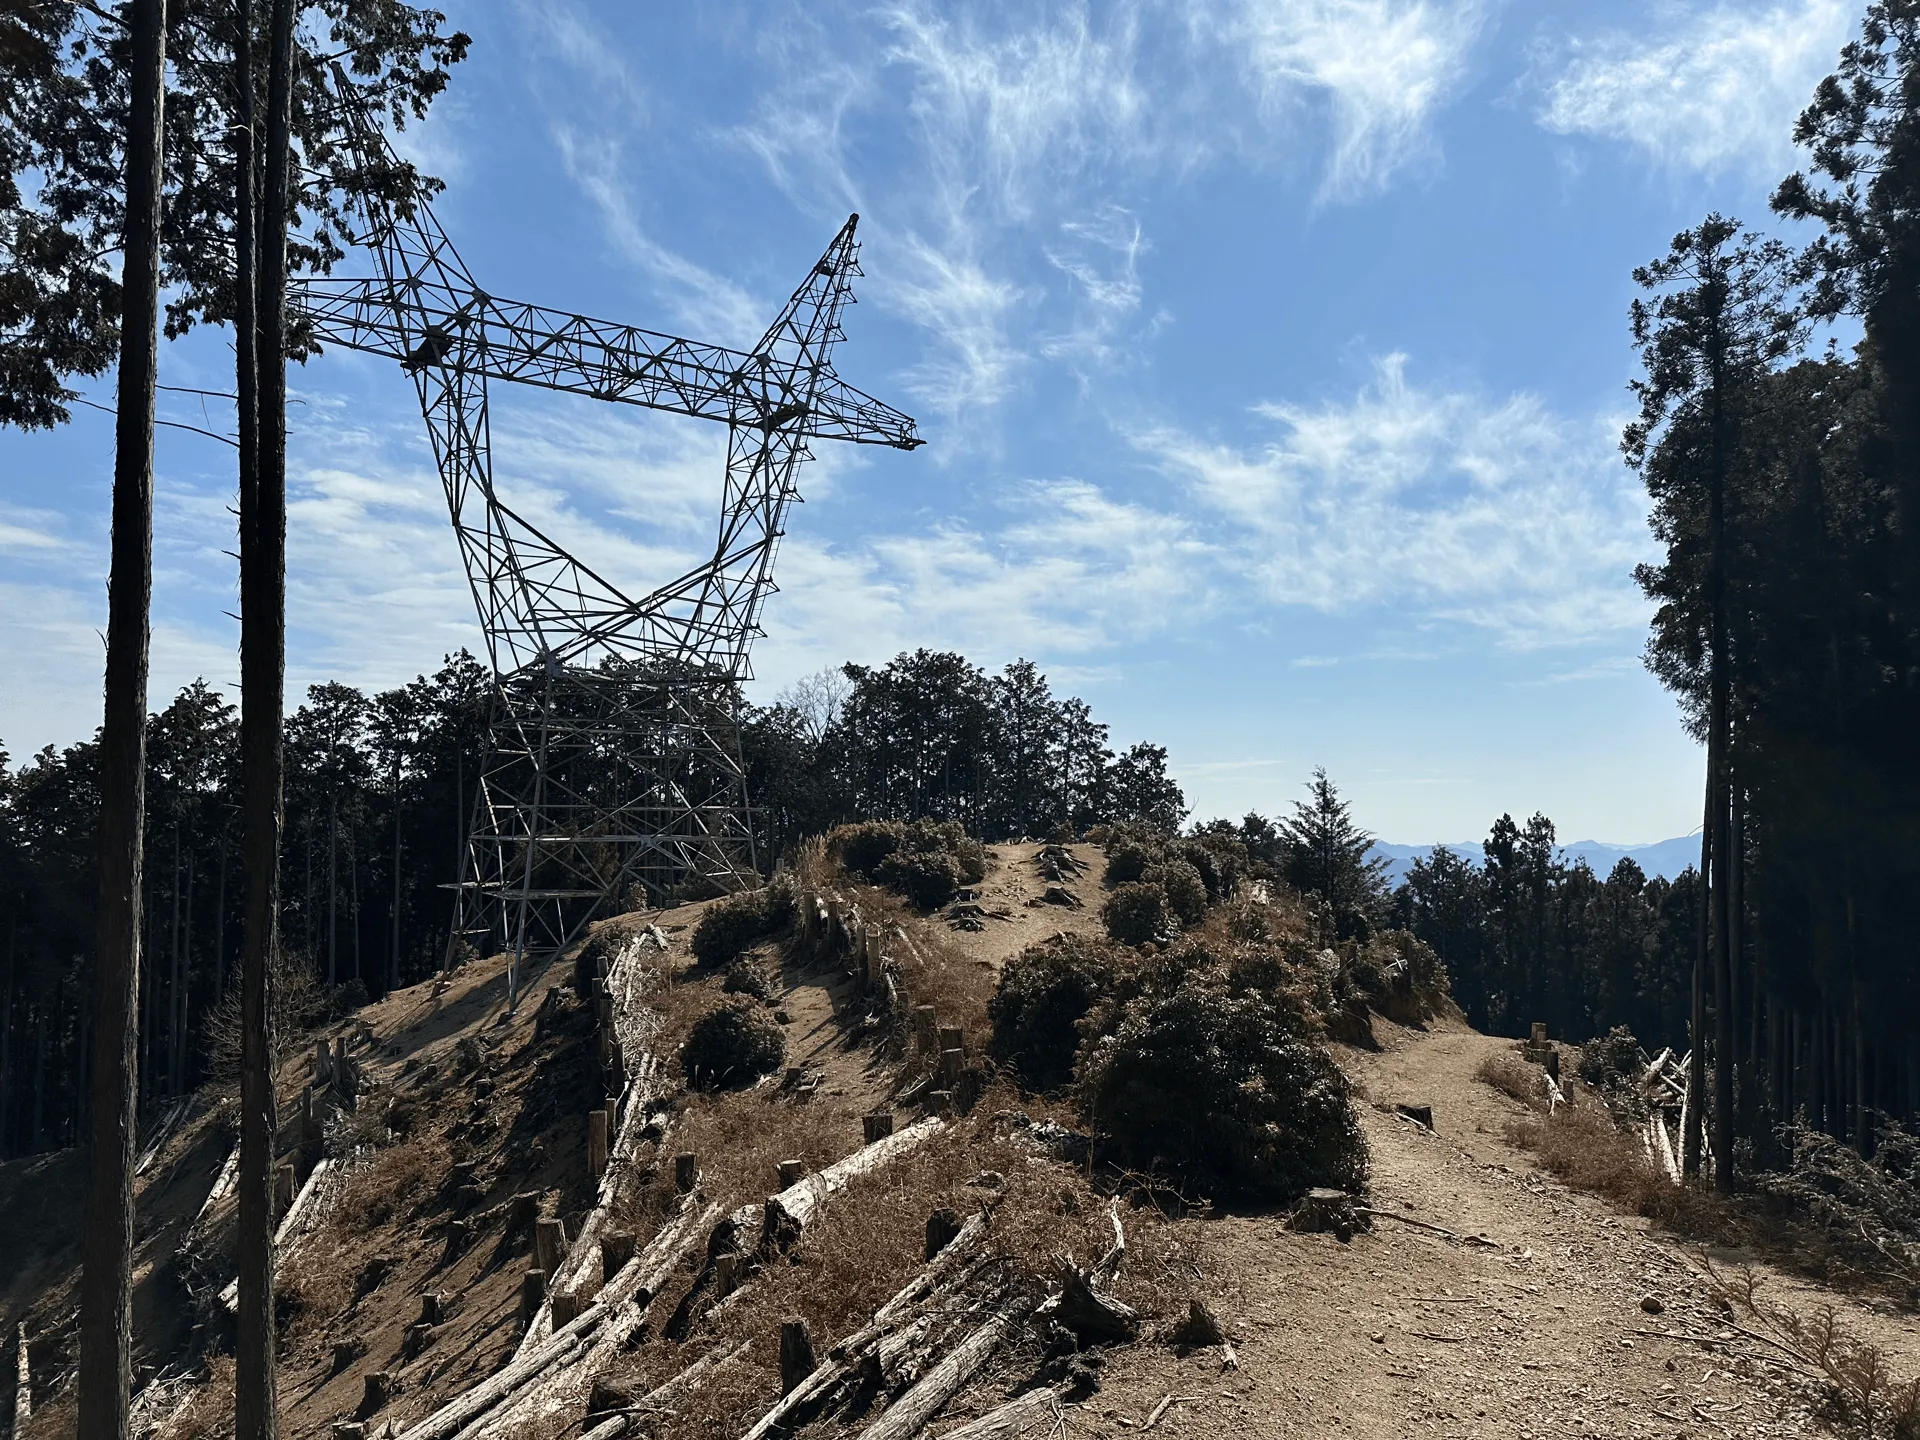
Interestingly, there’s an electricity tower sitting in a clearing. It doesn’t even have any cables coming out of it. The tower doesn’t look brand sparkling new, although it doesn’t look super old and abandoned either. I’m not sure if they put it up and then didn’t get around to actually connecting it up to another tower, or if they’re still planning on coming back to it at some point.
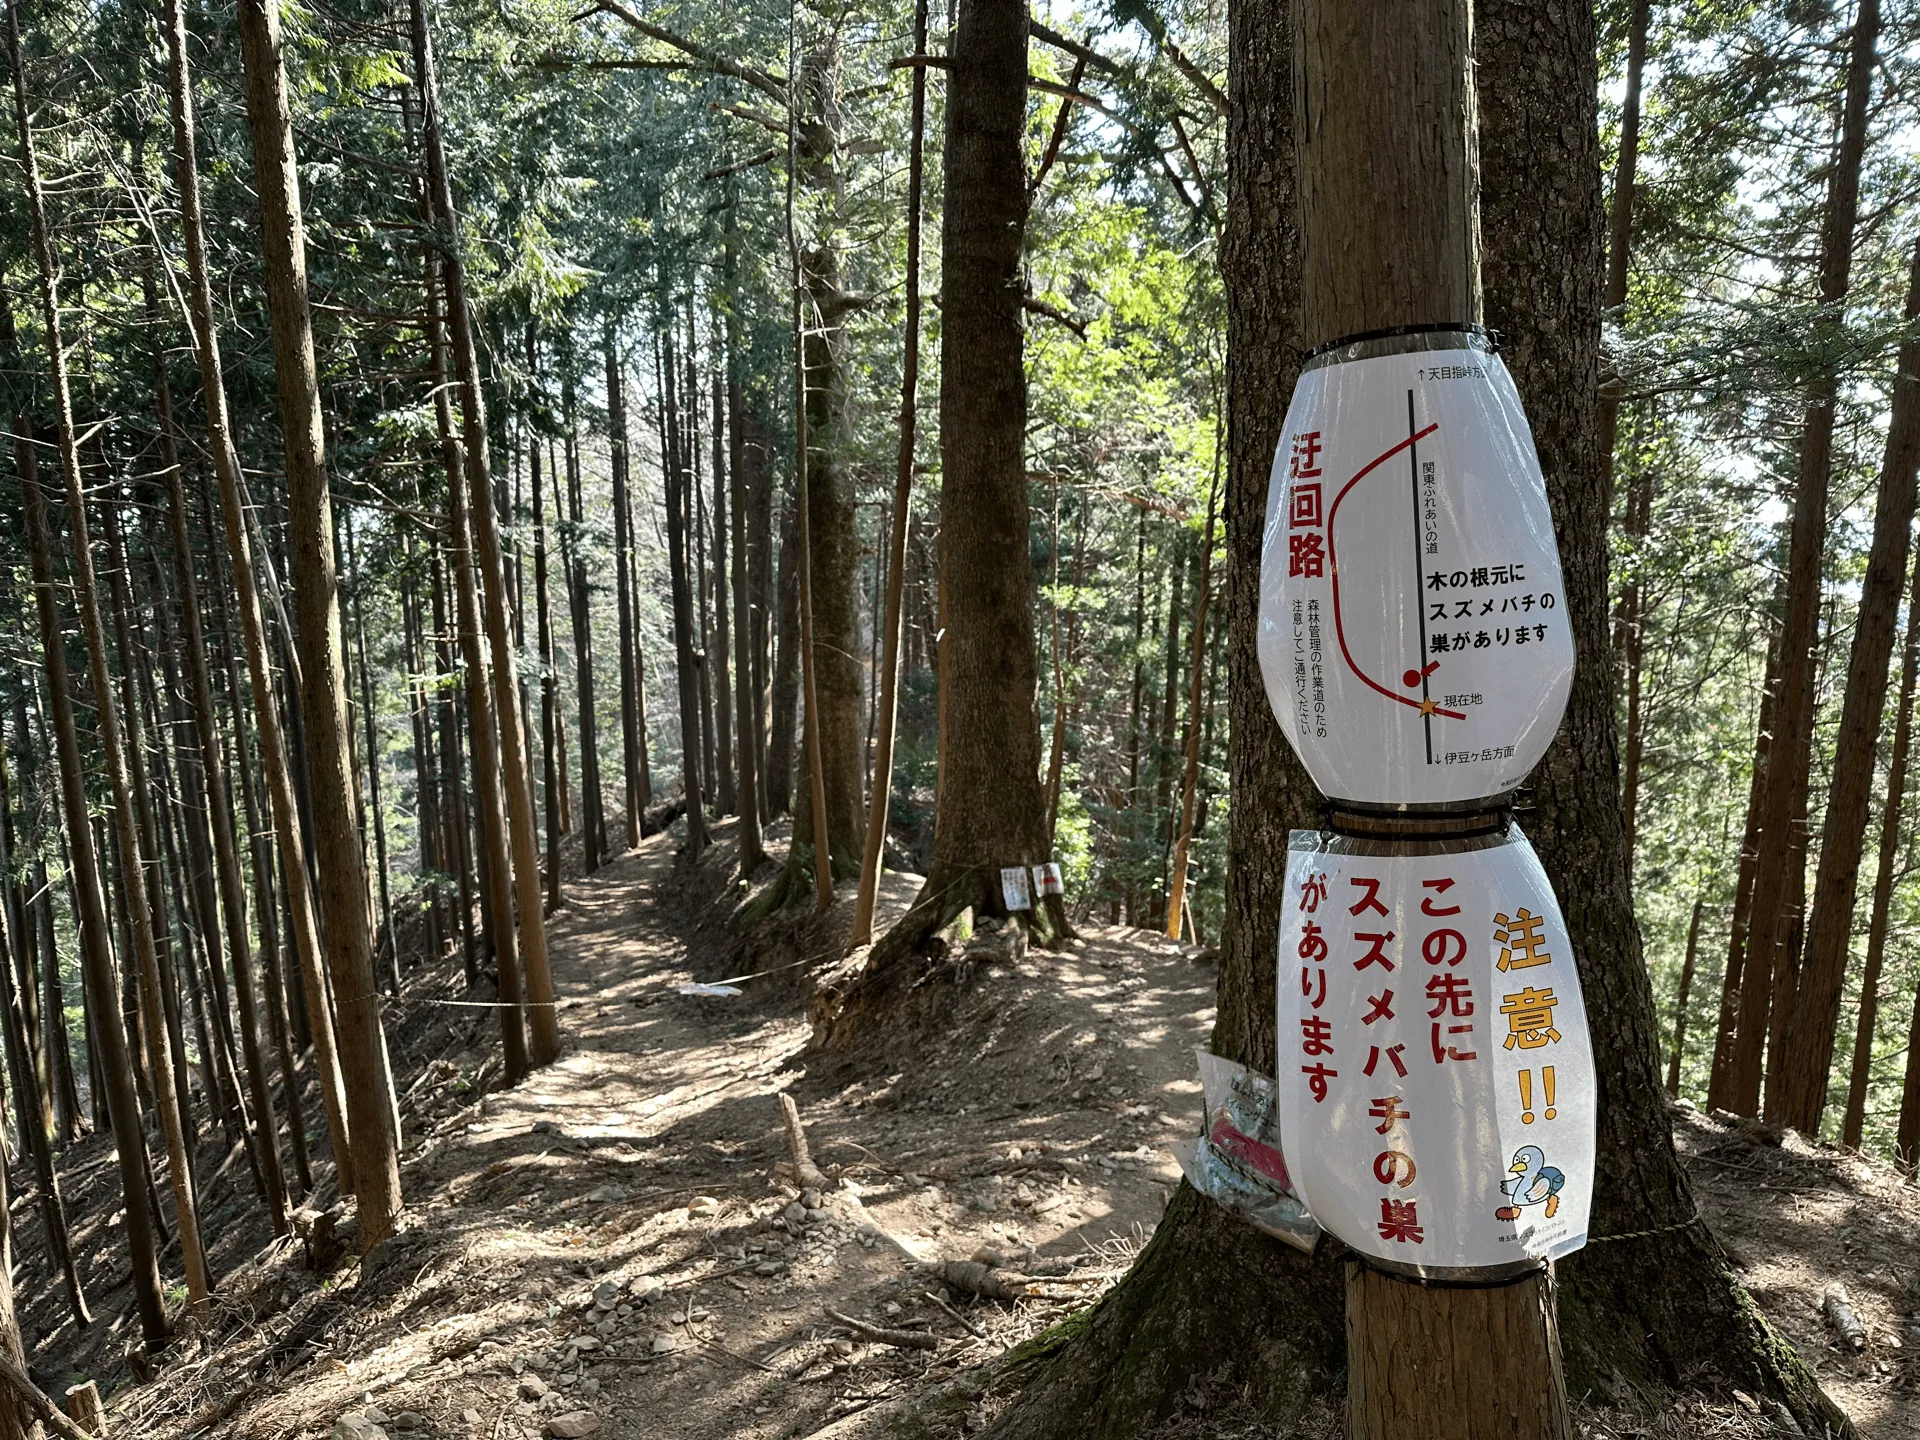
There’s also a sign pointing out a hornet’s nest that is definitely no longer there. Looking at YAMAP, the sign has been there for at least 1.5 years now, so maybe they should get around to removing it at some point.
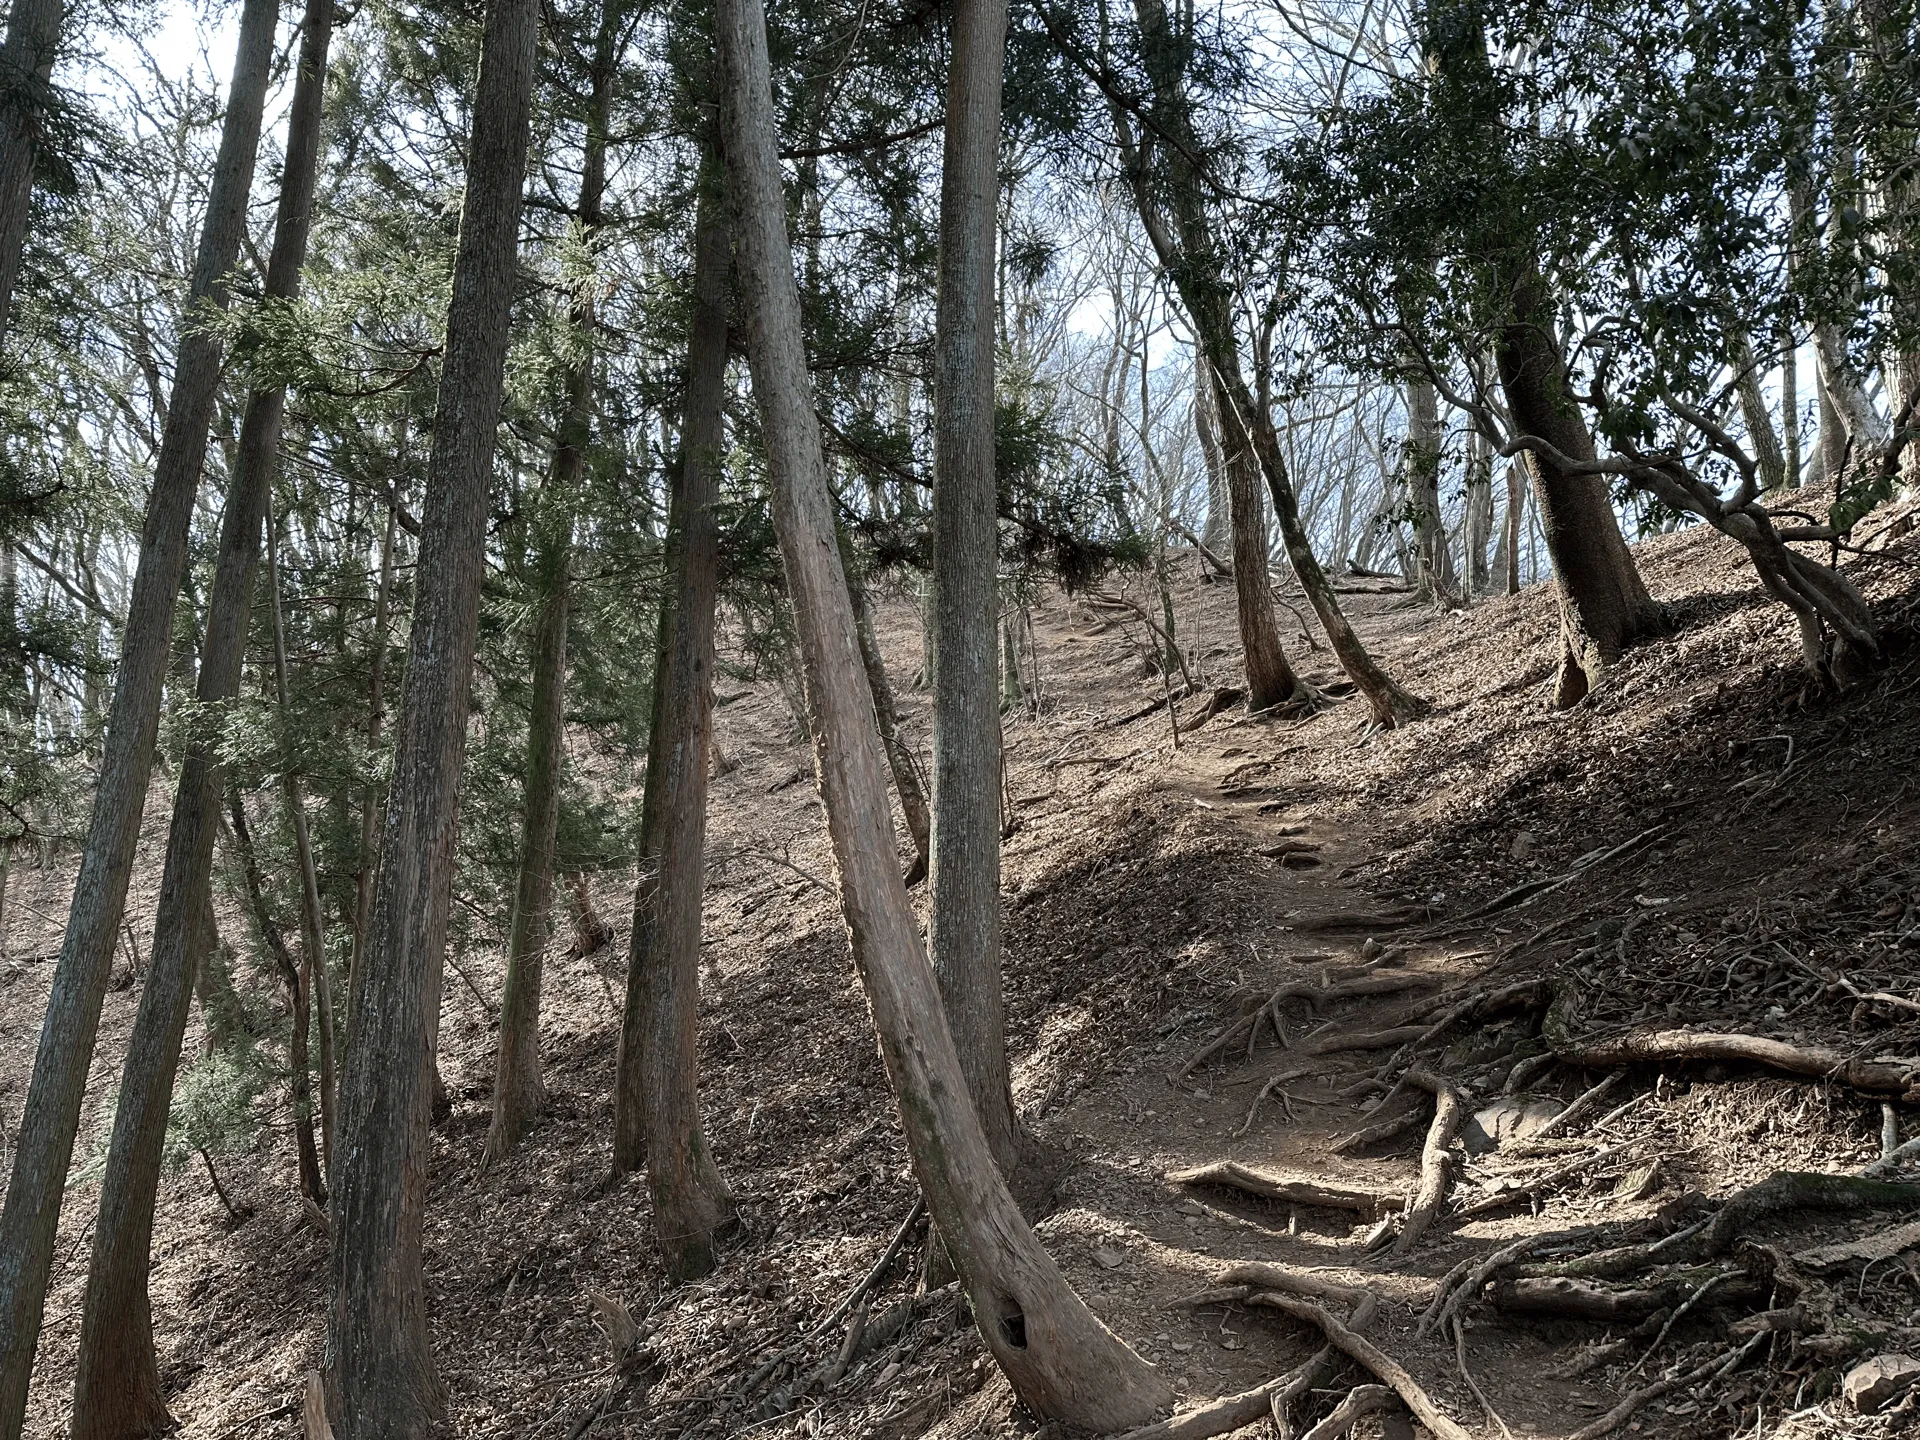
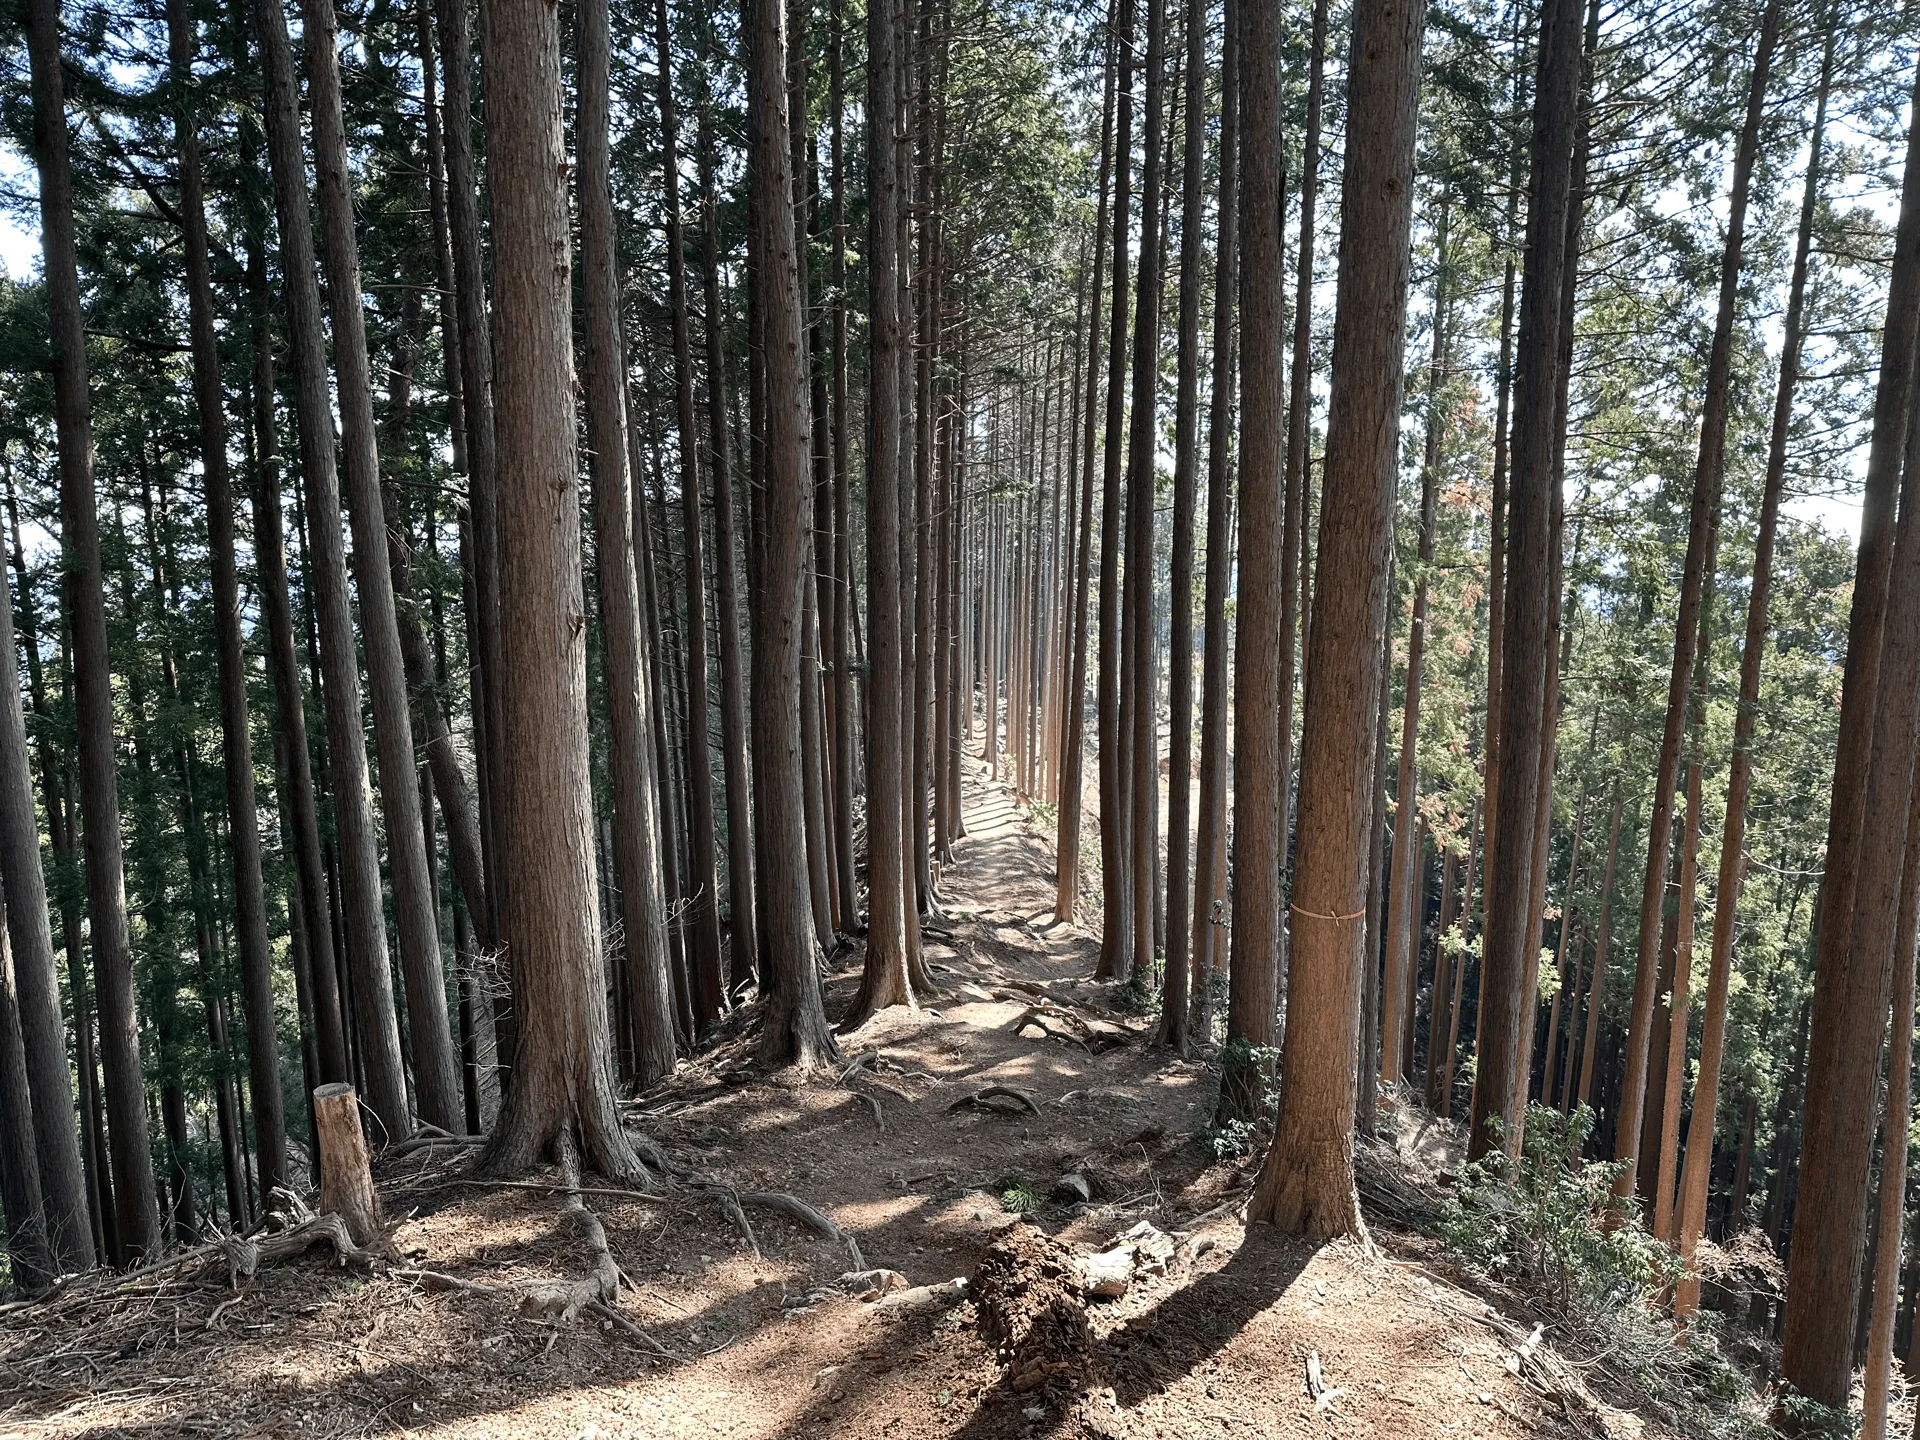
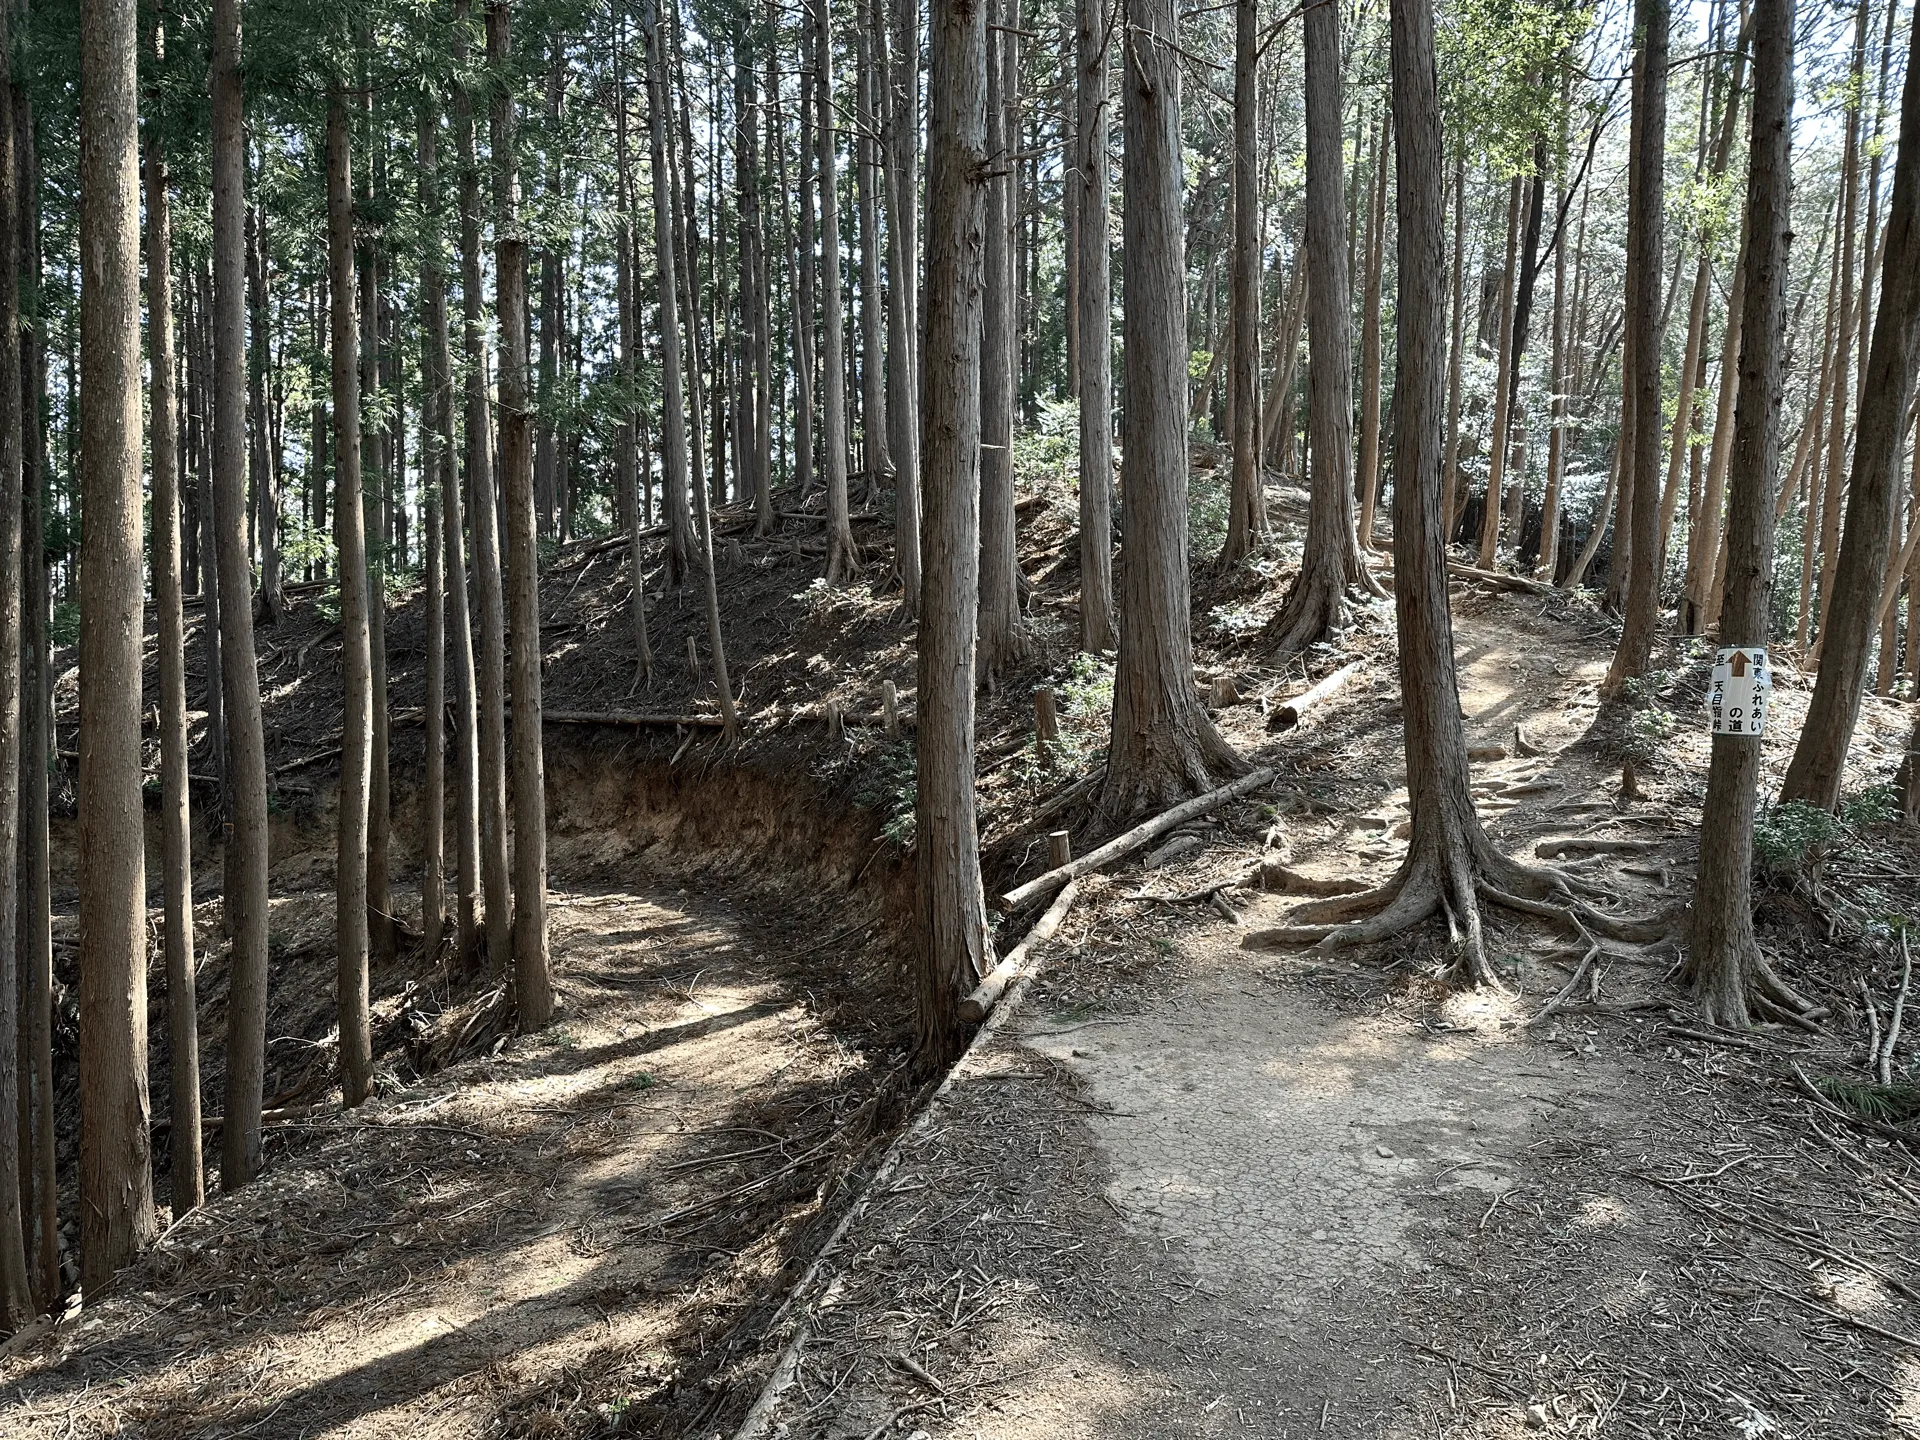
The other difficult thing about this course (and another place where YAMAP came in handy) was that there are portions where access trails for workers intersect with the hiking trail. When it doubt, if it looks like a small vehicle could pass along a trail, I would recommend not walking down it, and instead take the narrower path over the tree roots. Most of these were roped off though, which does make it a bit easier to tell the difference.
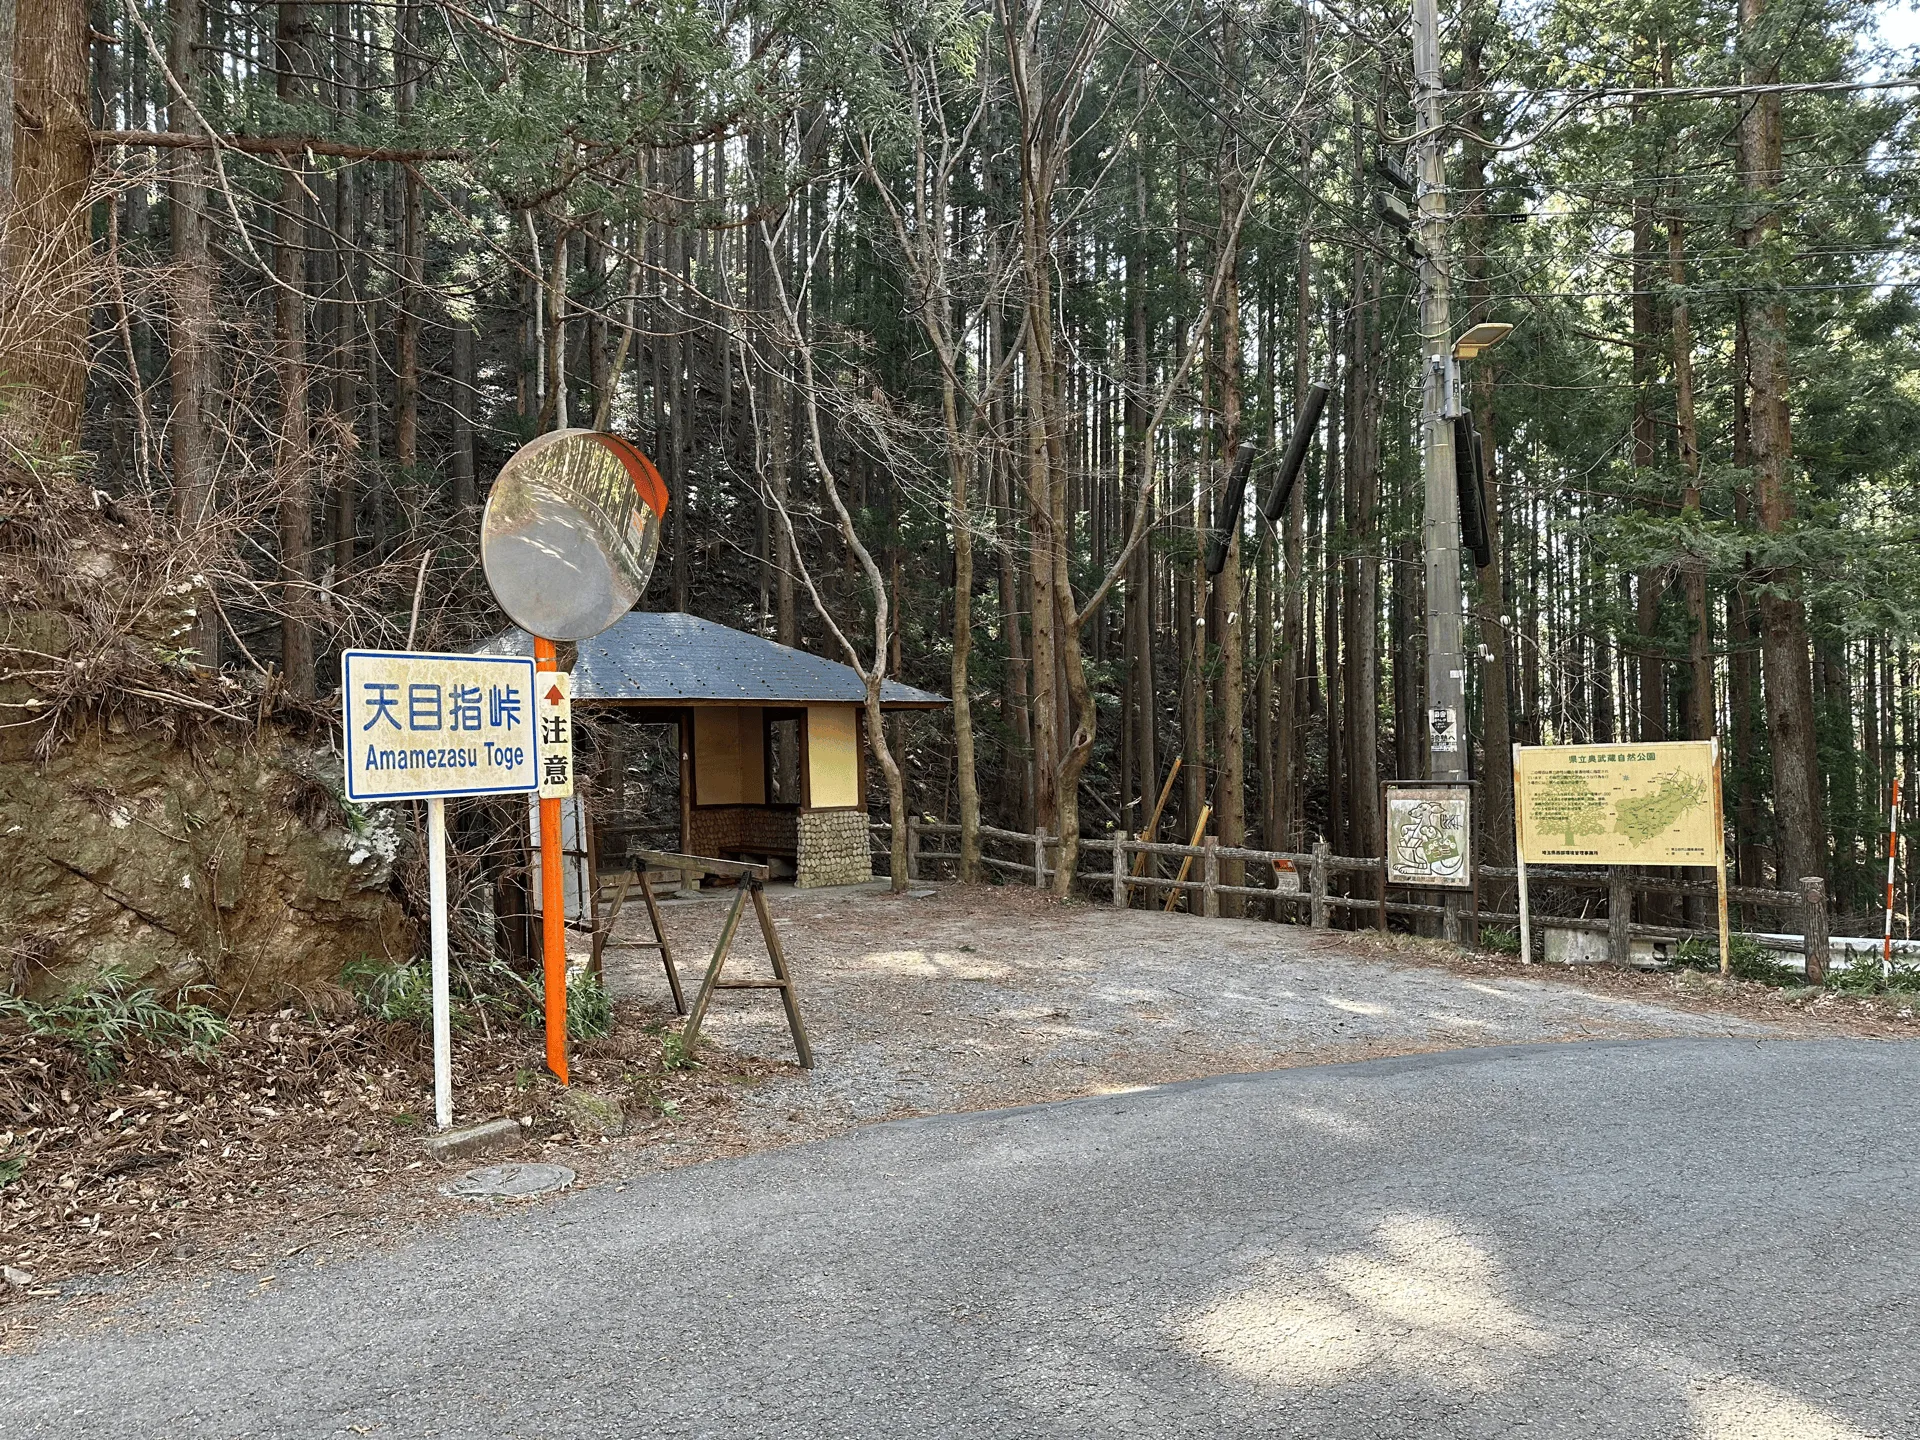
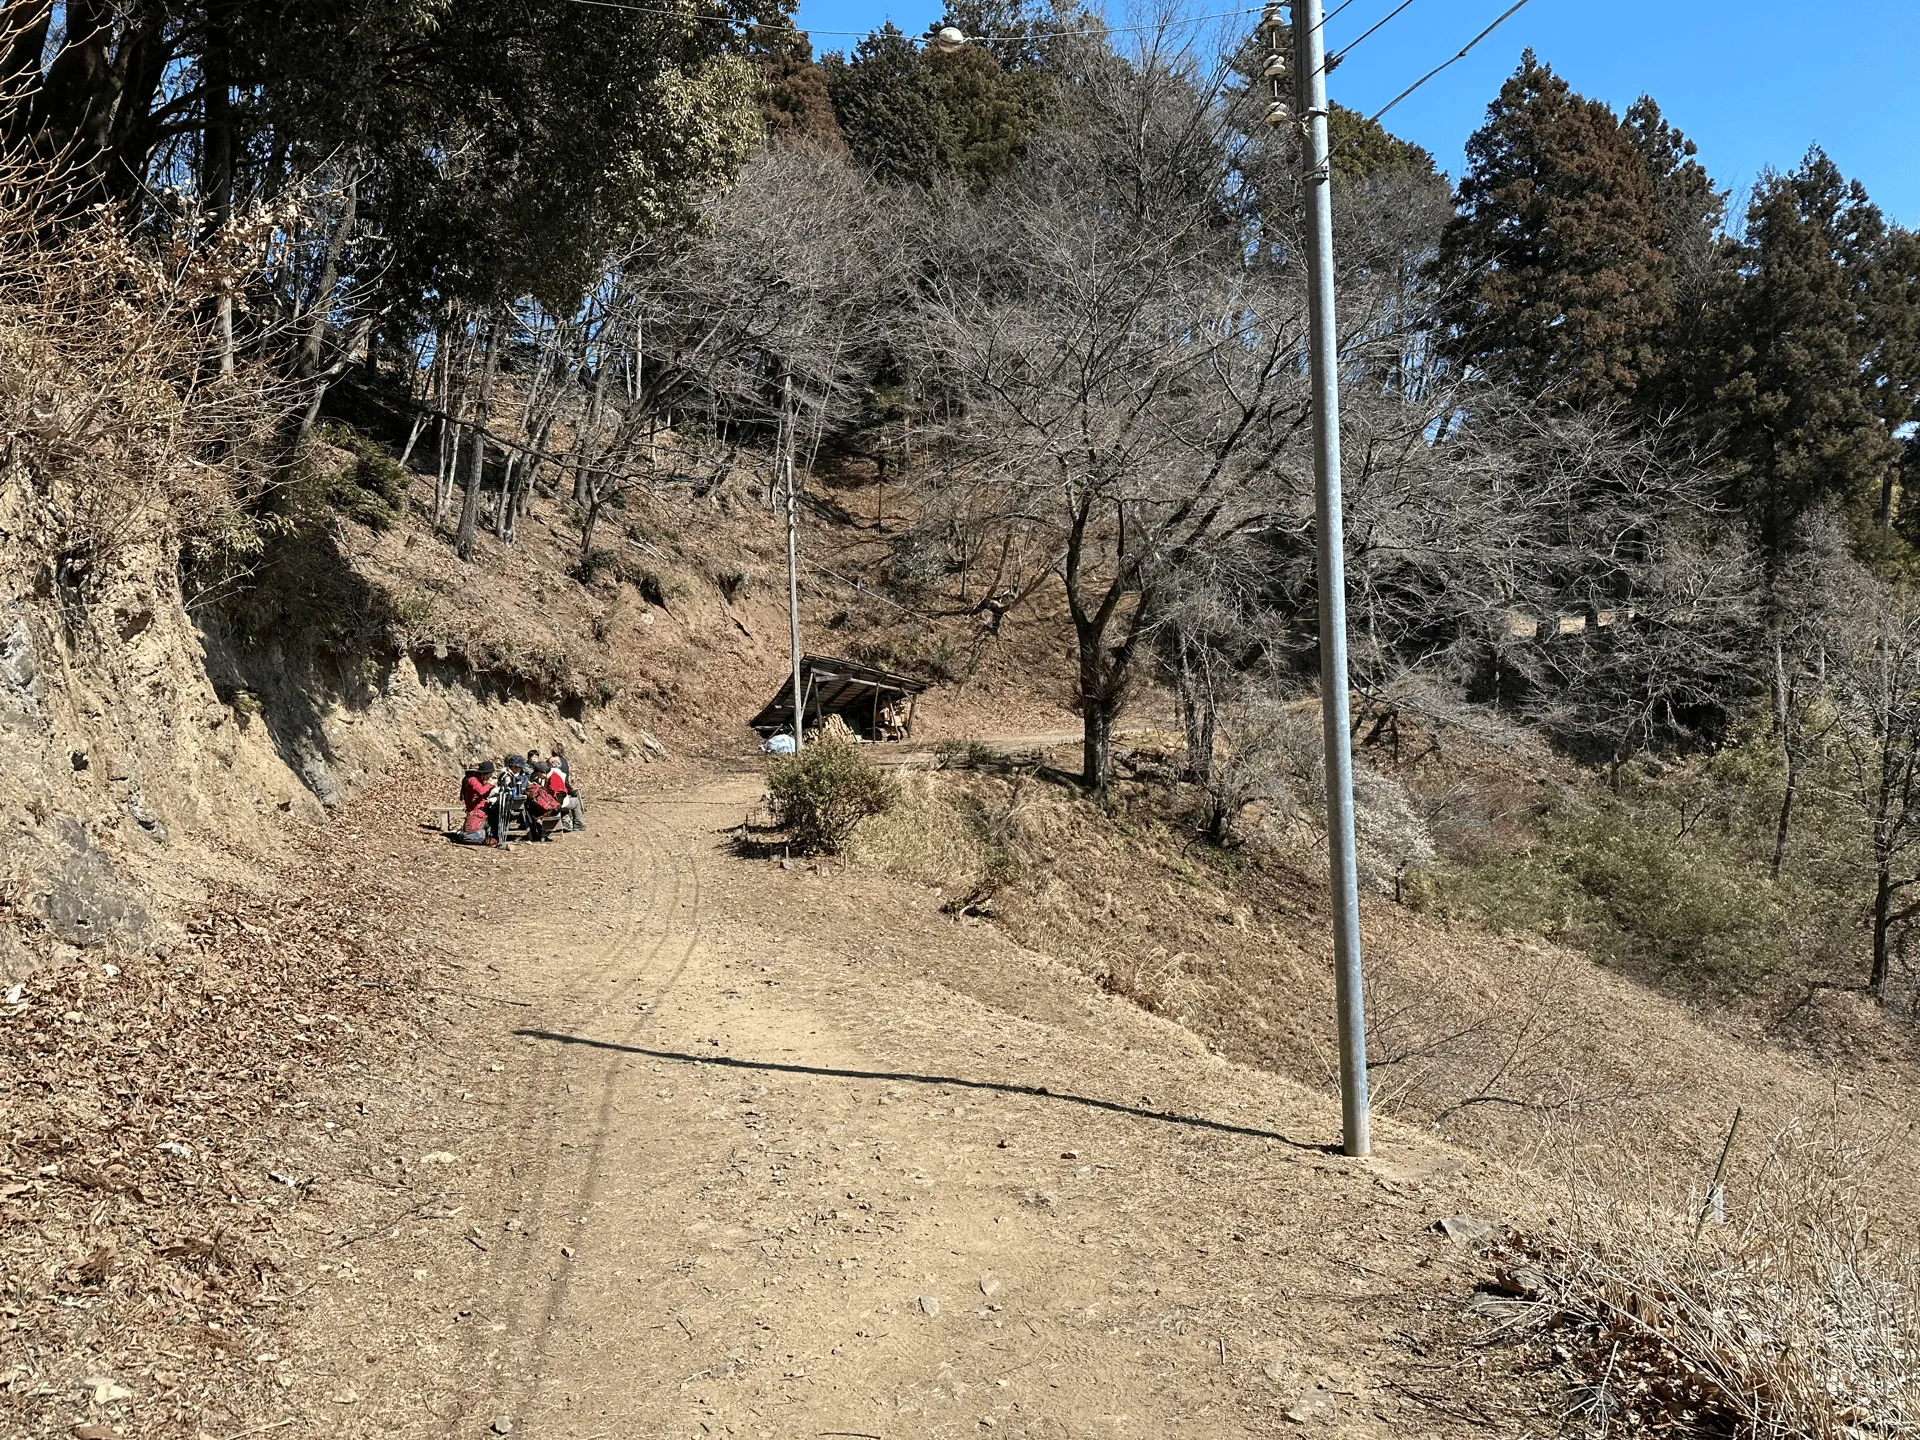
As you descend, you’ll eventually come to Amamezasu Pass (天目指峠, amamezasu-toge) which has a hut where you can take a break. You’ll need to walk down the road a bit to your left to find the trail re-entry point.
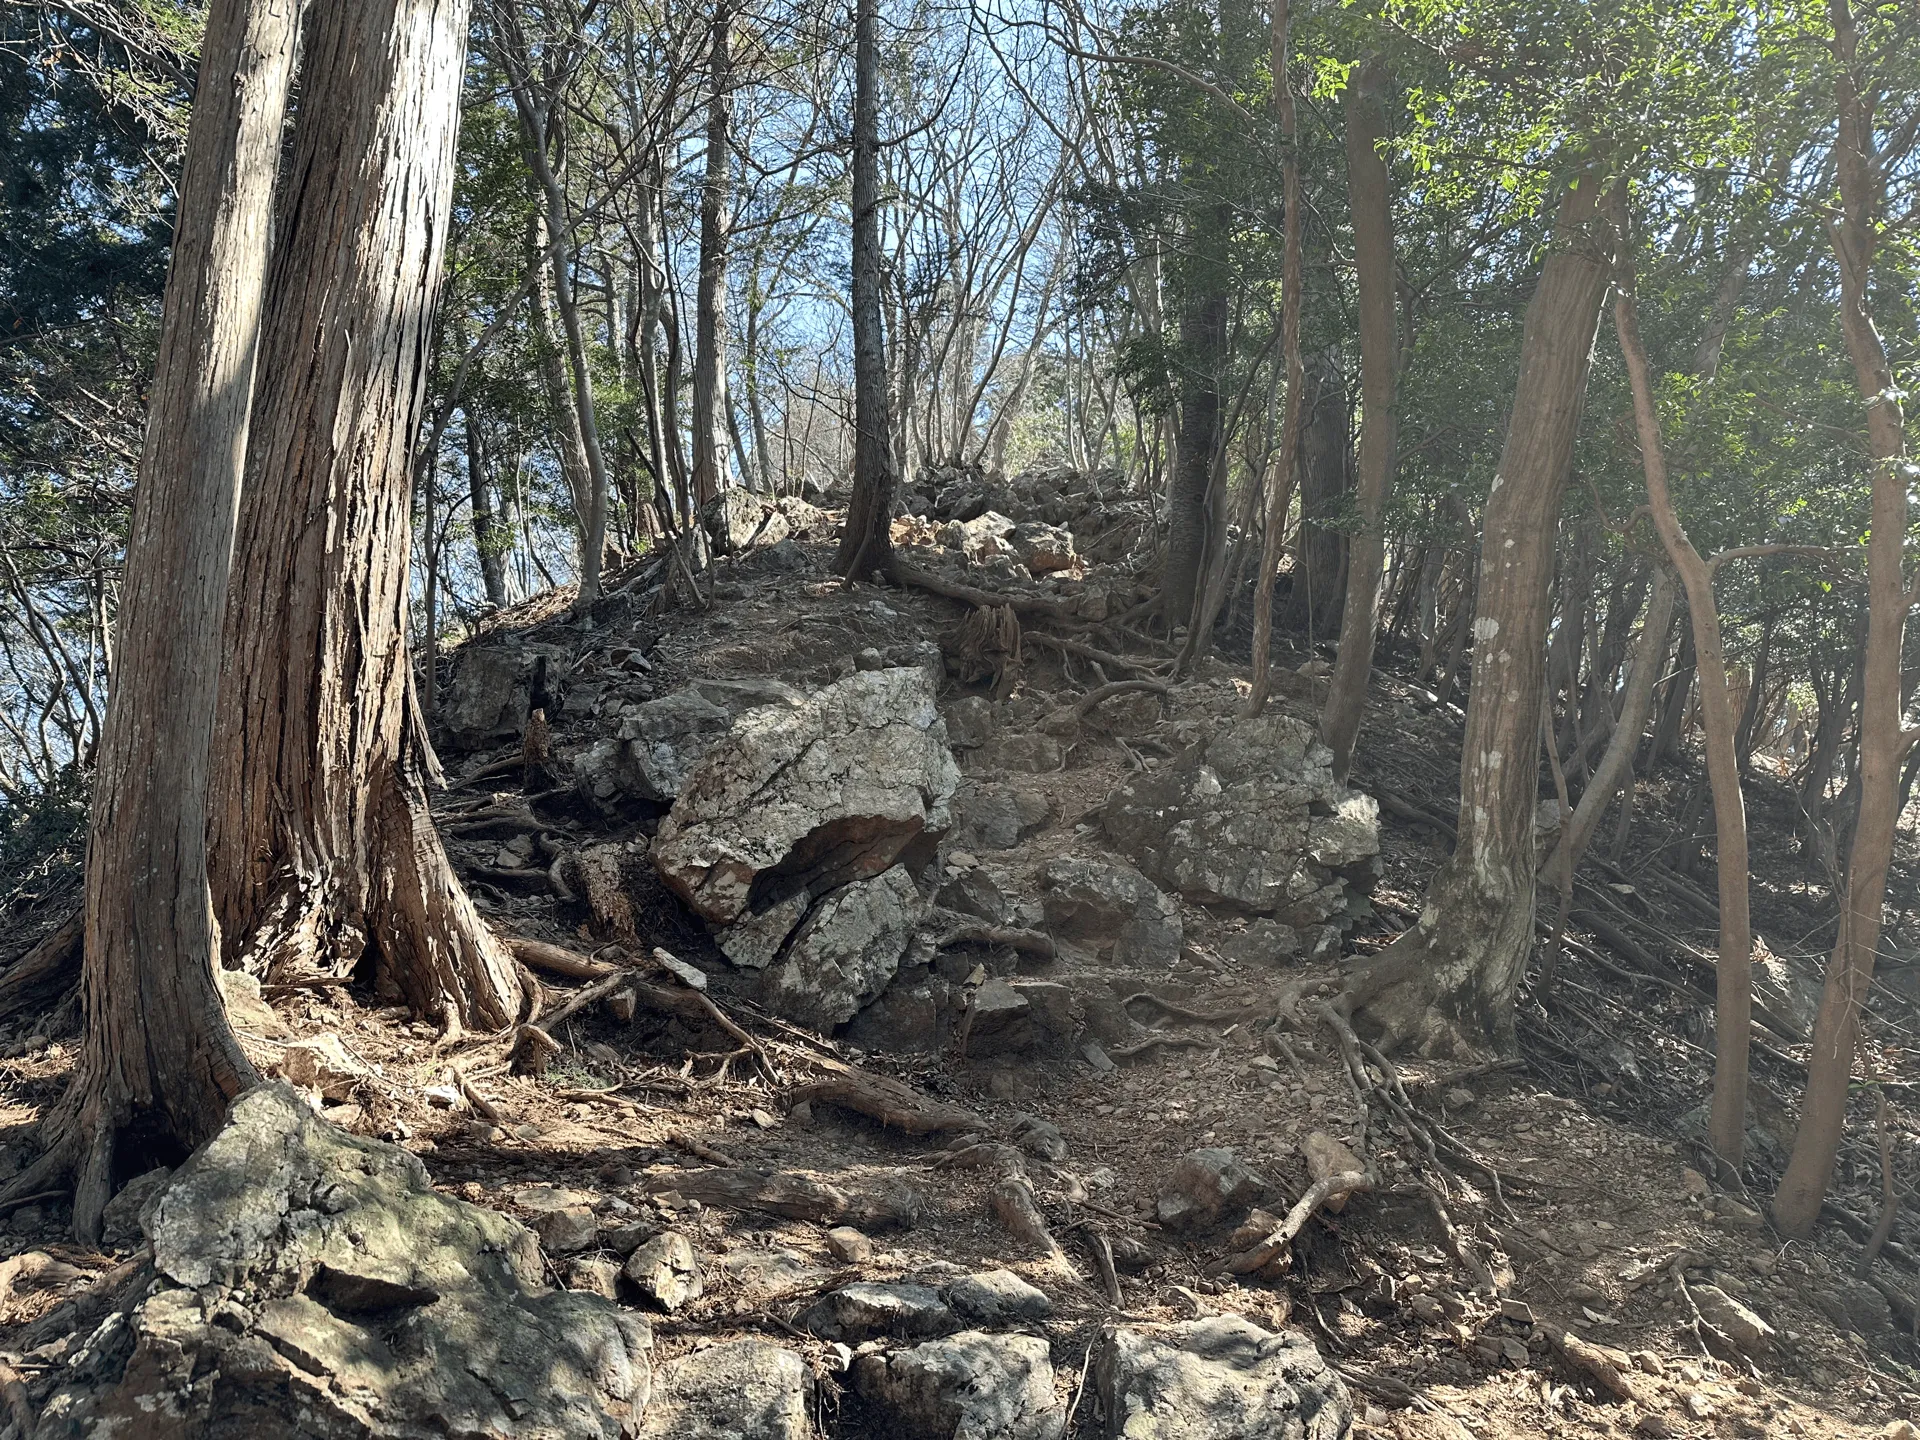
This steep climb will take about 50 minutes, but is luckily the final climb for the course.
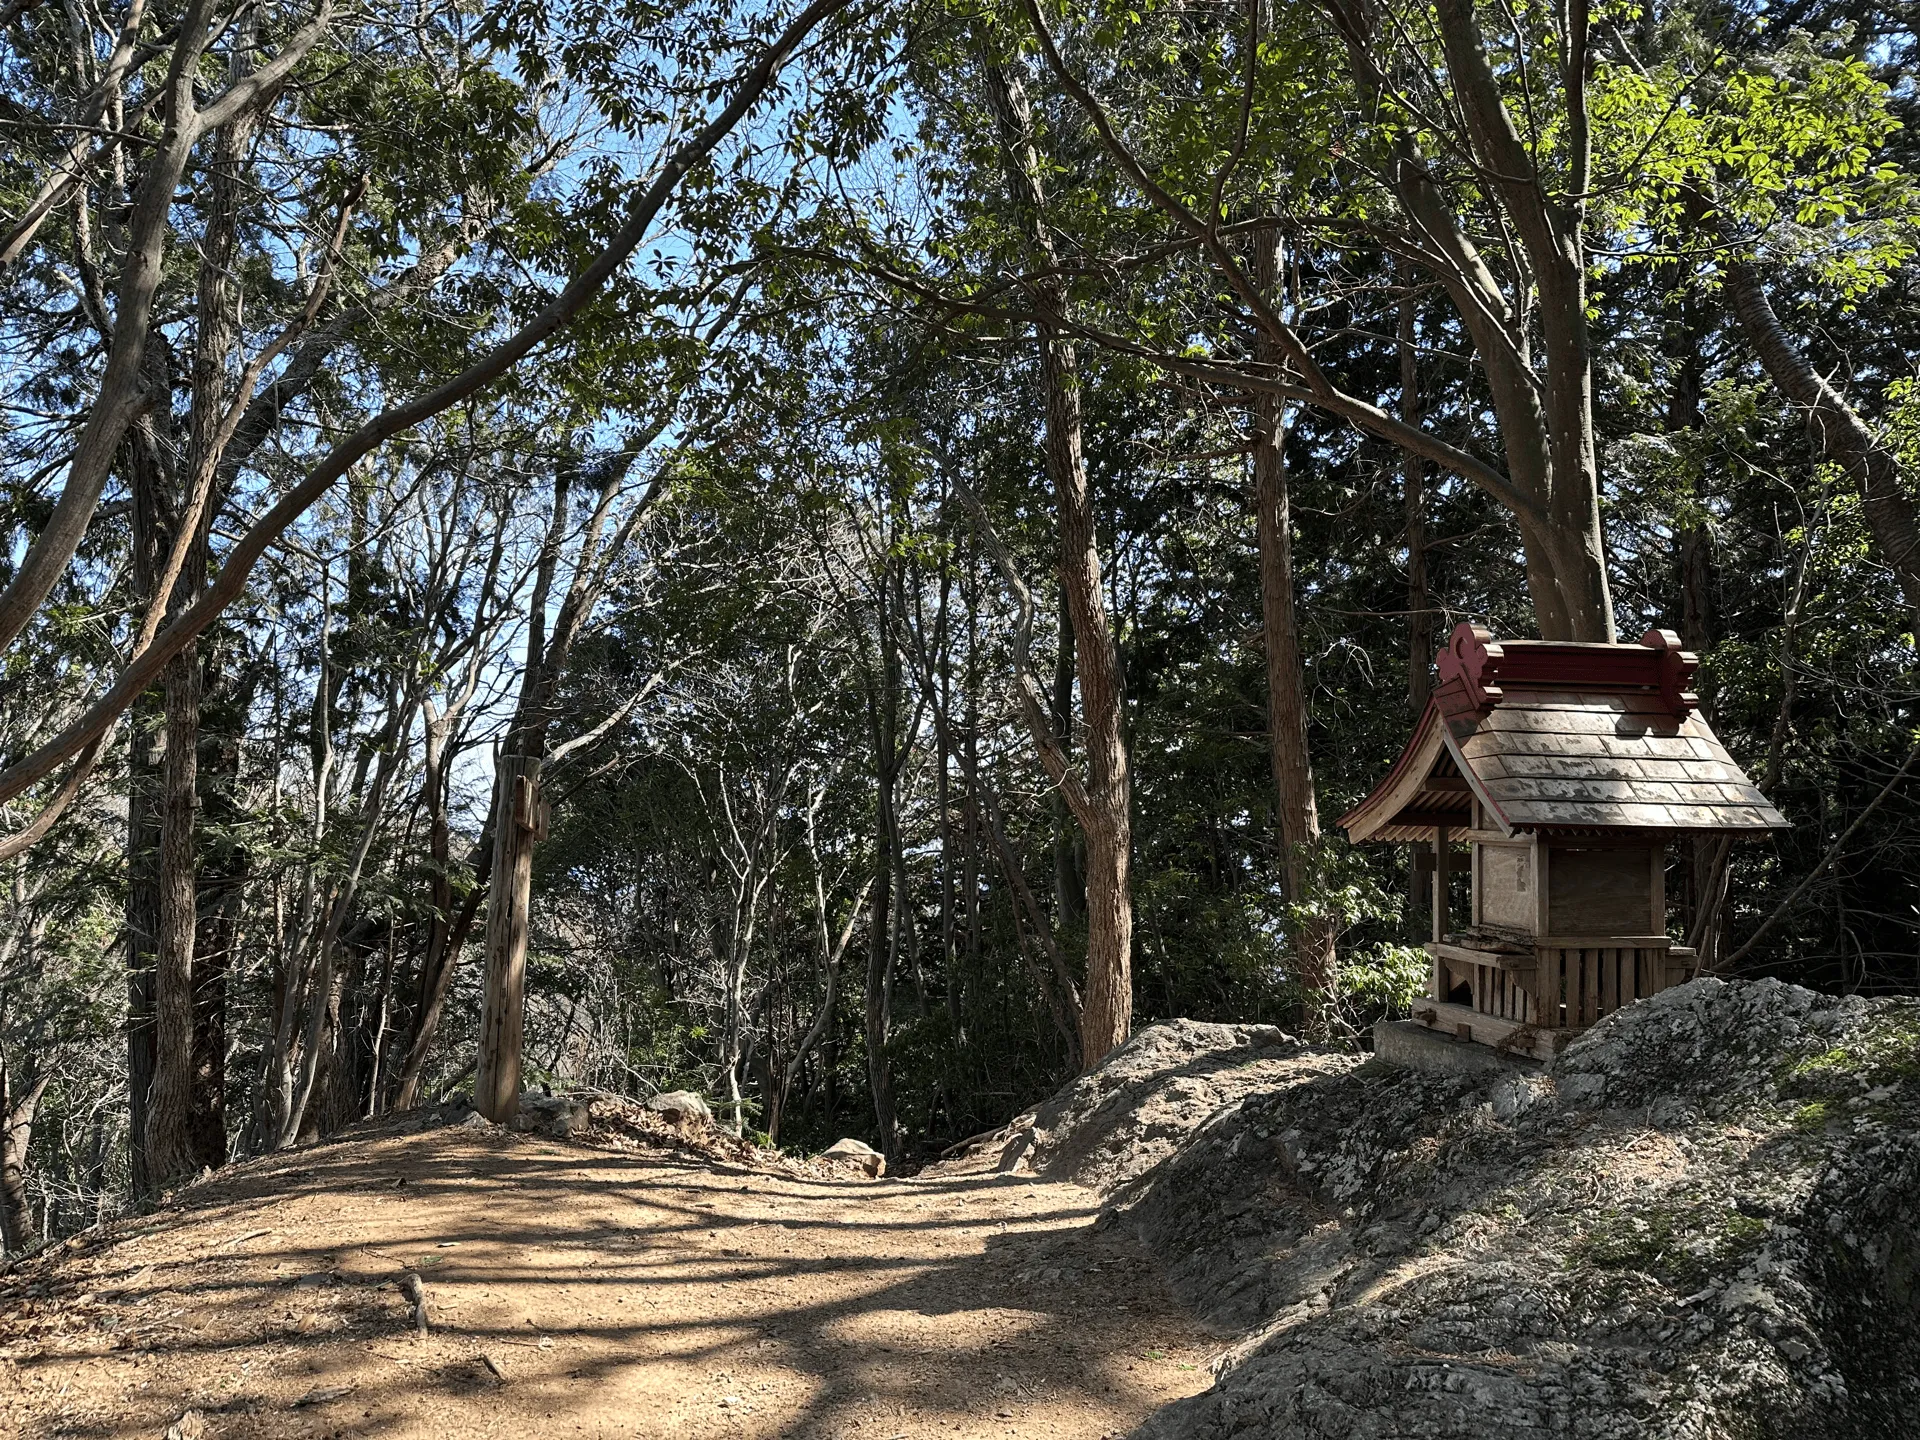
Eventually you will come to Mt Atago (愛宕山, atago-yama) which doesn’t have any sort of peak marker, but does have a little shrine. Once you reach this, you’ll be reassured to know that there is no more climbing, just one long descent.
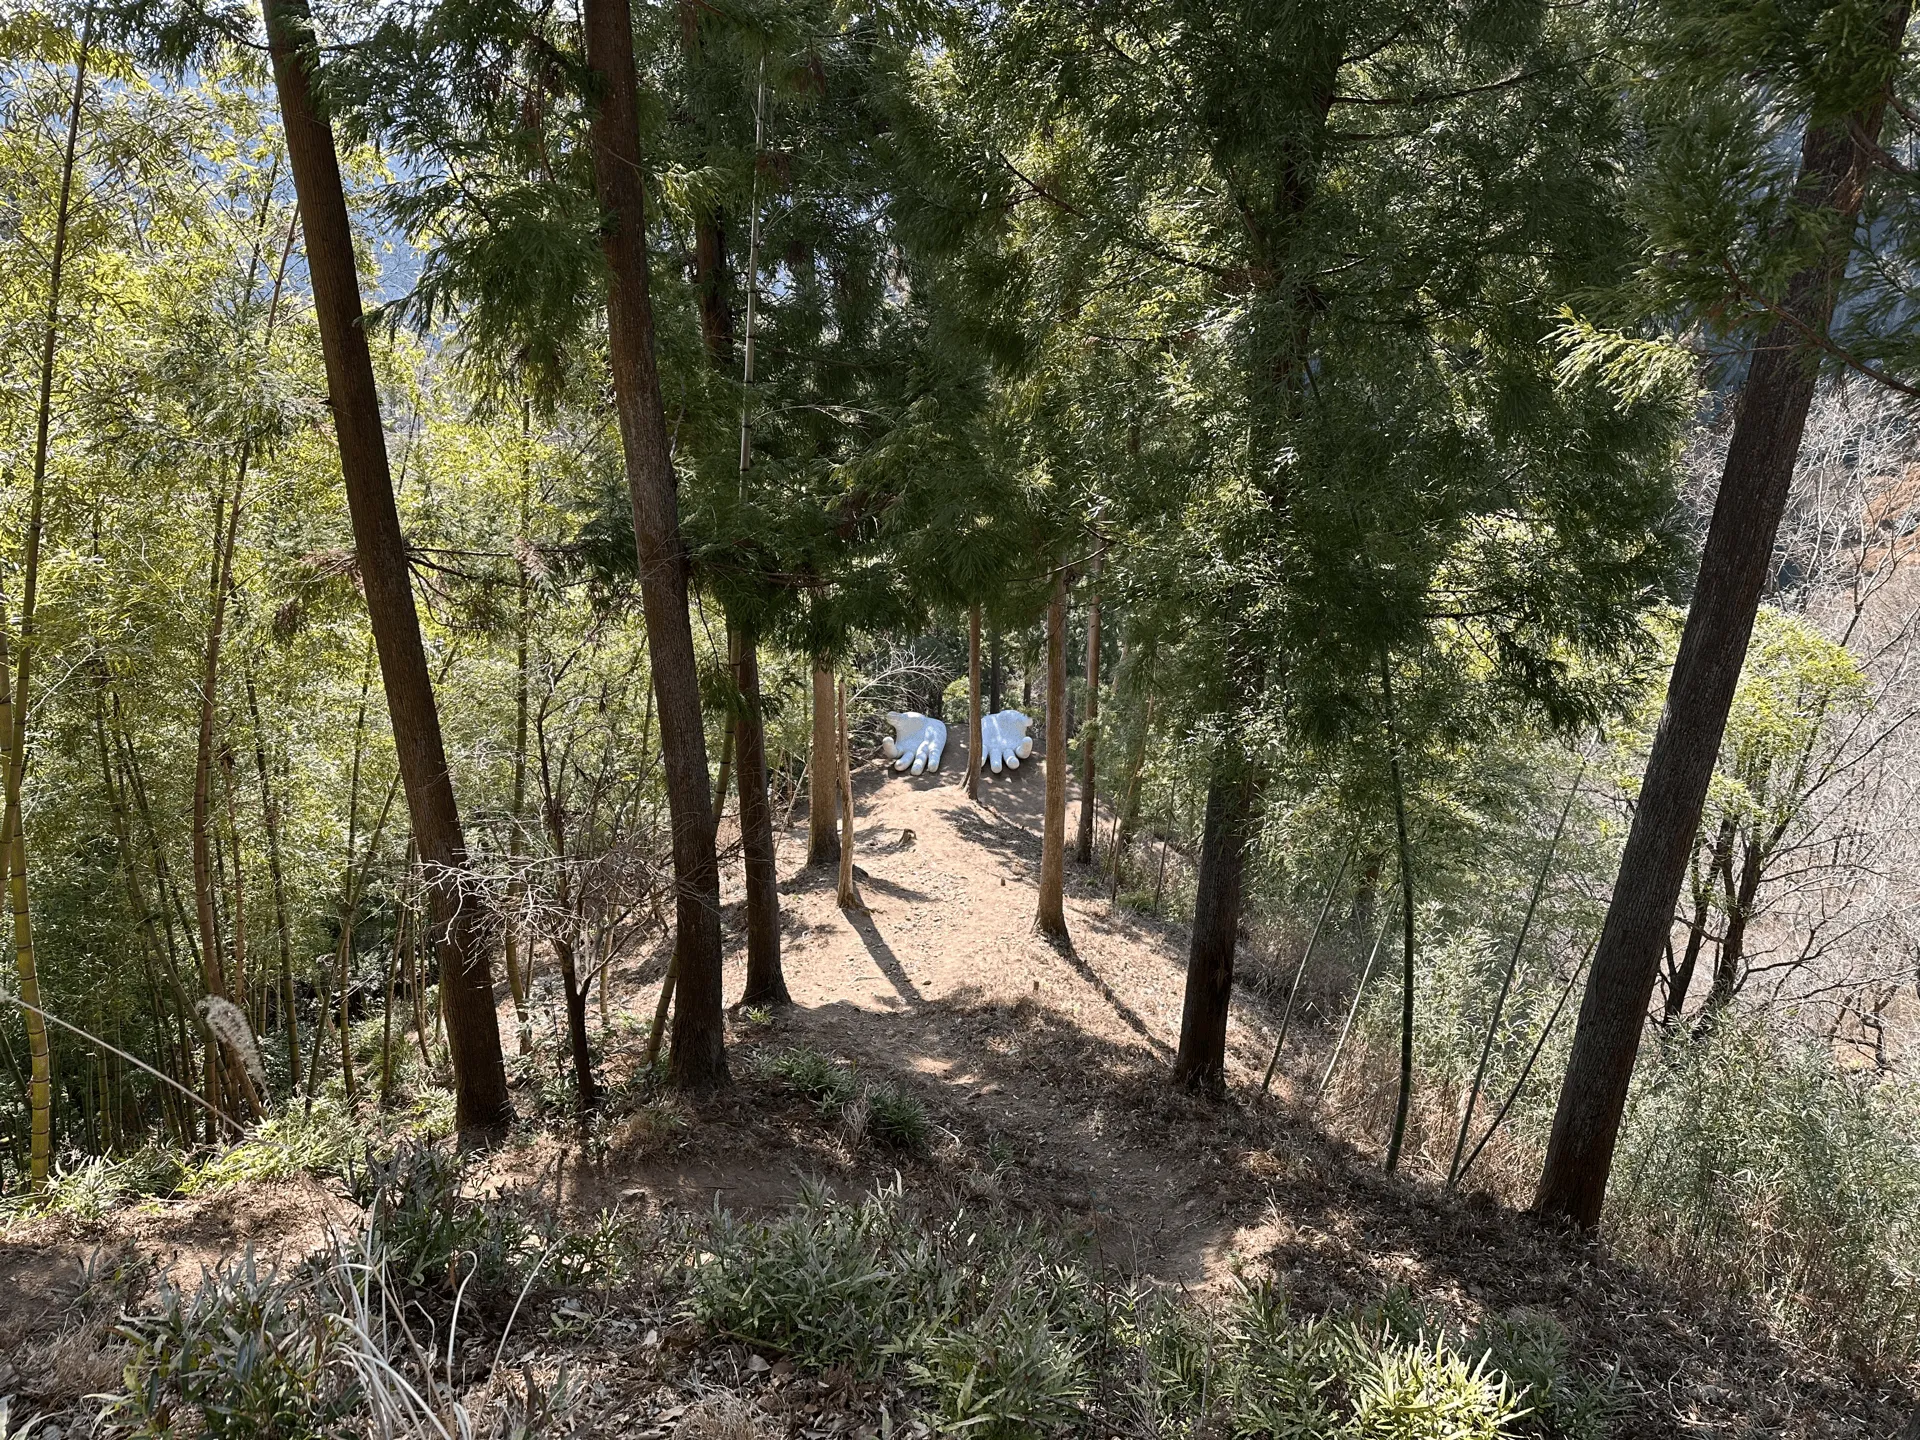
You’re now quite close to the Nenogogen shrine. I had to keep my eyes peeled for today’s main objective - the white hands sculpture. As I was scrolling through YAMAP in preparation for this hike, I was trying to figure out where exactly these hands were. I noticed some people either skipped it or missed it entirely, which is understandable because it’s not really on the trail itself.
In the short stretch of trail right before the temple, you’ll come across some benches and a small hut. If you take a right here, you will reach the hands.
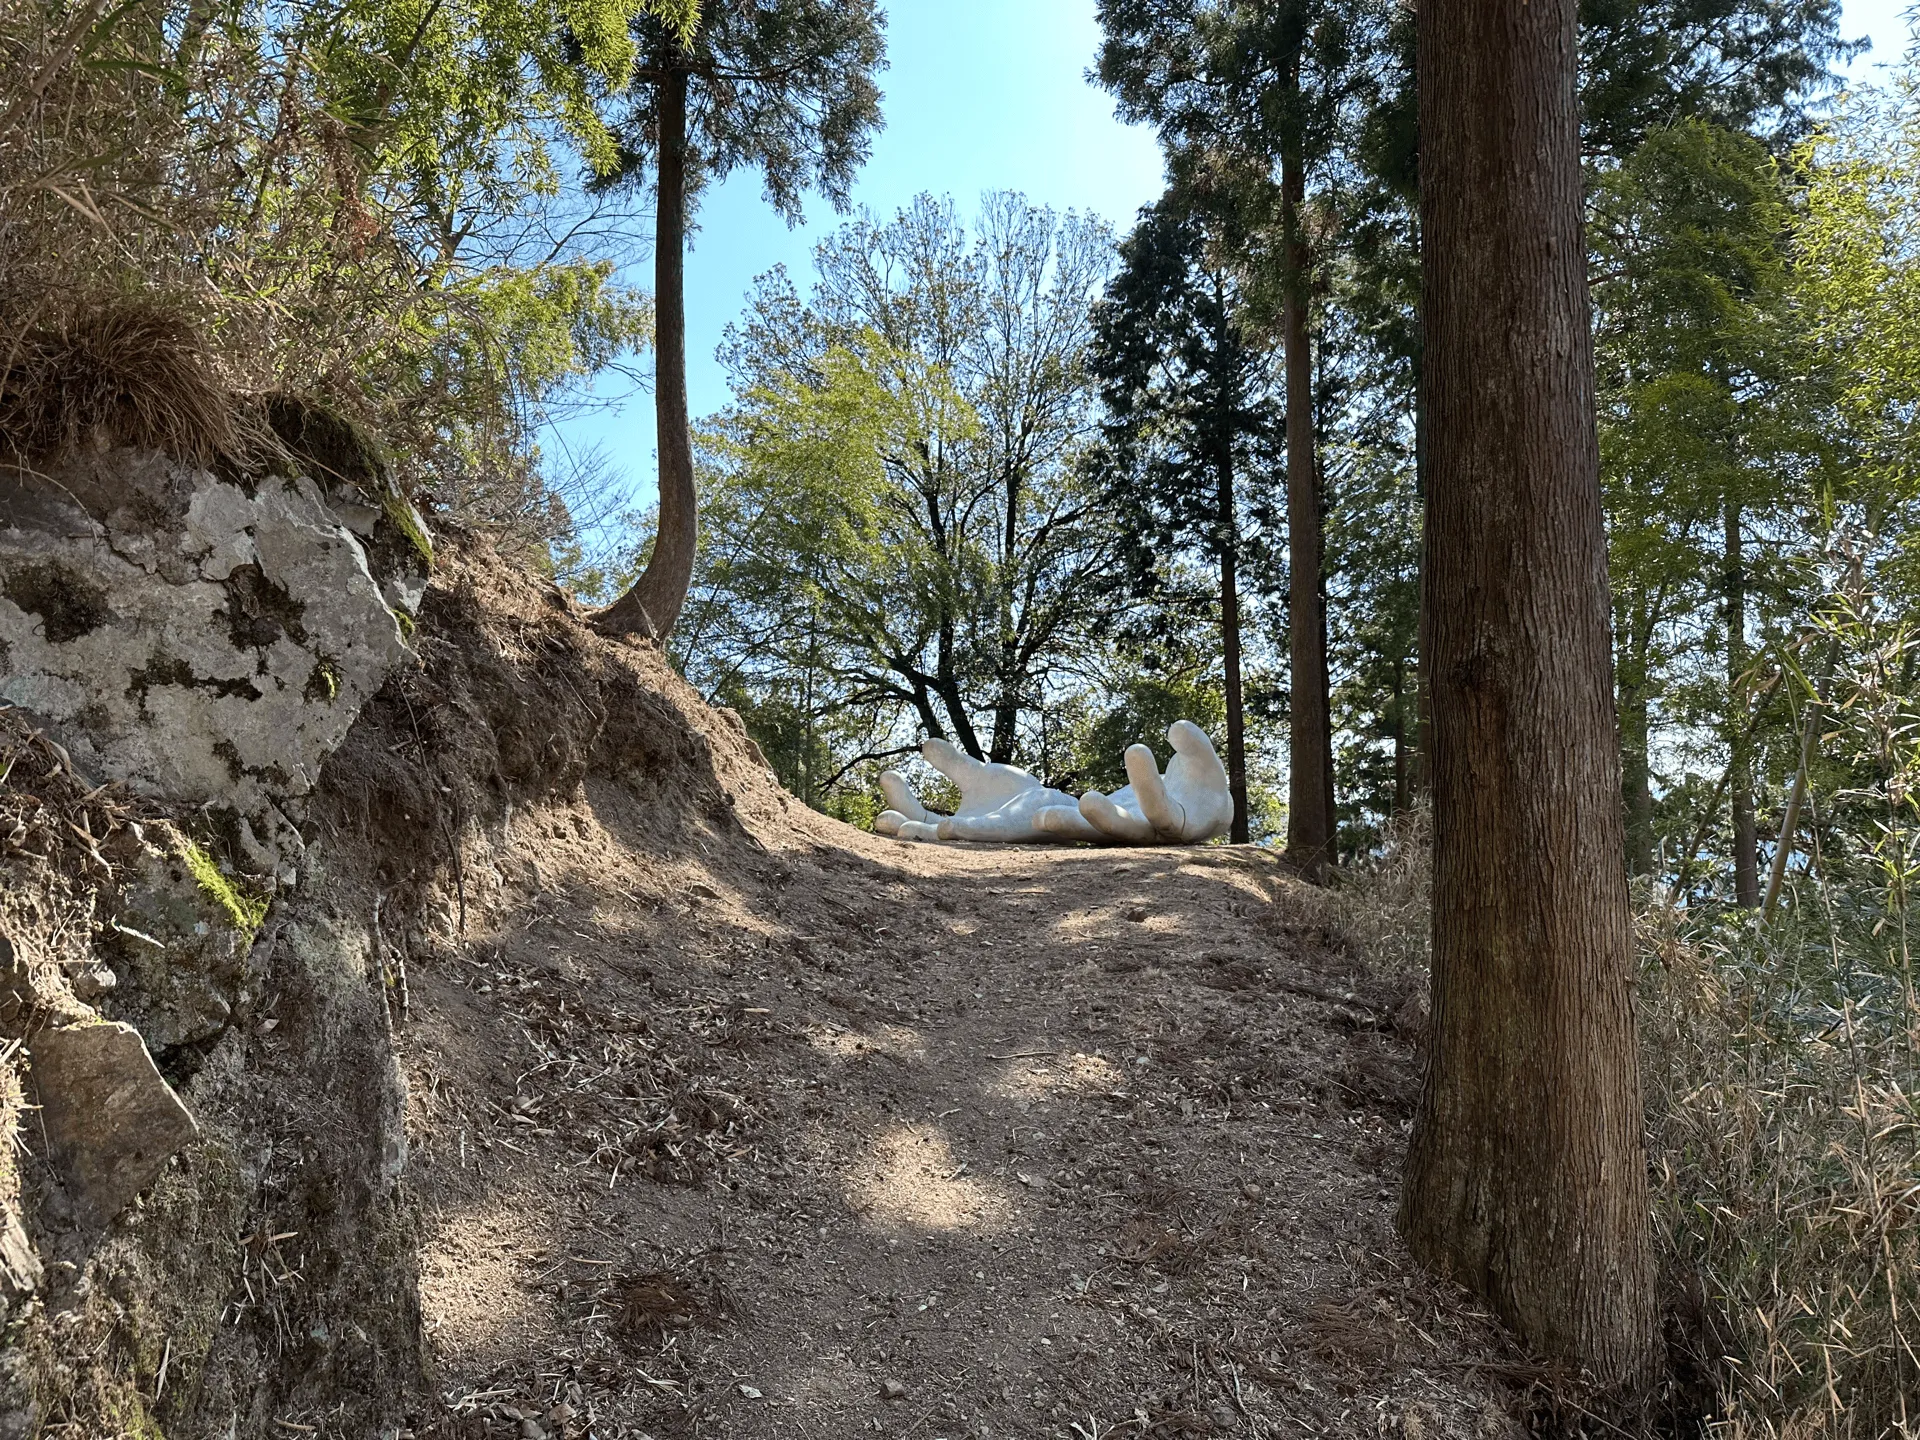

The hands were pretty cool, although I’m not really sure why they are there. Apparently the temple is for the god of feet, so it doesn’t quite make sense. Although I guess outstretched hands are a little less creepy than having a pair of white disembodied feet.
From the hands, you wont have to retrace your steps, as there is a shortcut up a hill towards the shrine.
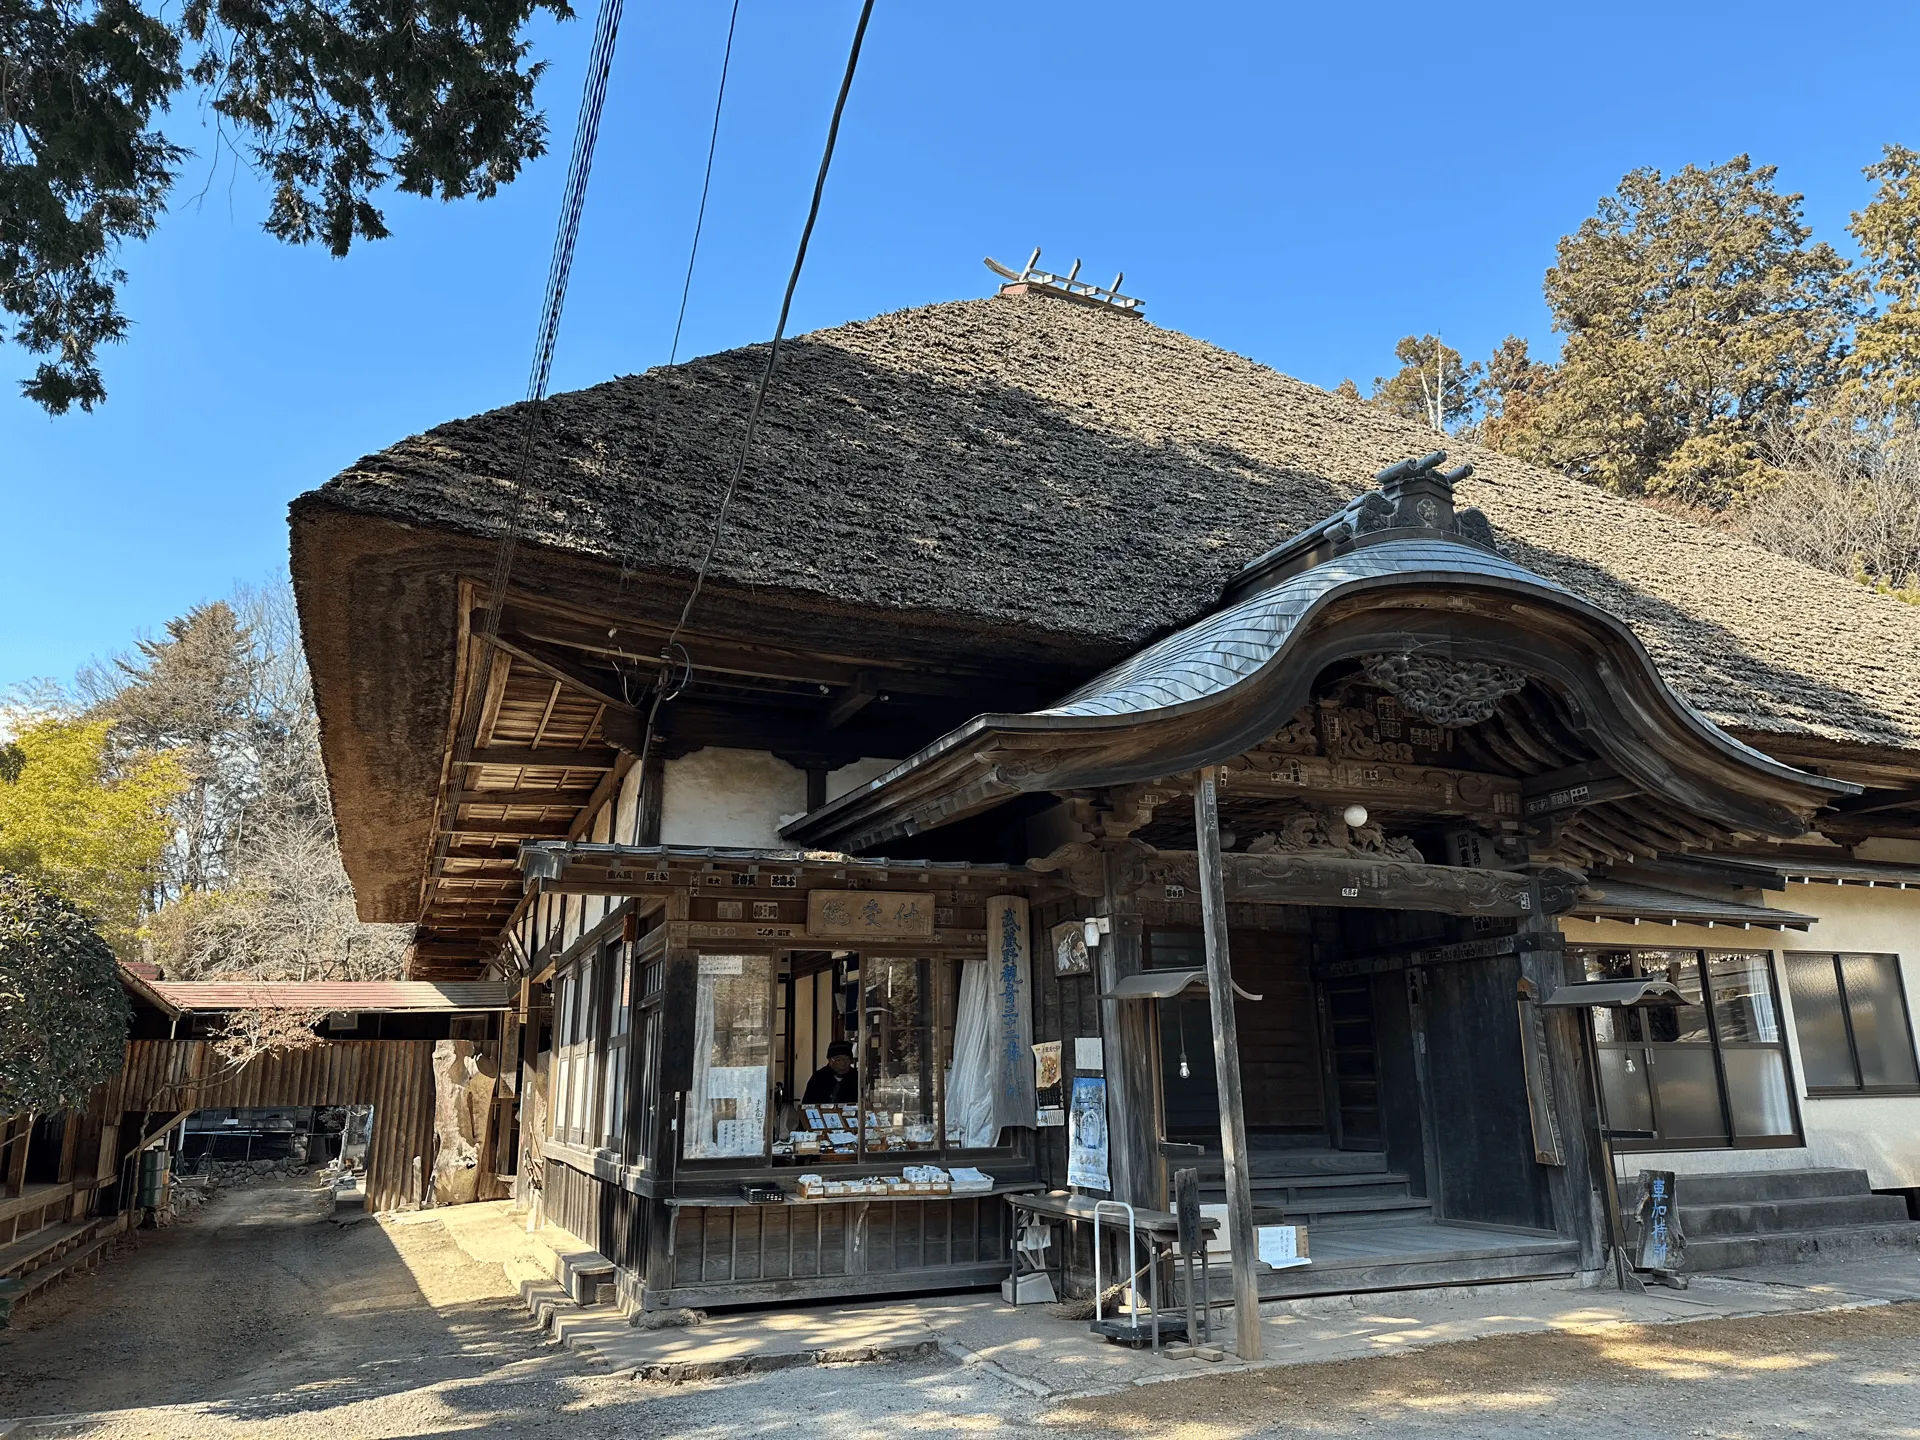
A short distance from the hands is the Nenogongen Temple. Its most famous feature are its huge waraji sandals.
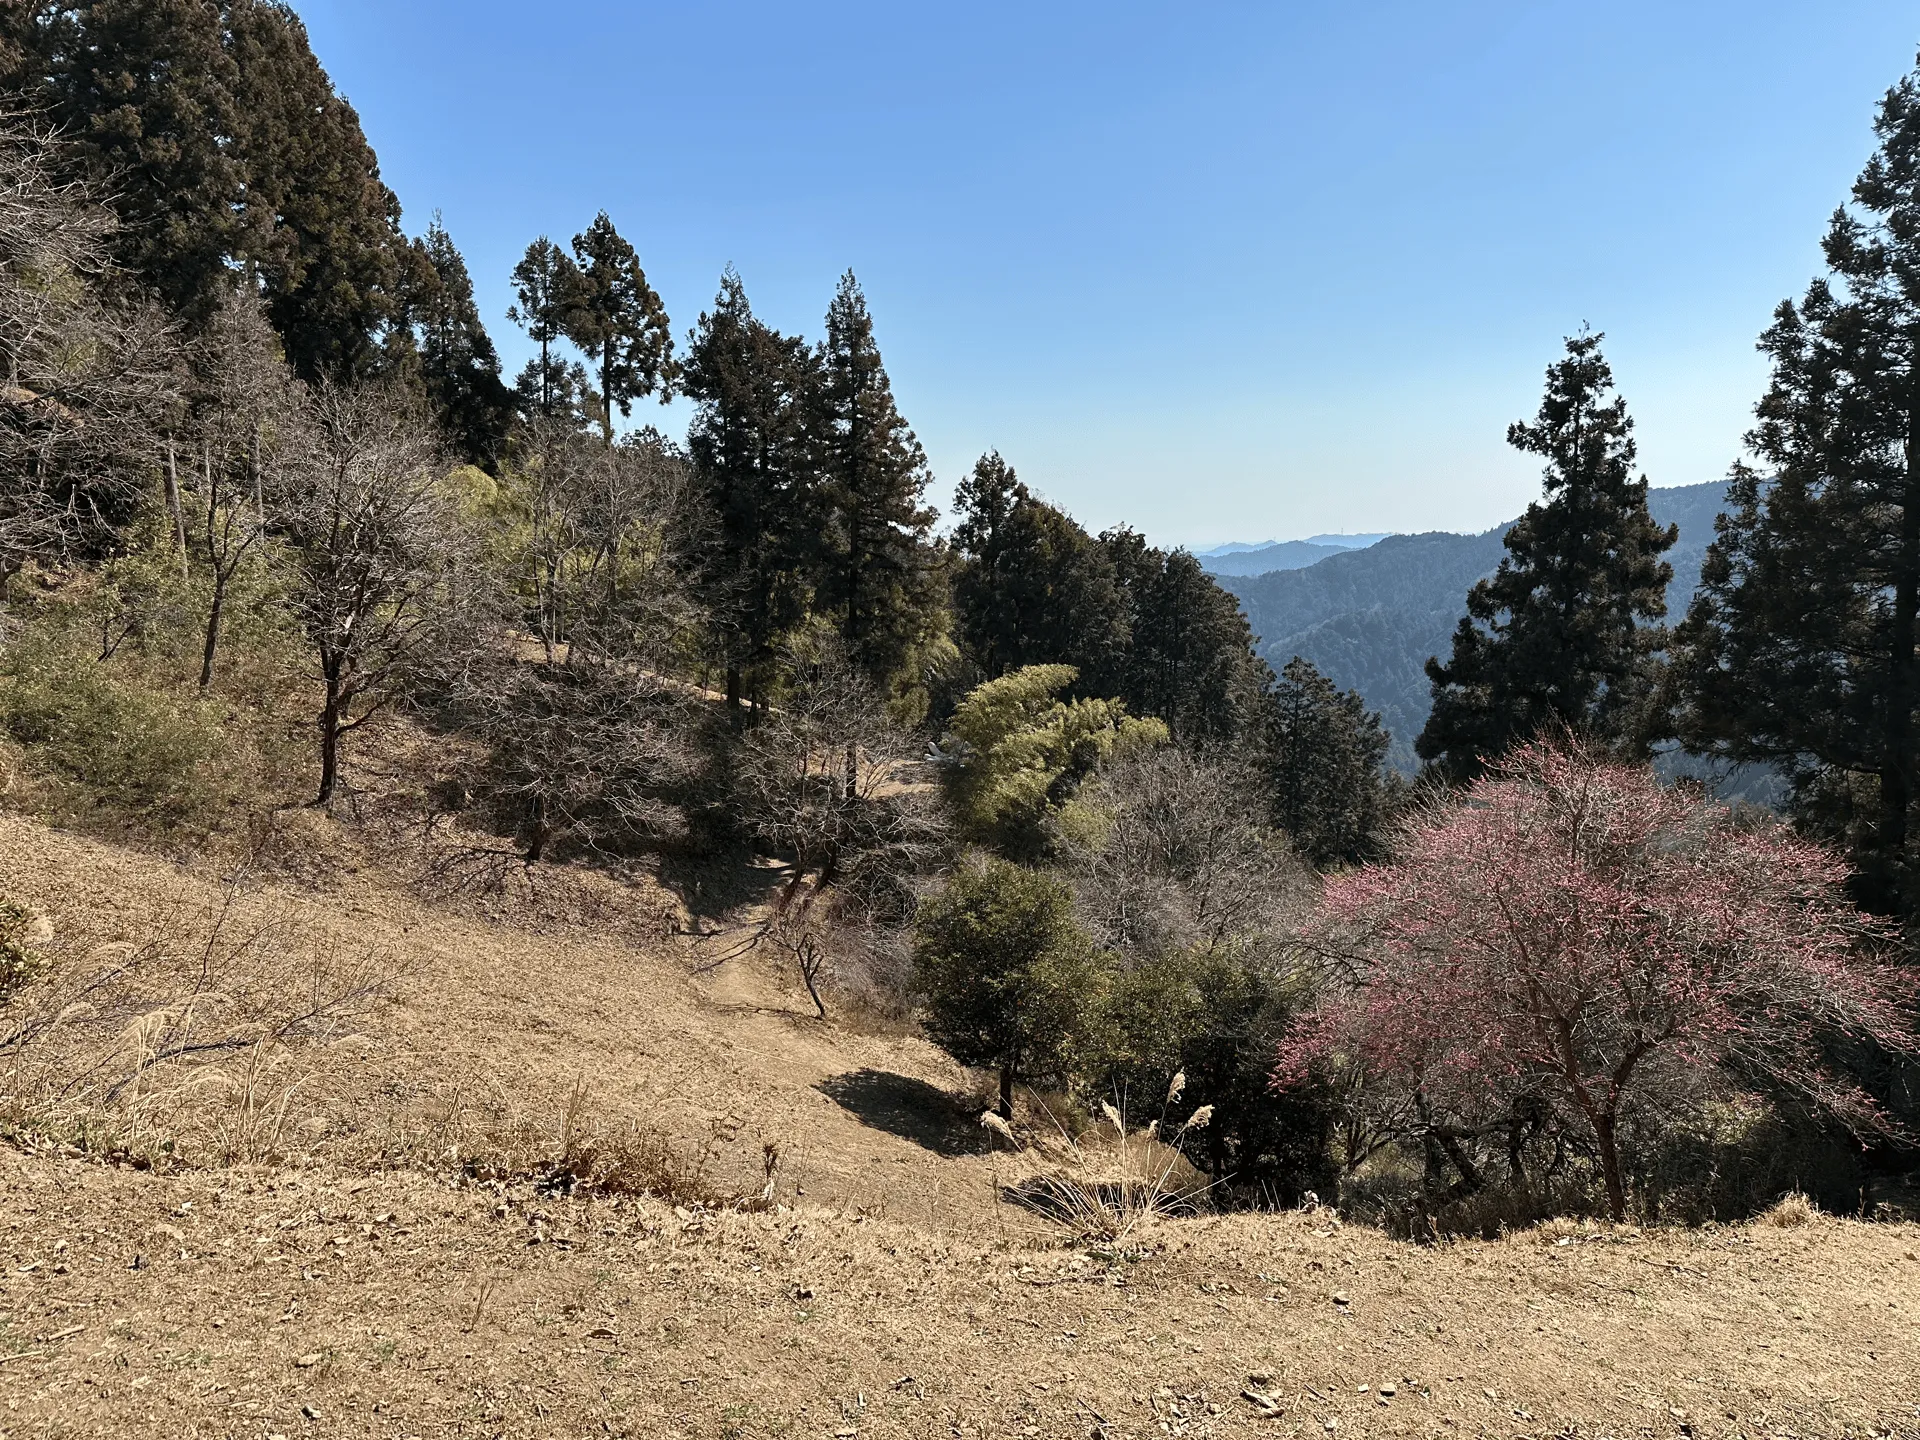
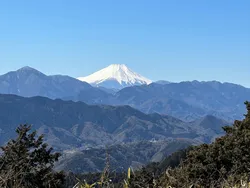
From here I was about to continue my descent, but then I noticed a map to a nearby “Tokyo Skytree viewpoint”.
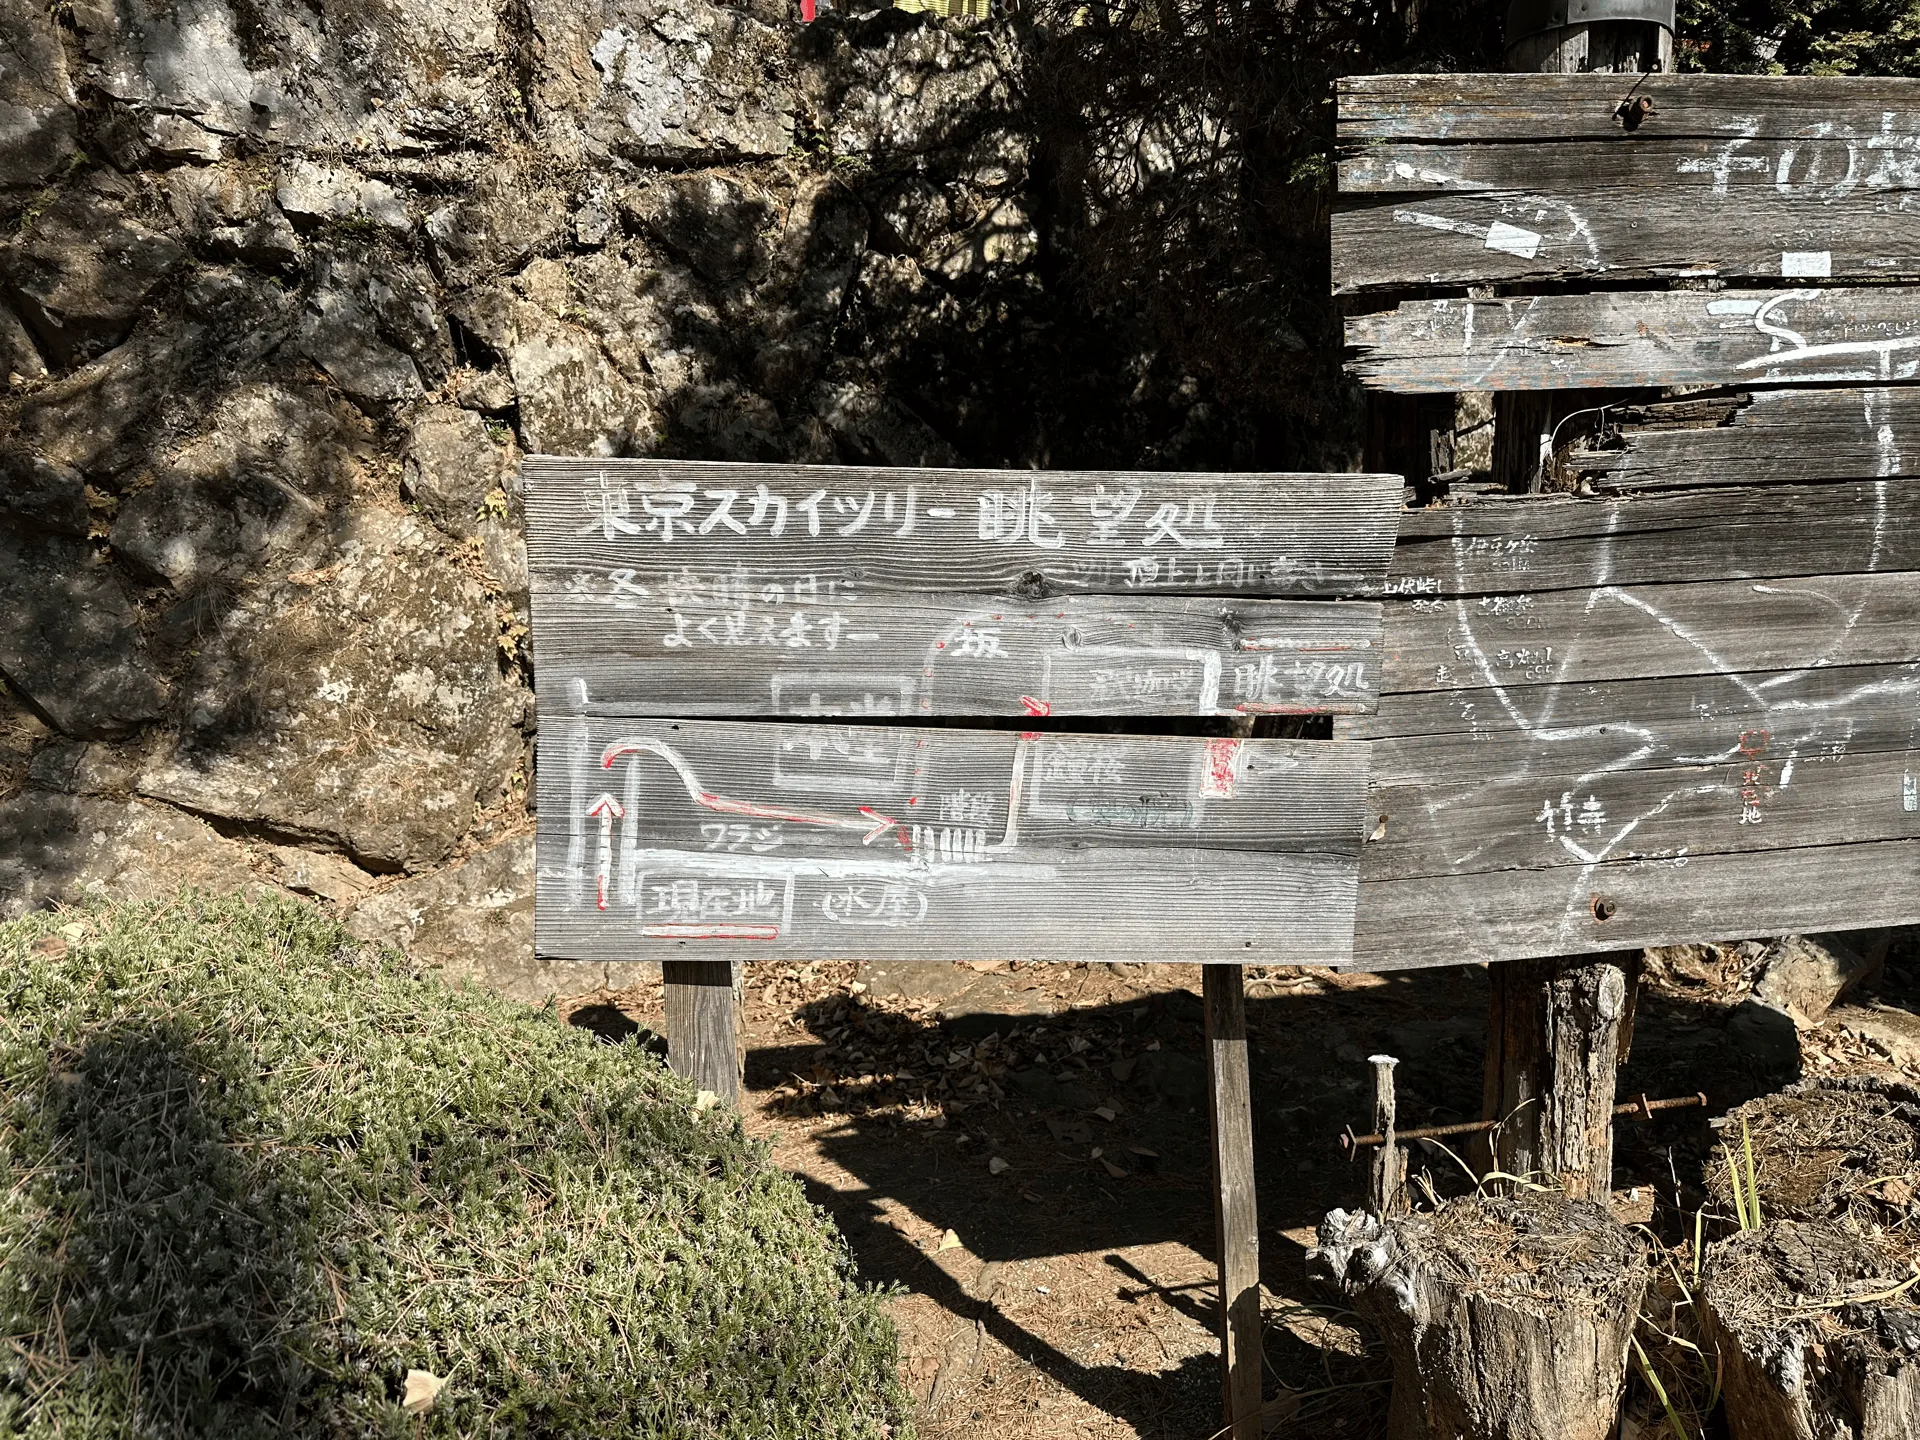
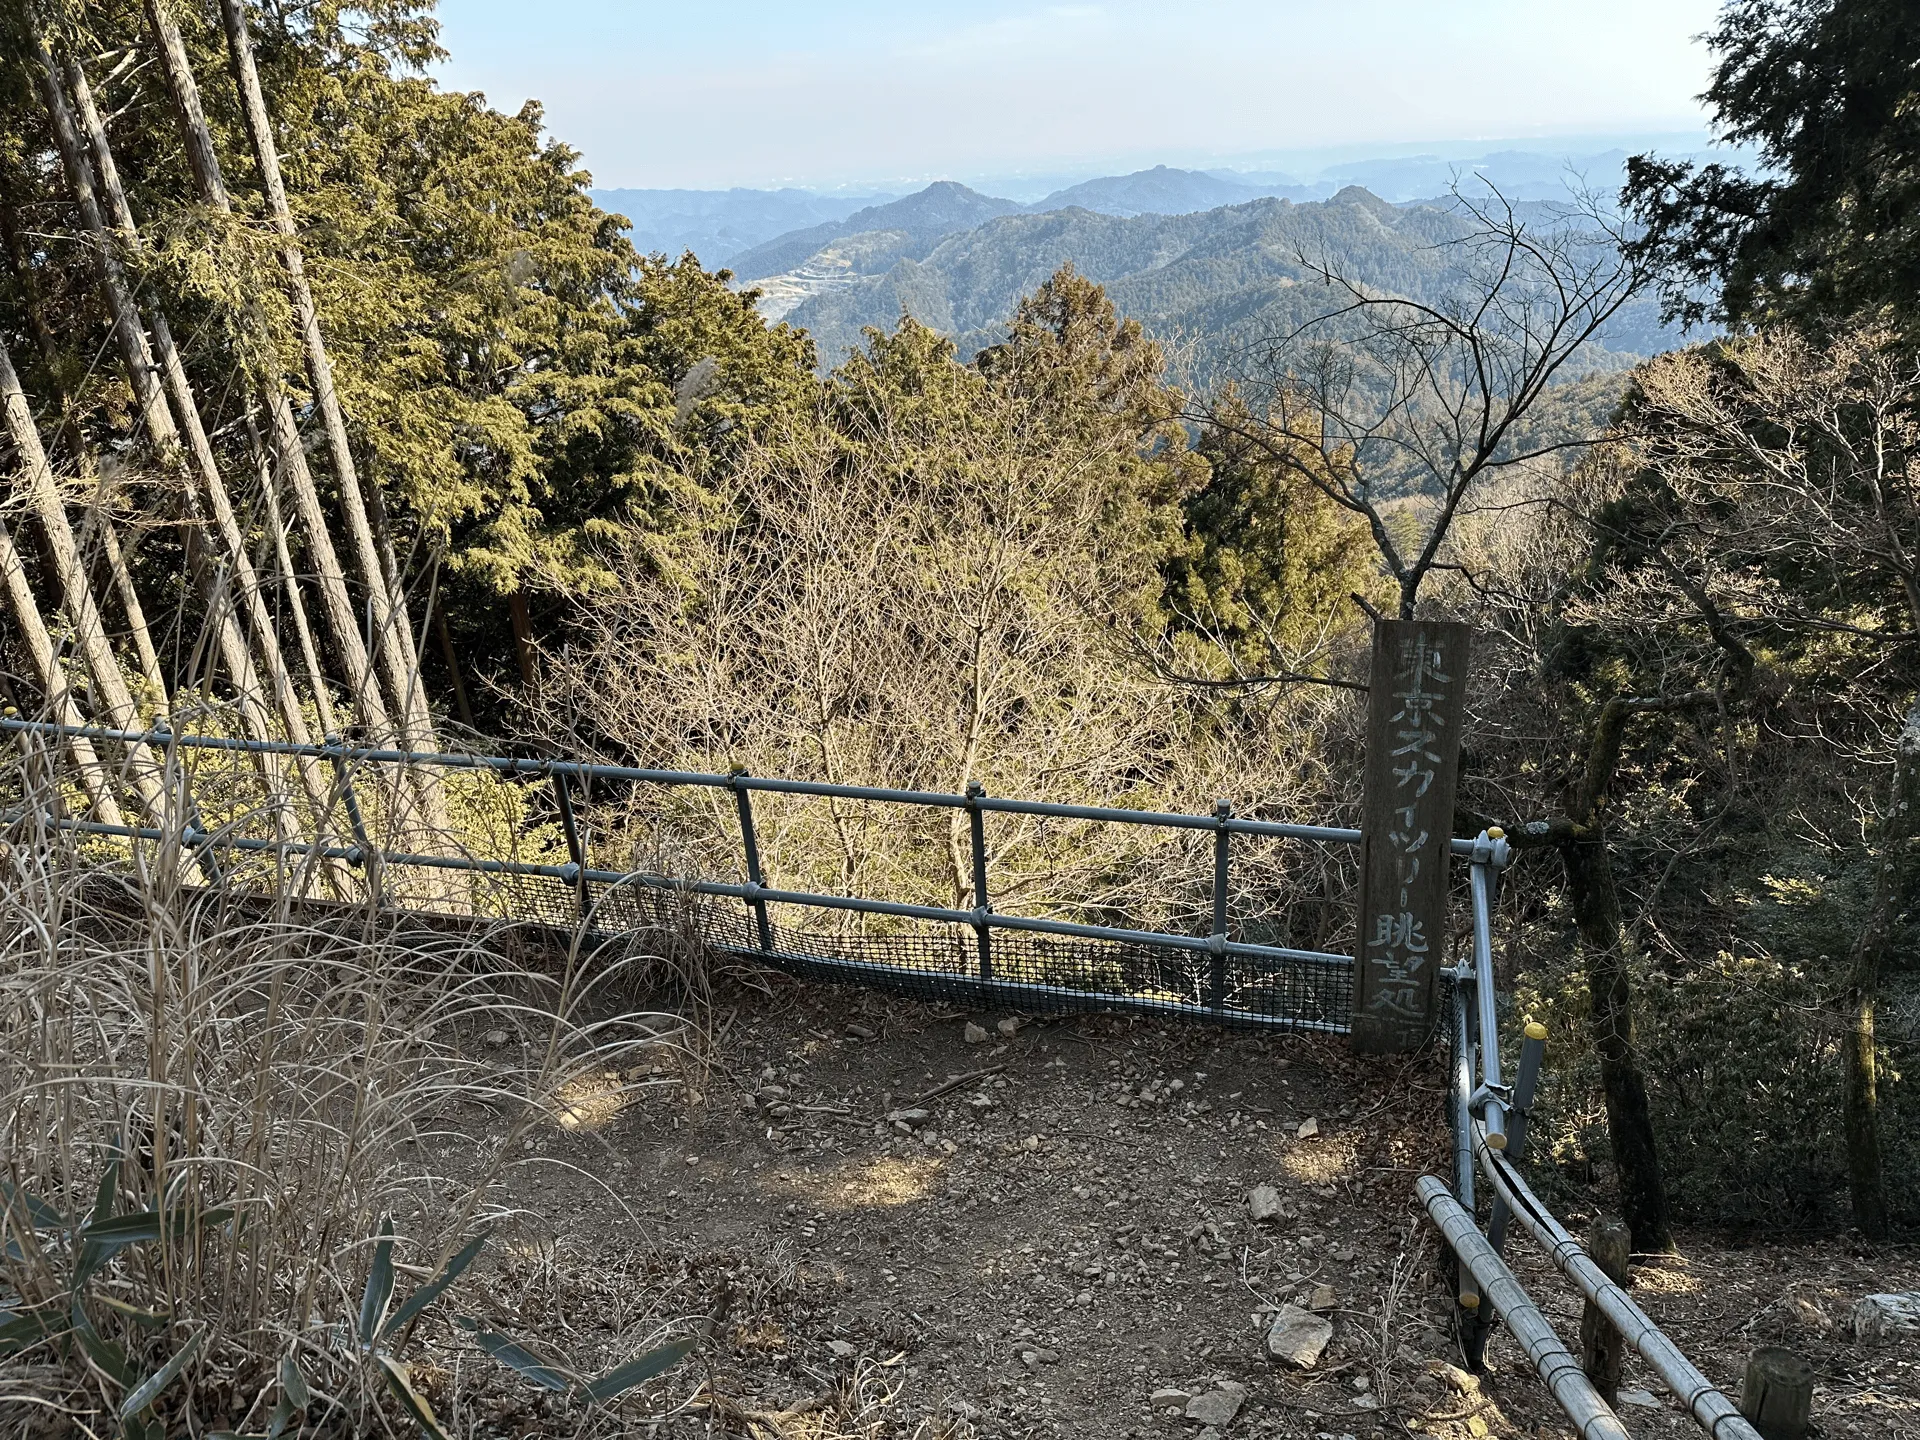
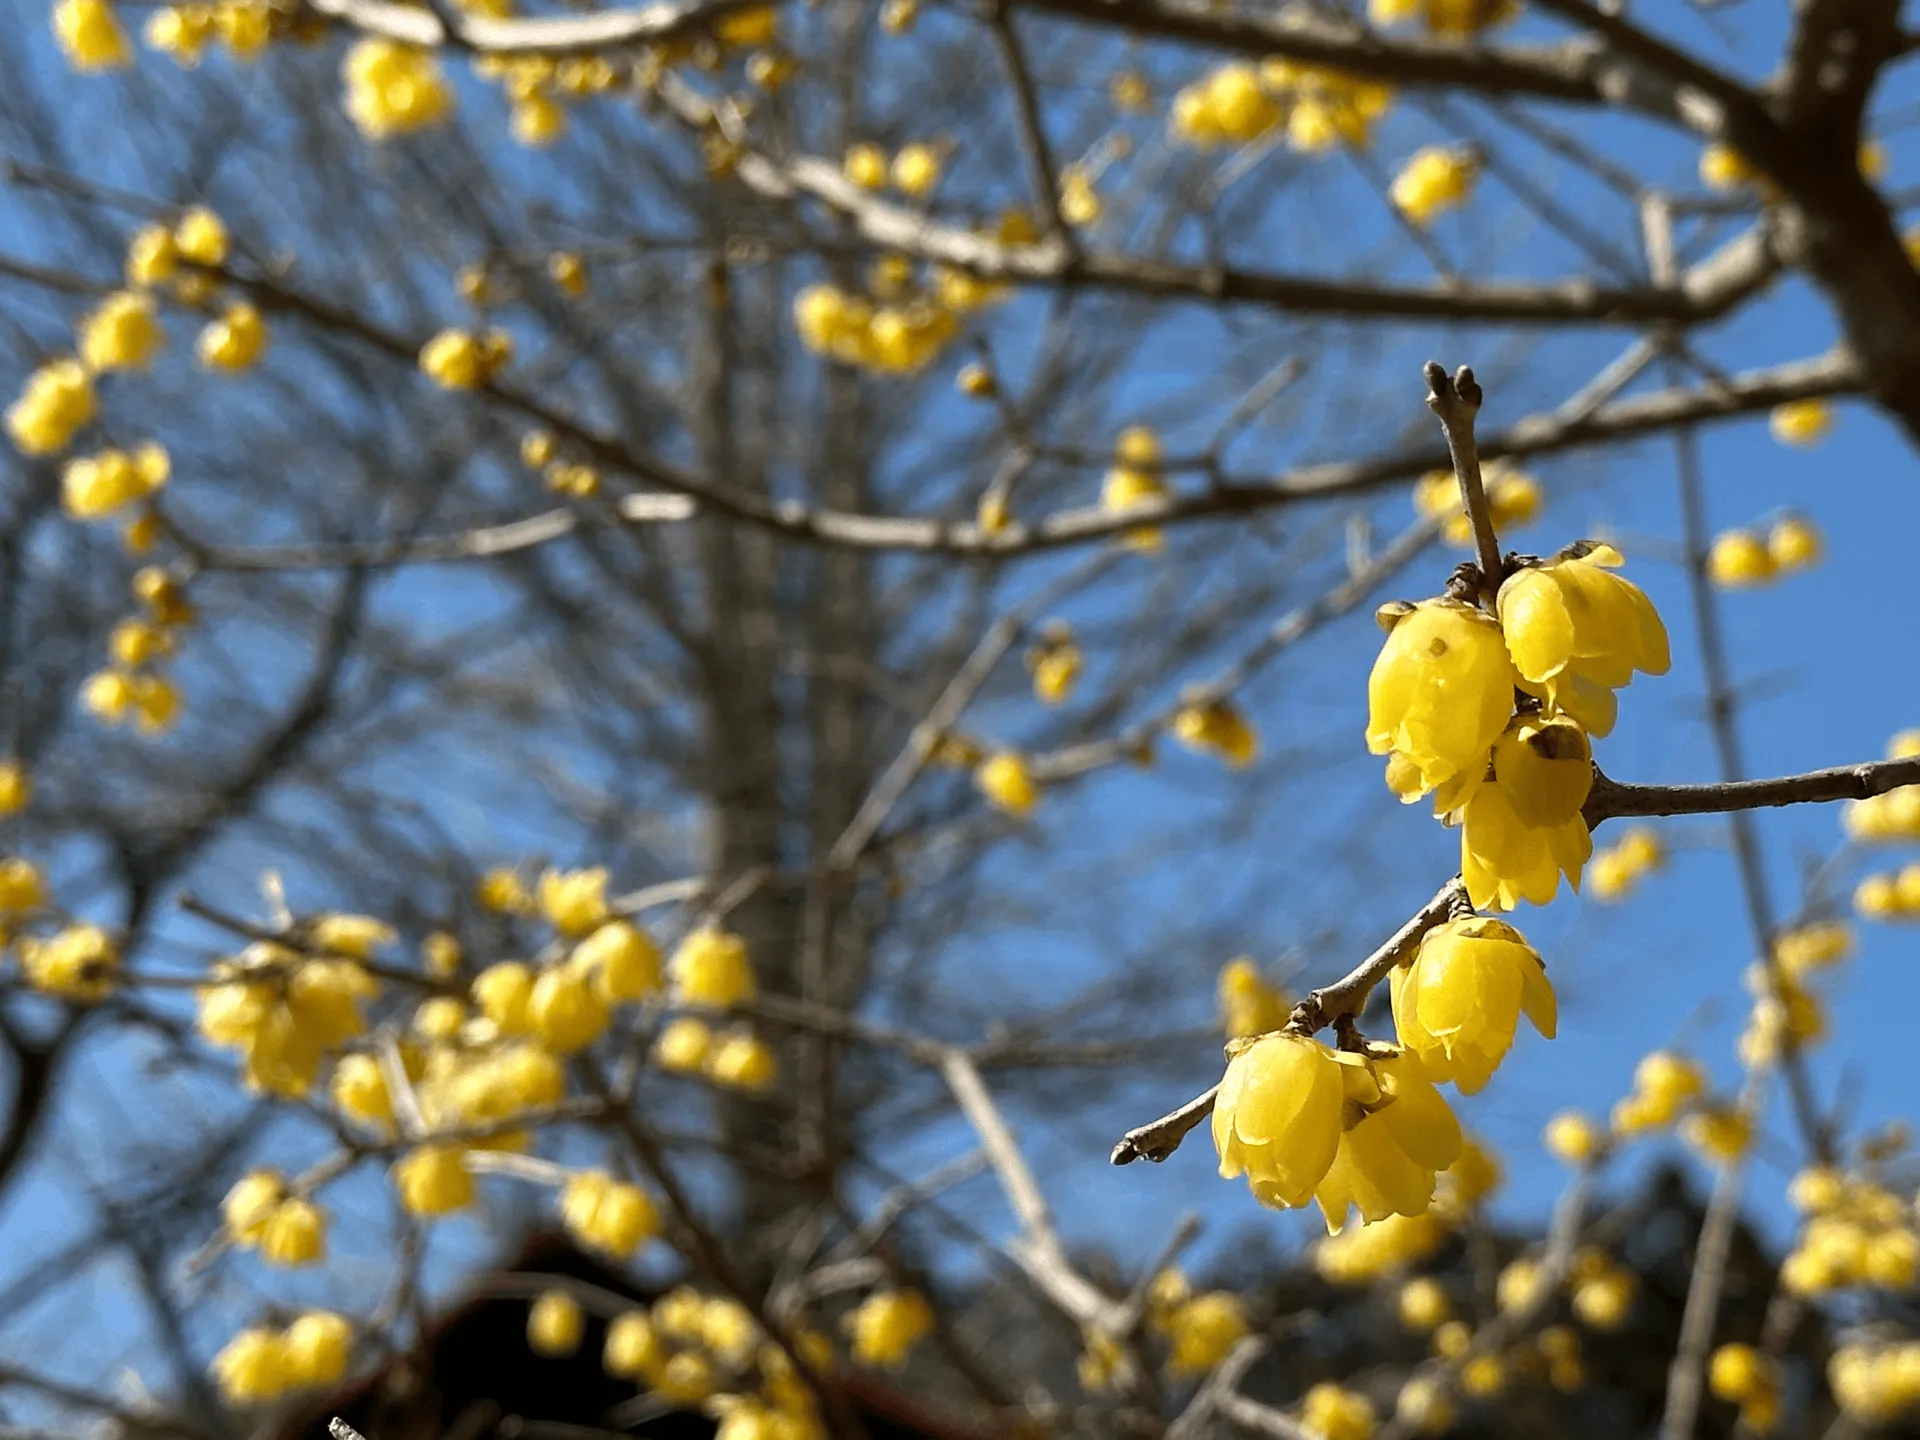
I guess the conditions were a bit too hazy, or I was looking in the wrong direction, because I couldn’t make out it out at all. There were some yellow wintersweet flowers blooming though which smelt very nice. Spring is finally here!
From here you’ll head towards the entrance of the temple. The temple itself does have car access via a road, so there were a couple of non-hikers about as well.

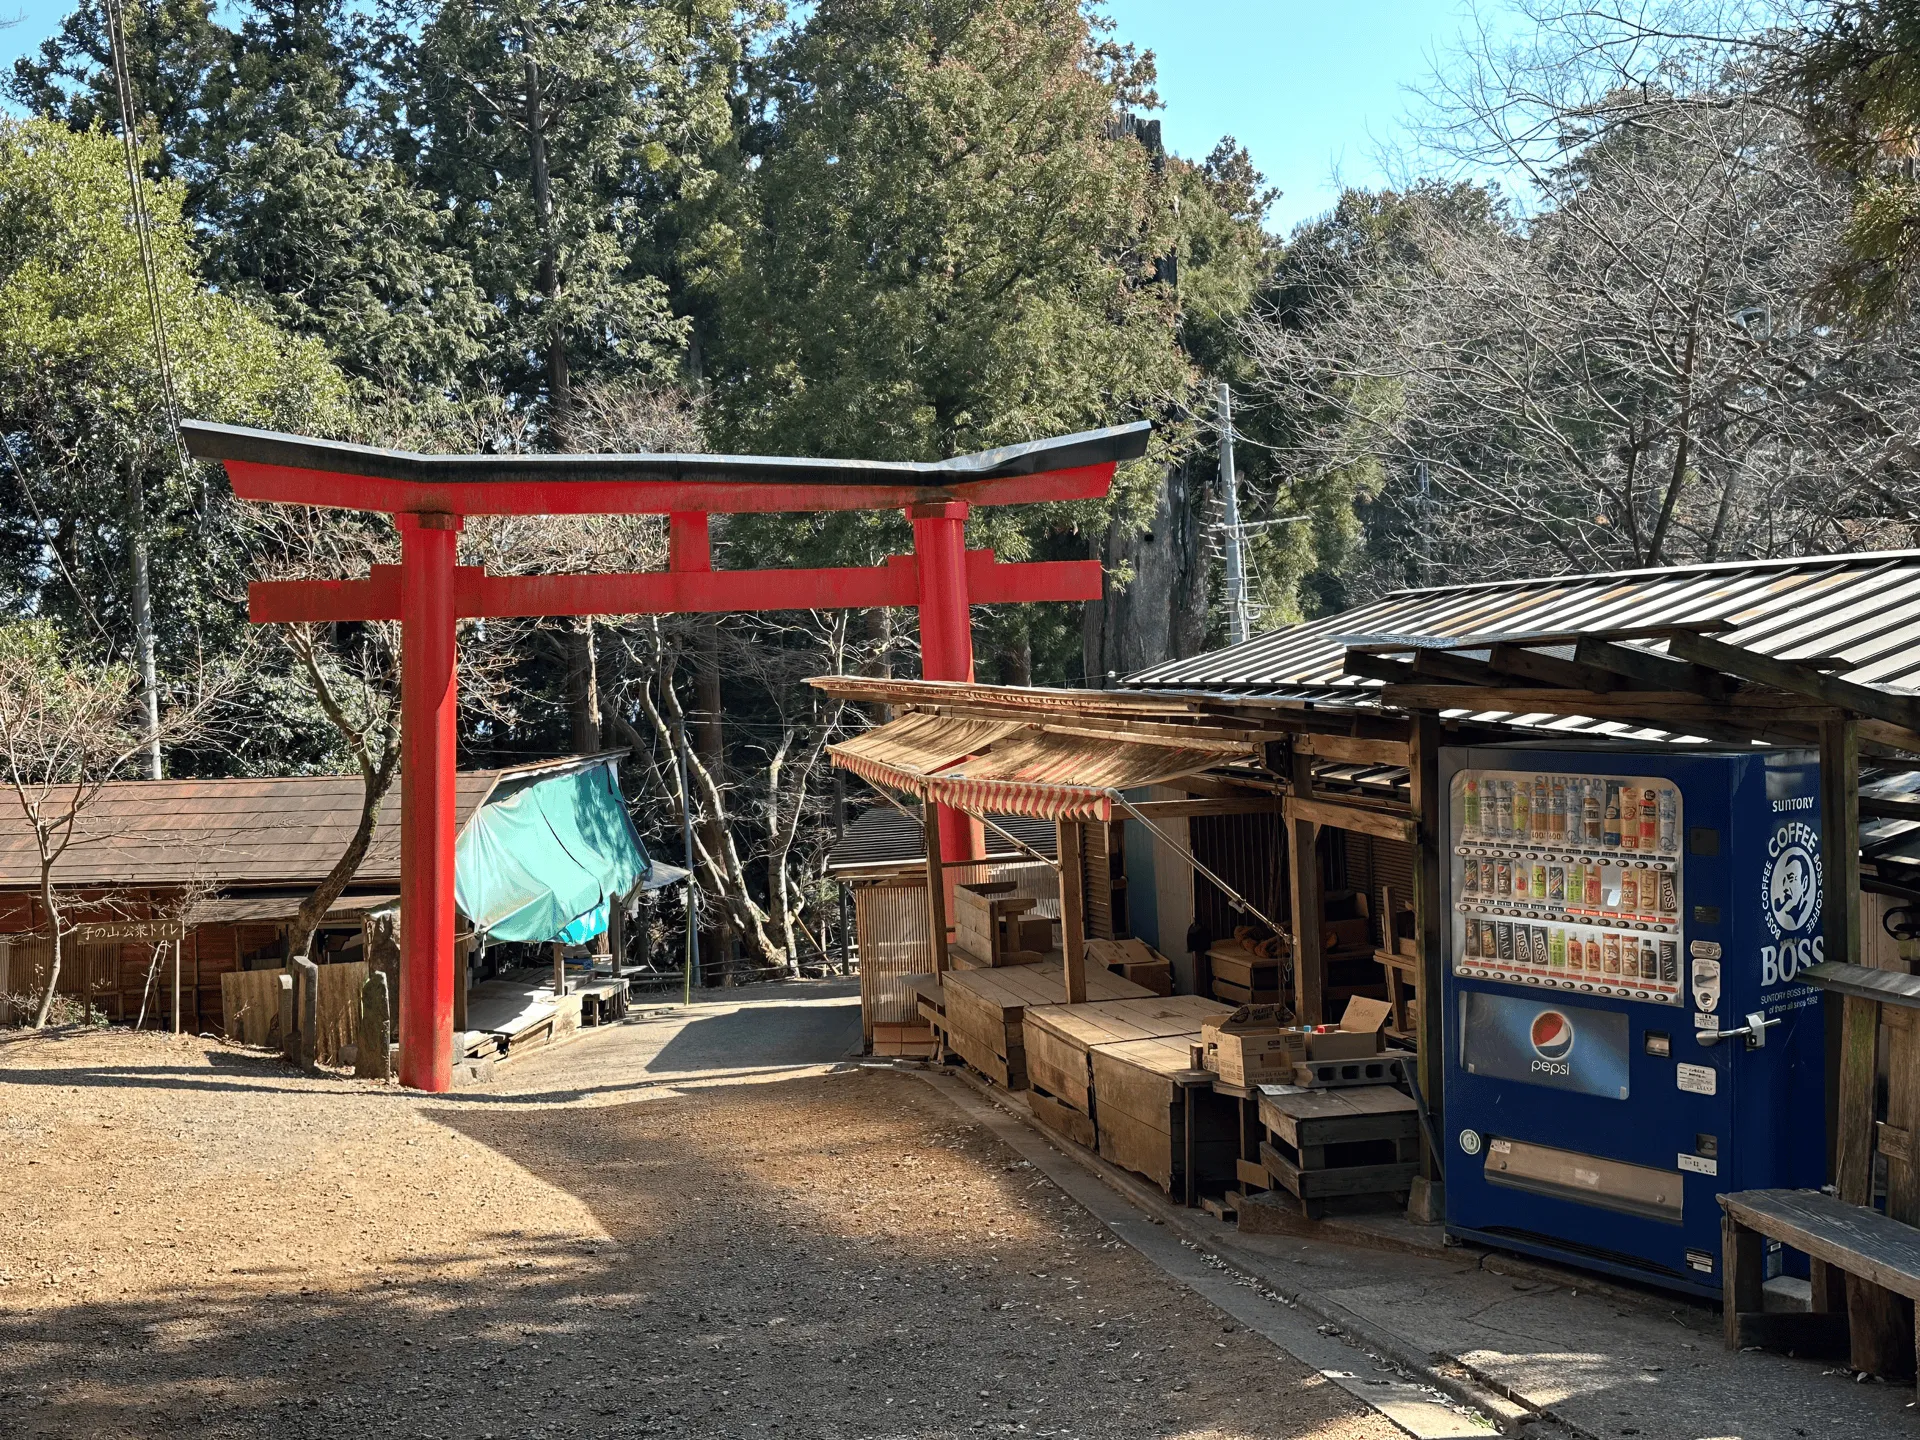
Just to the left of the torii gate is a toilet, which is only your toilet opportunity on this hike (other than at the start and end). There were small food stalls around here, which were all closed. I’m not sure if it was because it was a weekday, but the signs also seemed to advertise ice creams and beer, so maybe it’s more of a summer thing for them to be open.
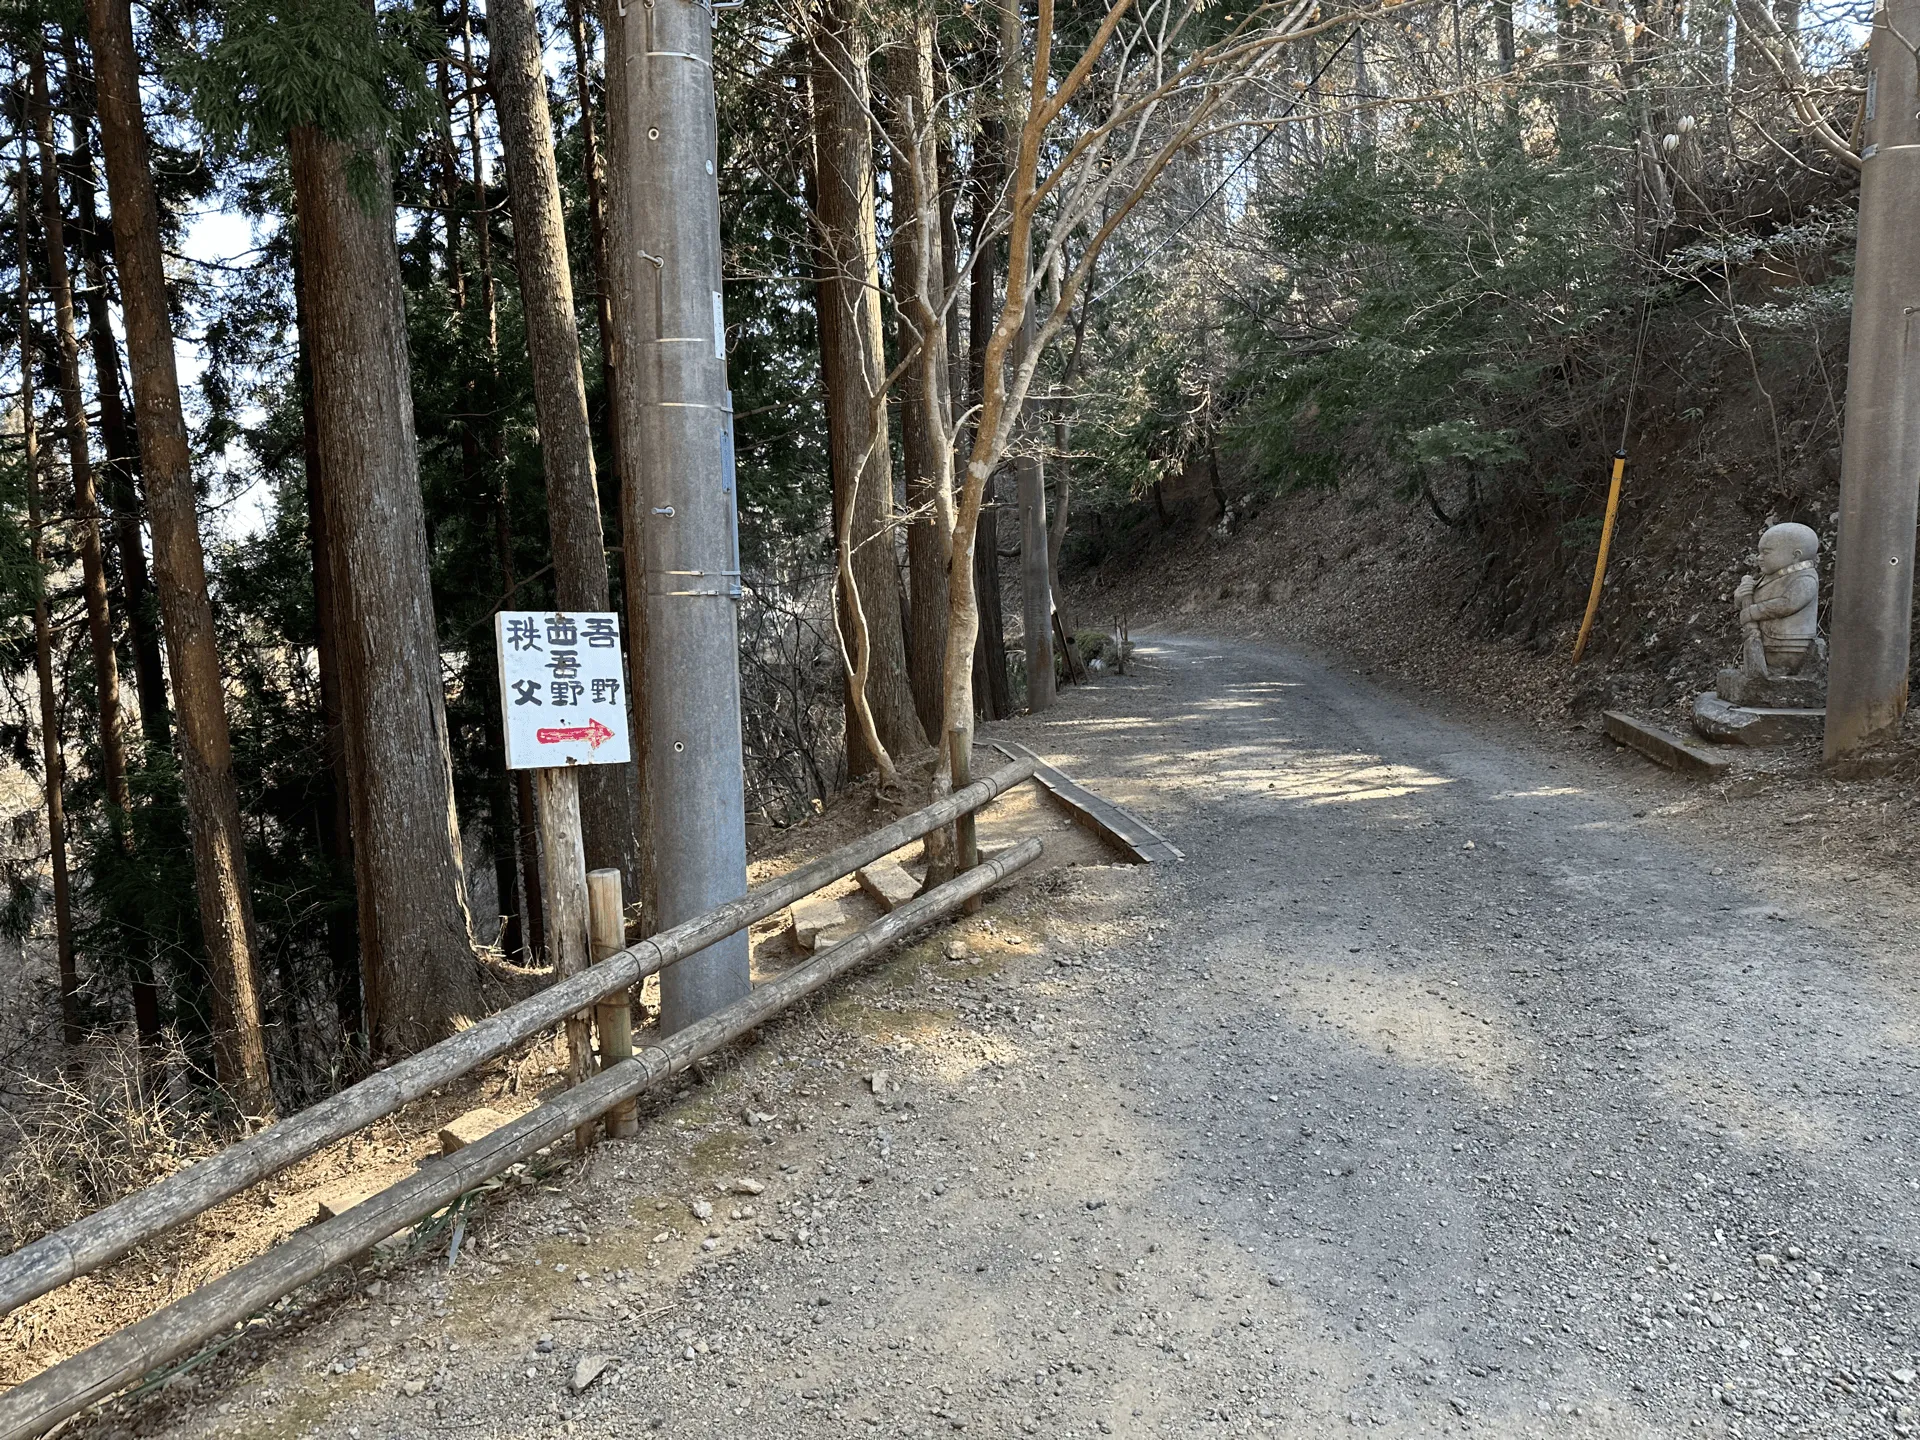
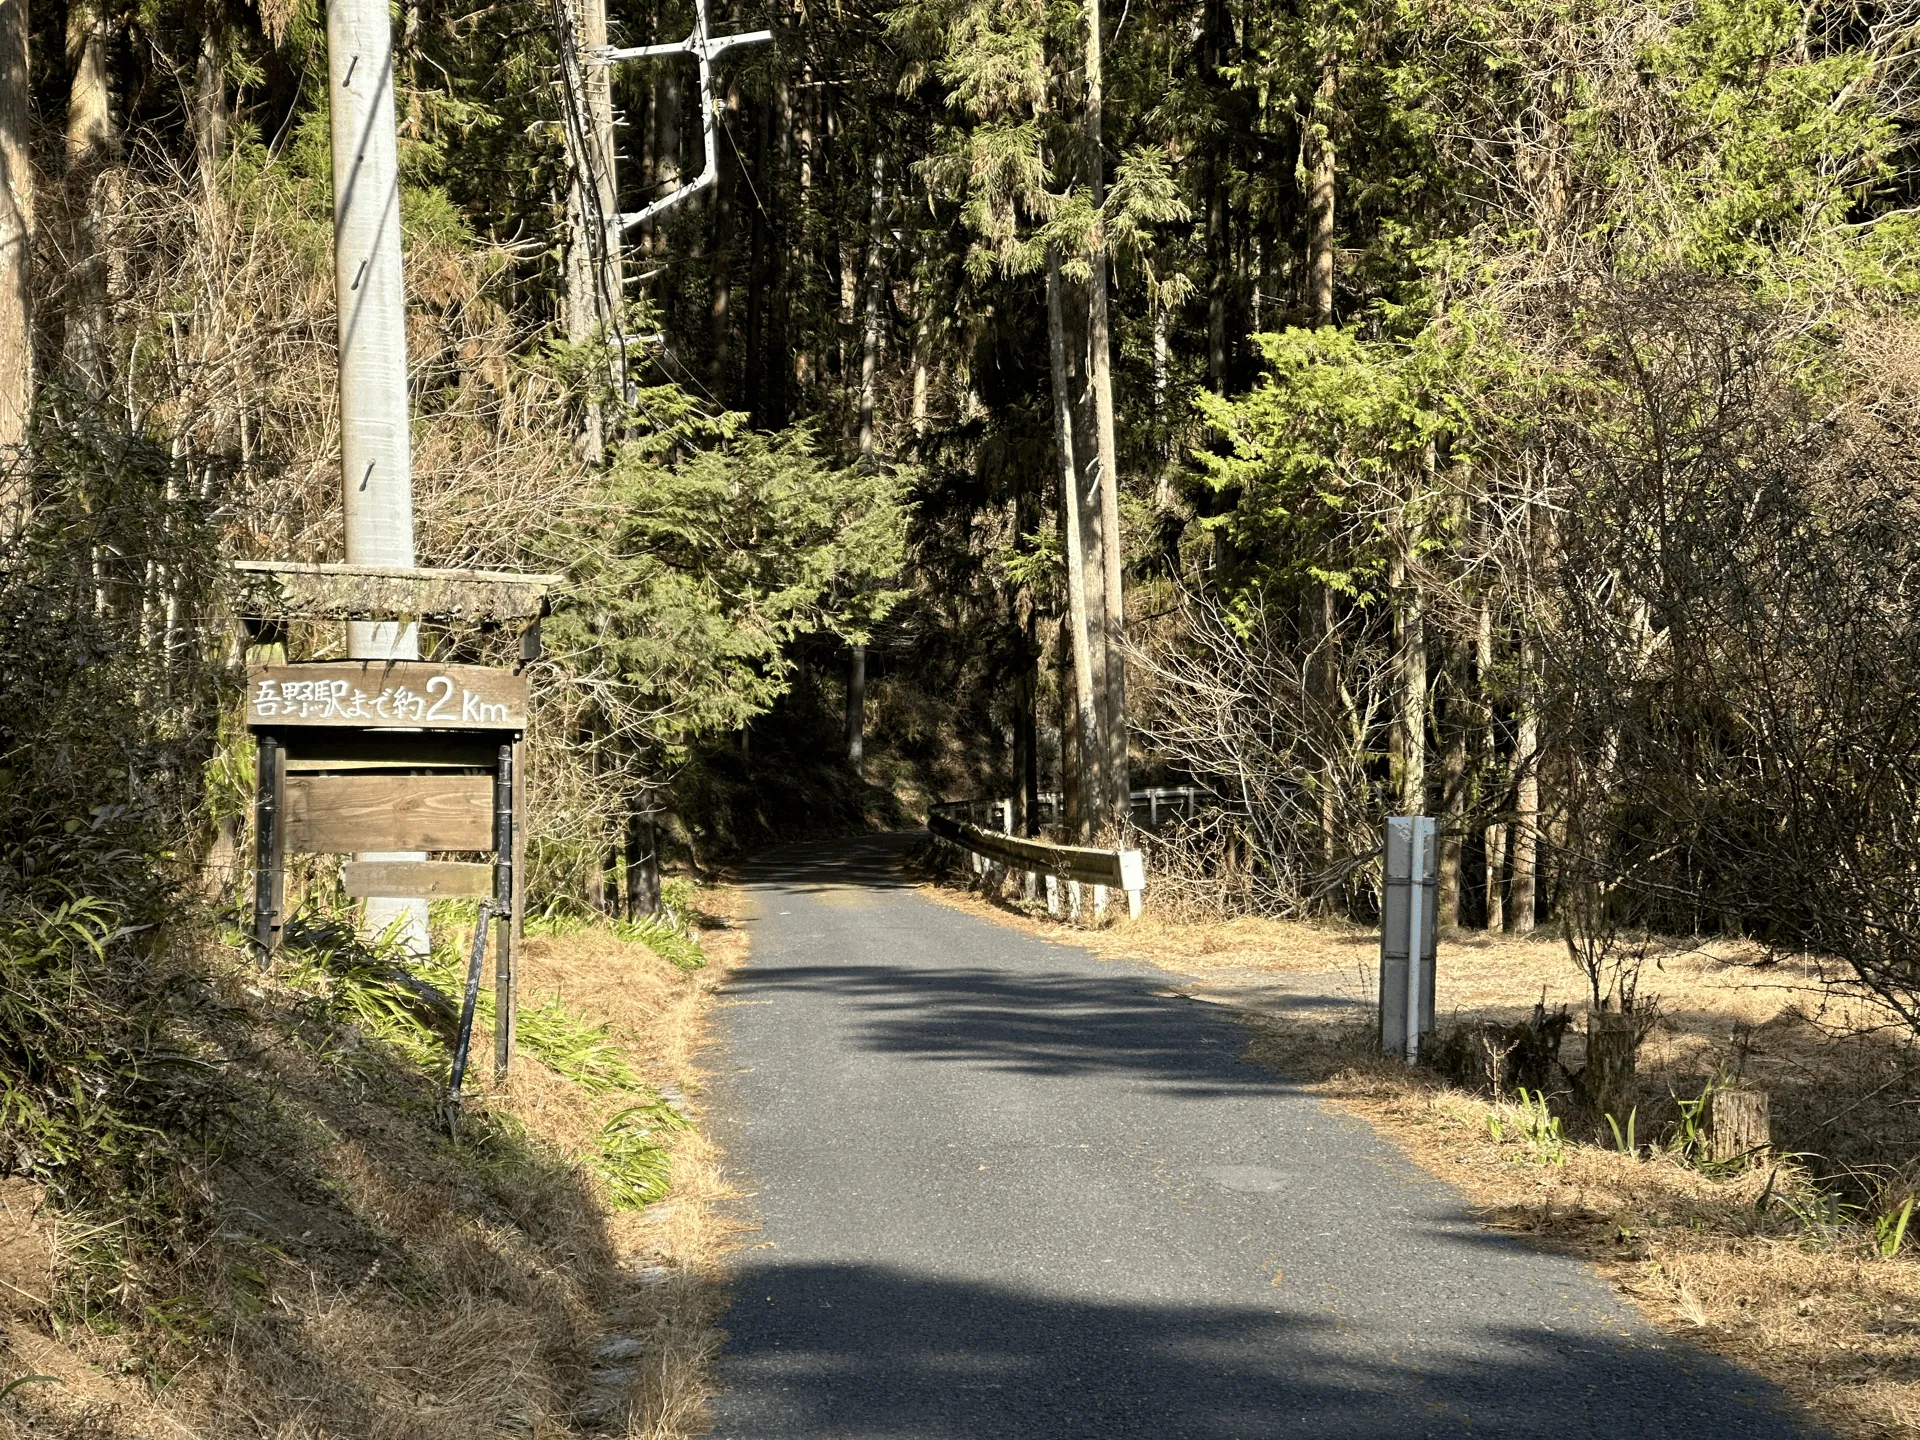
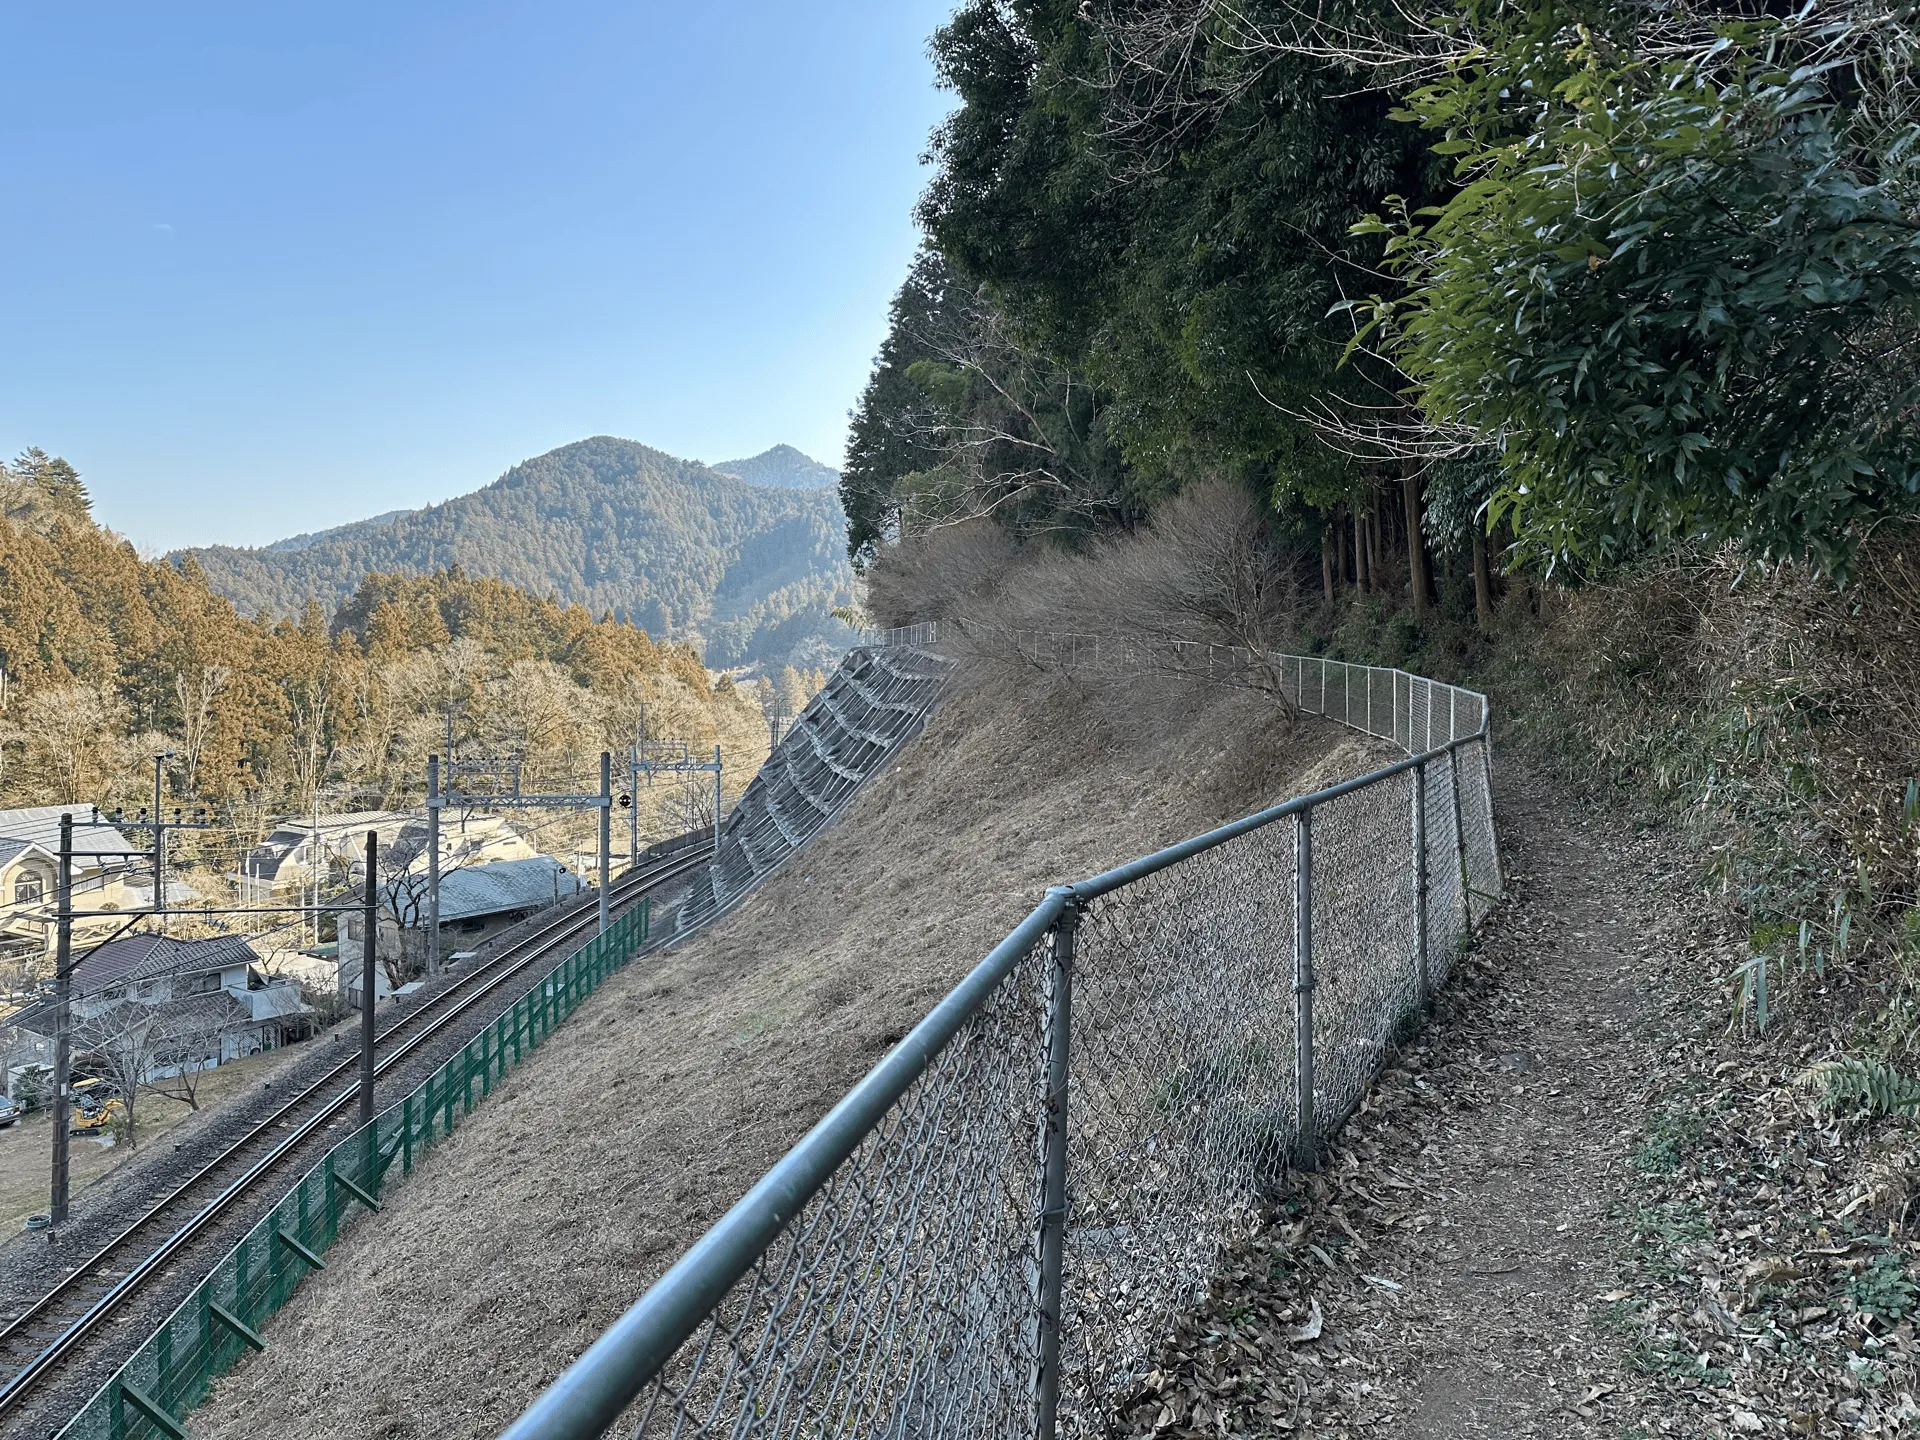
From here, you’ll want to follow the signage for Agano station (吾野駅). Note there is also signage for Nishi-Agano station (西吾野駅). So be sure not to misread these. You’ll head down a short dirt trail, then onto a road, and then onto another trail, so keep your eyes peeled. I zoned out a bit and almost started walking down the road towards Nishi-Agano.
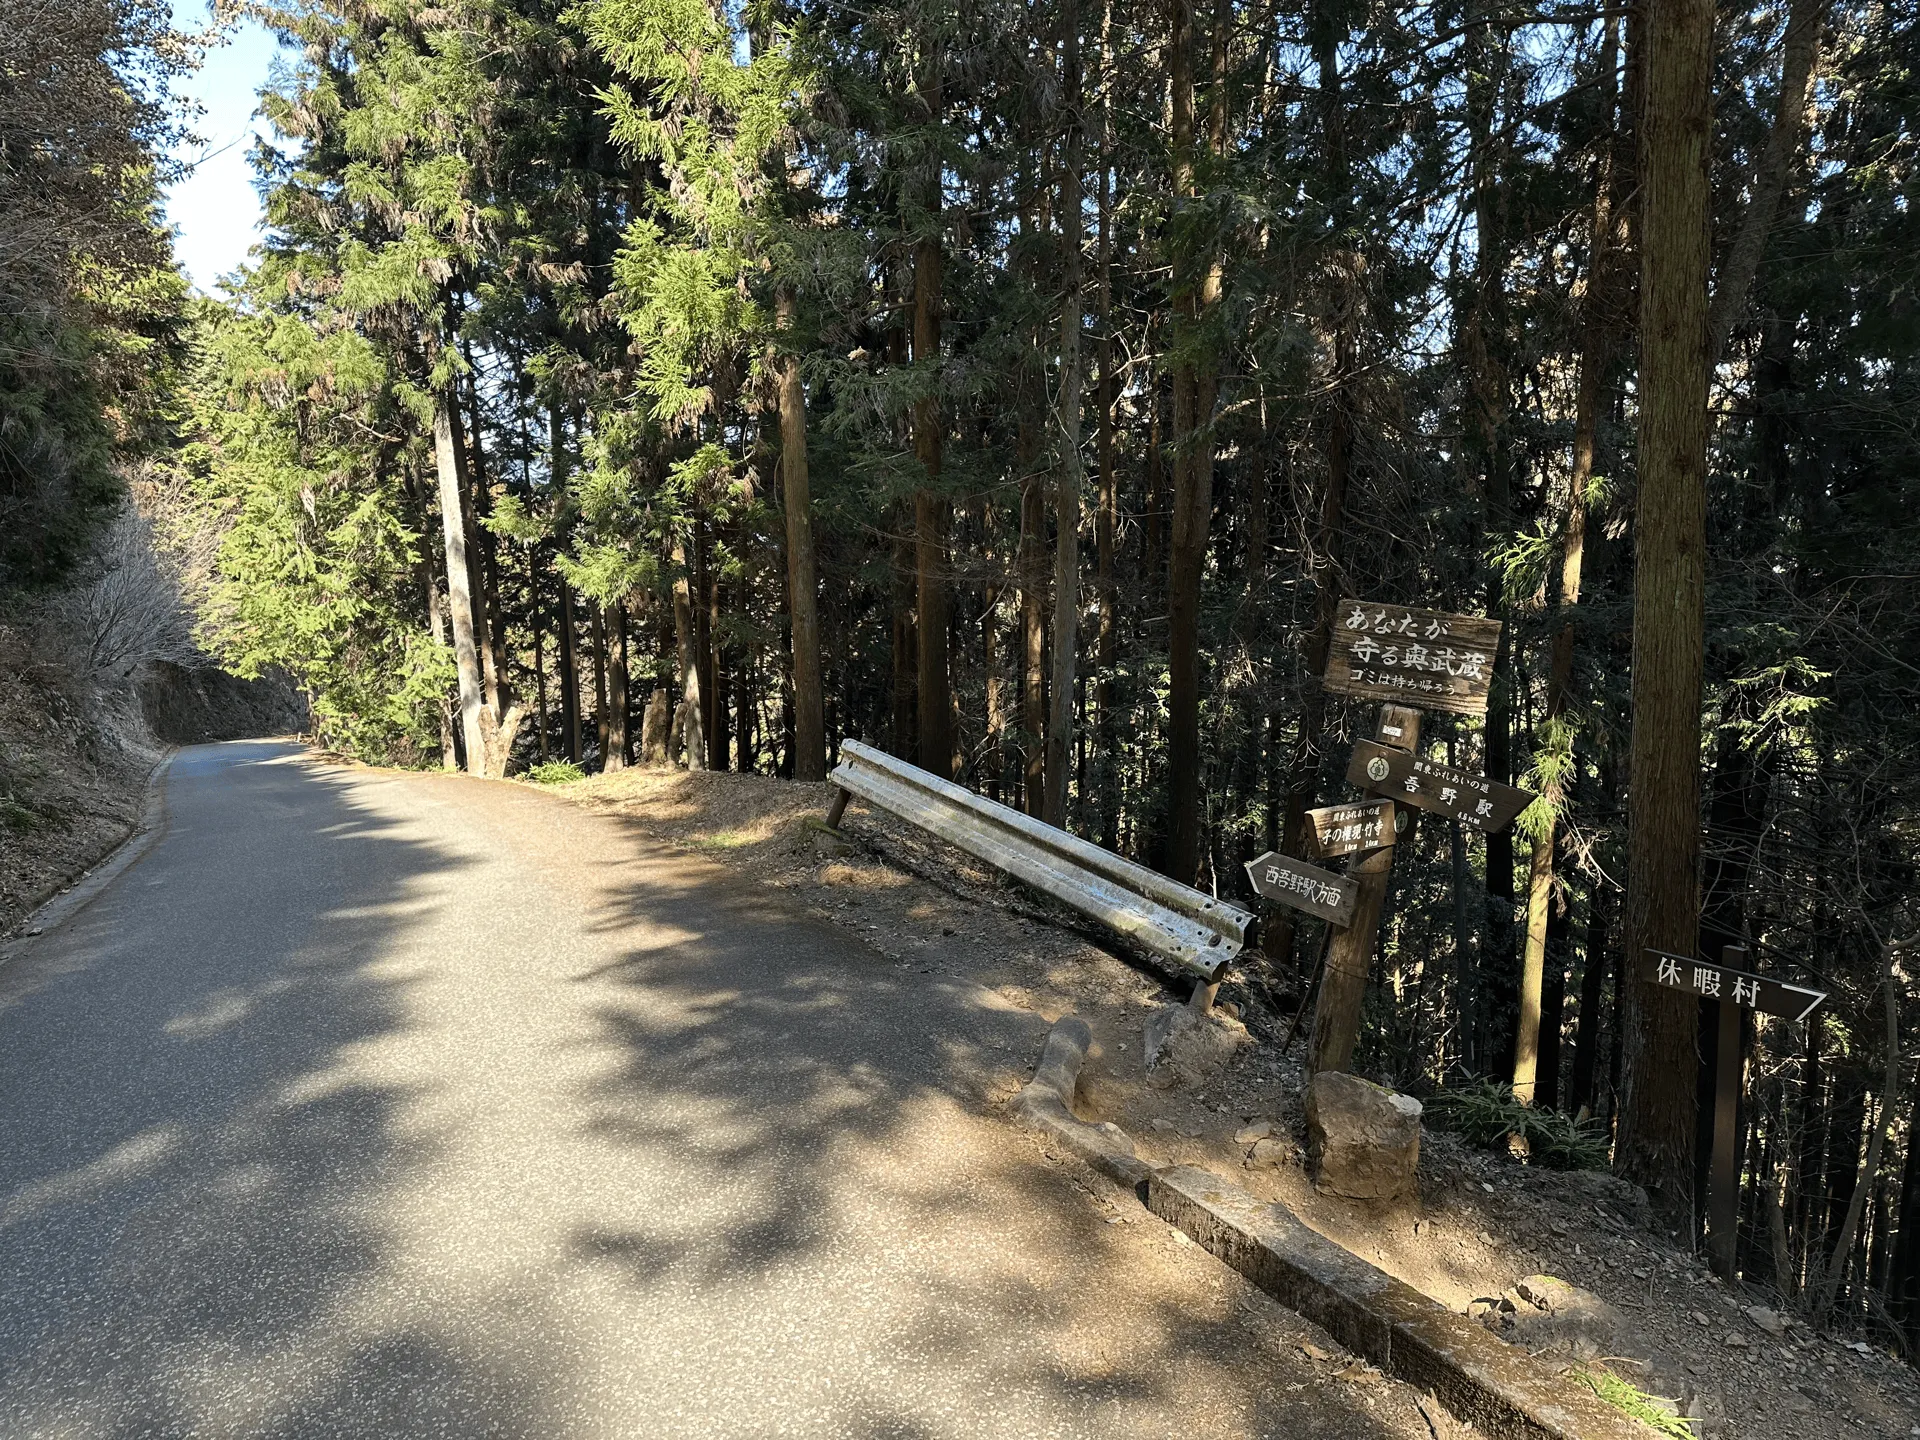
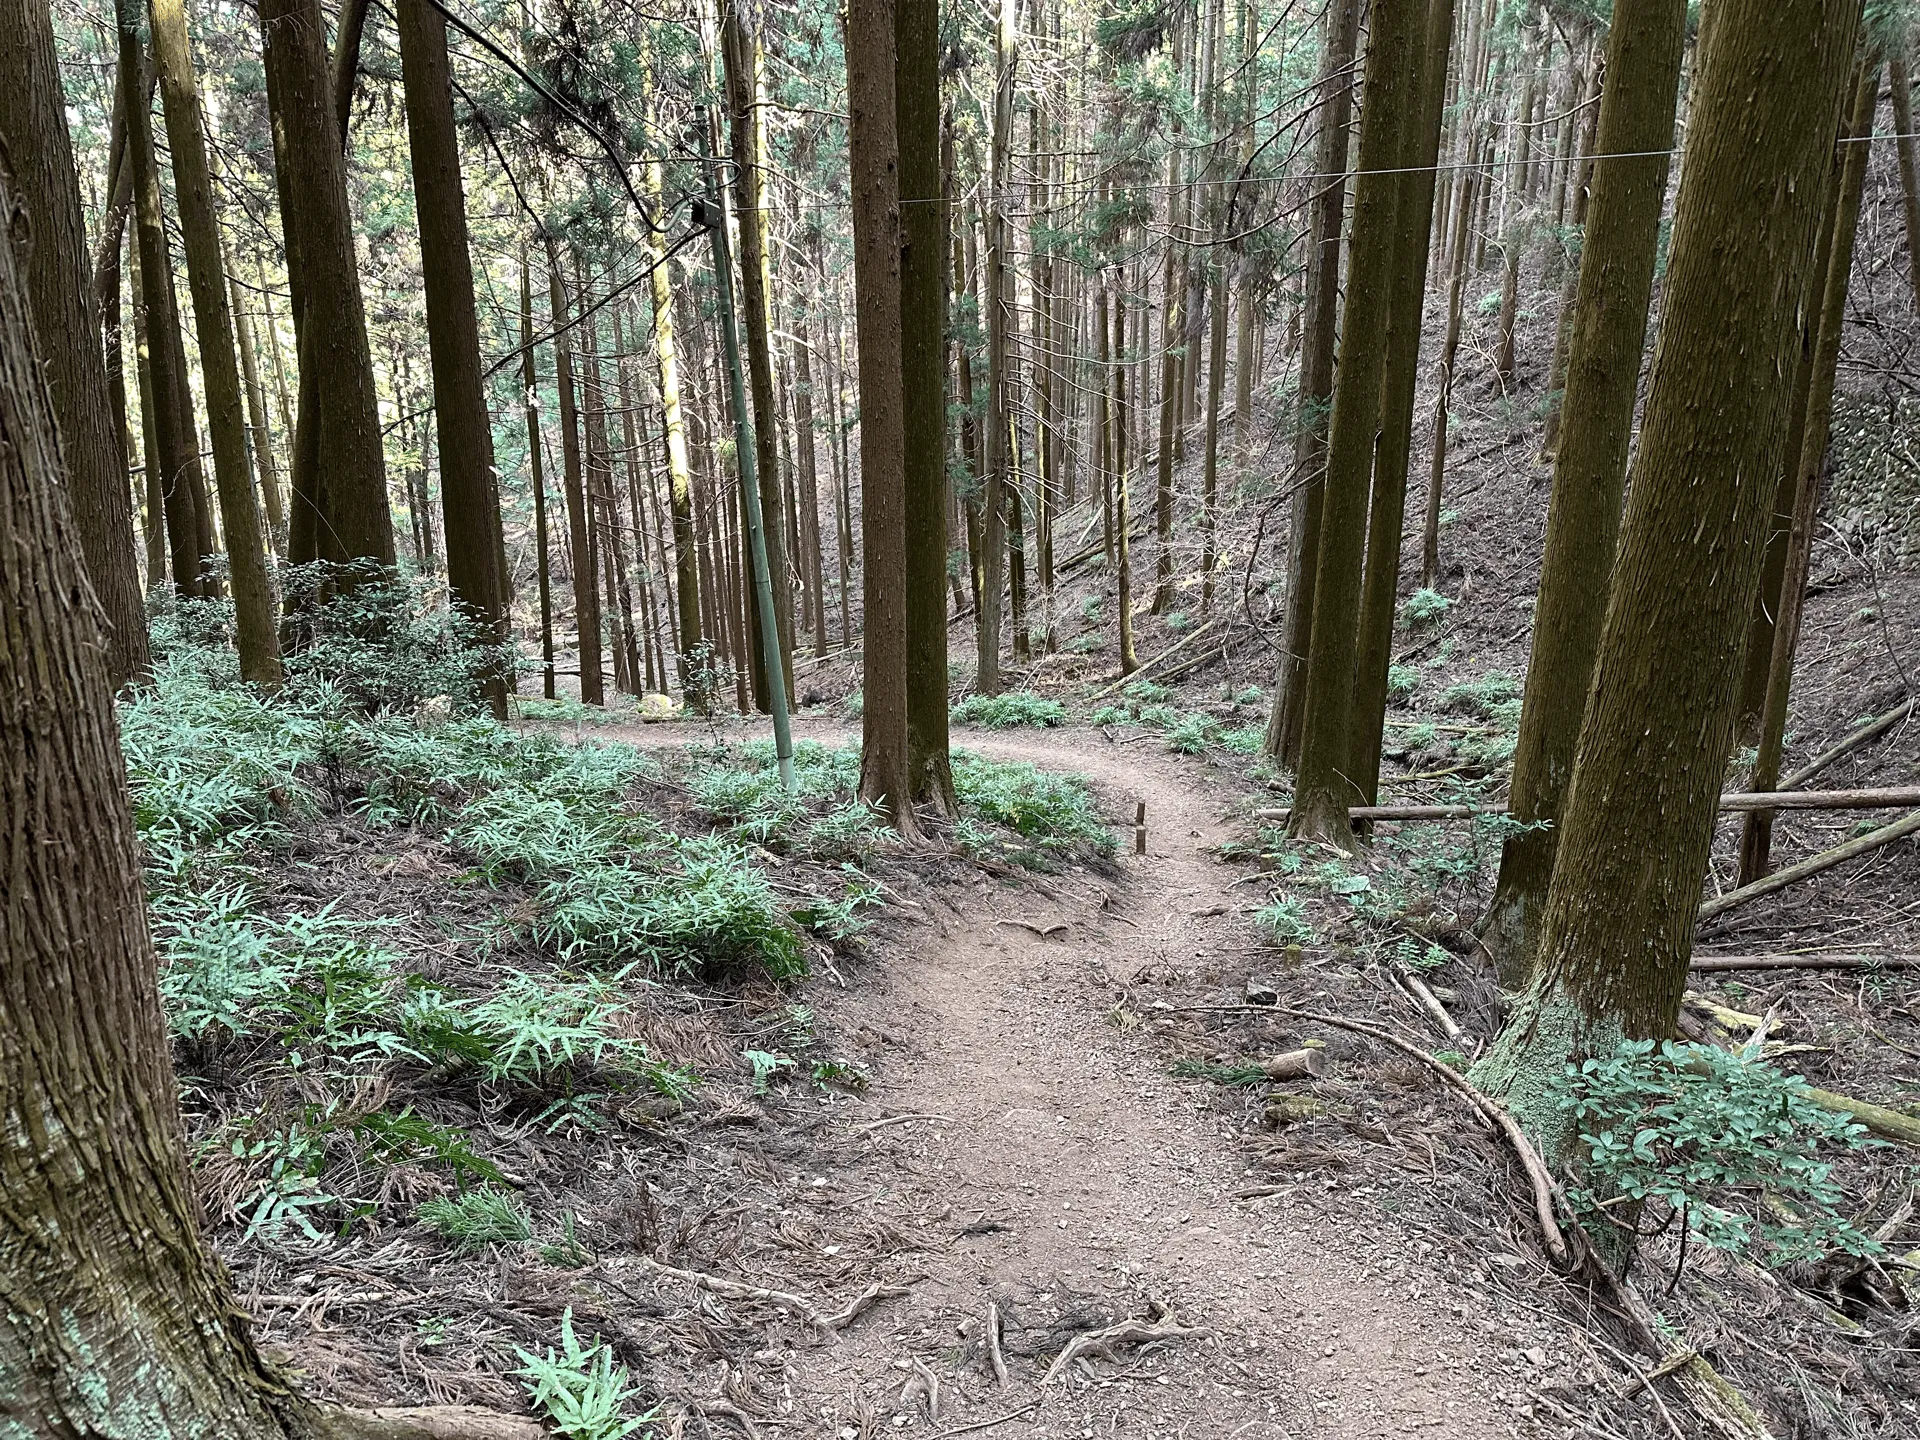
You get a bit of walking on the soft dirt trail, but the final 5km is all just road. I’d recommend reserving some snacks for this last bit to keep you motivated.
| Date climbed | Length | Course time |
|---|---|---|
| 2025-02-28 | 12km | 7h (the expected time for an average hiker without breaks) |
This is a 12km hiking course starting at Shomaru station, and ending at Agano station on the Seibu line. If you’re using Alltrails, it looks like there is a similar course available.
There are toilets available at the train stations on either end, and also near the torii gate at Nenogongen Temple, which you’ll reach about 5 hours into your hike.
If you’re interested in just hiking Mt Izugatake, it’s also possible to do a 7km loop course from Shomaru station. Similarly, if you just wanted to visit the Nenogongen temple, there is a 8km course starting at Nishi-Agano station and ending at Agano station.
The hike begins at Shomaru station (正丸駅) on the Seibu line. Coming from Tokyo, you’ll first need to get a train to Hanno station.
Depending on the timing, you can get a local train, or there is the option to take the Laview express train. This is a special express train on the Seibu line that requires you buy a reserved seat ticket.
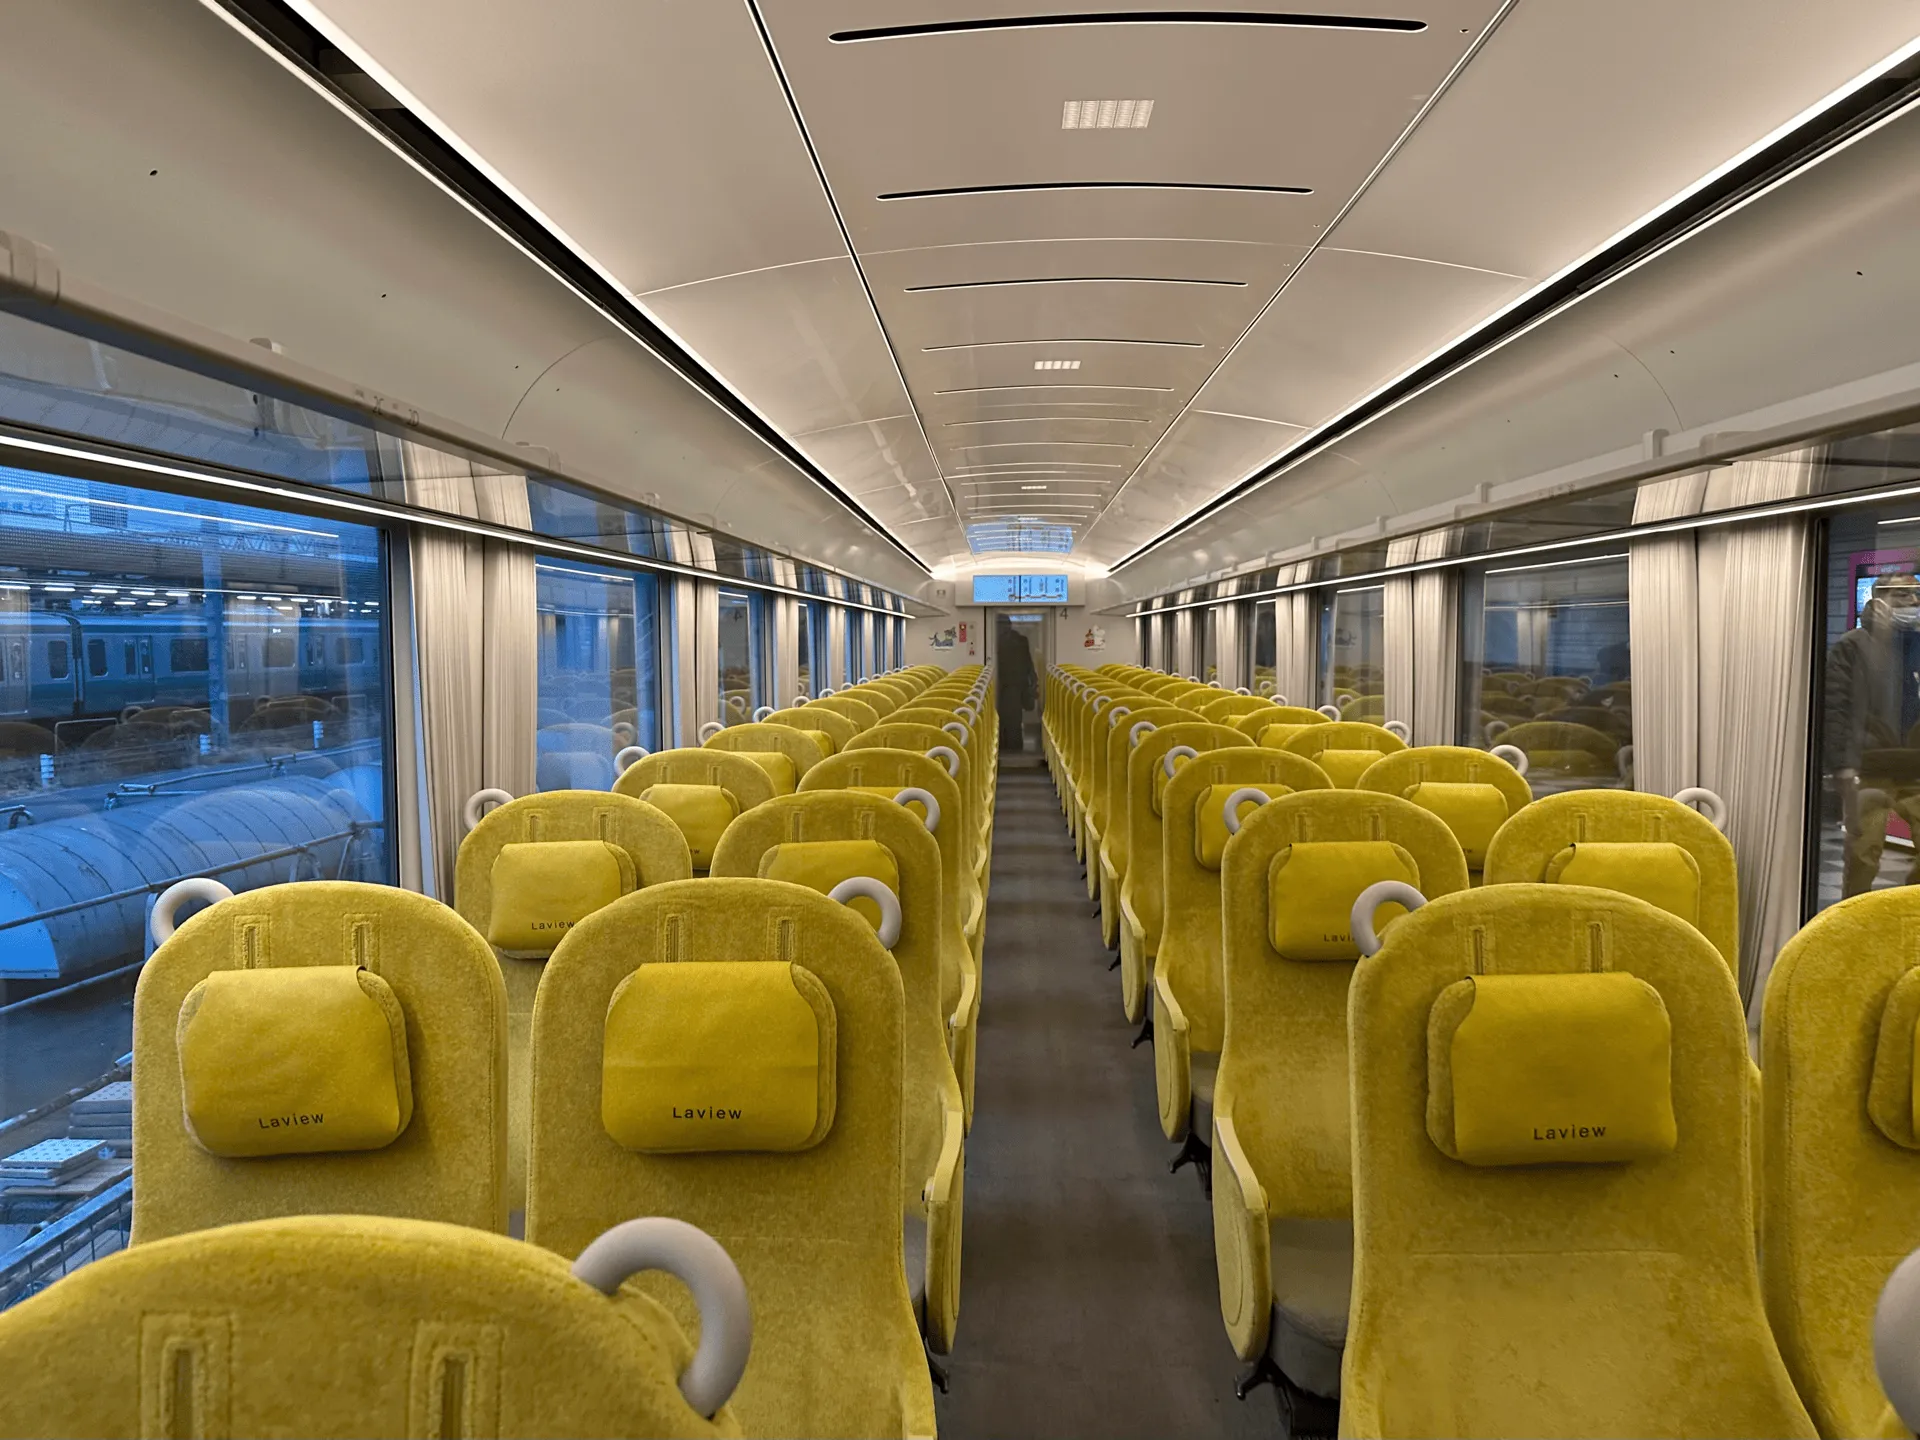
Once at Hanno, you’ll transfer to the local train that takes you to Shomaru station.
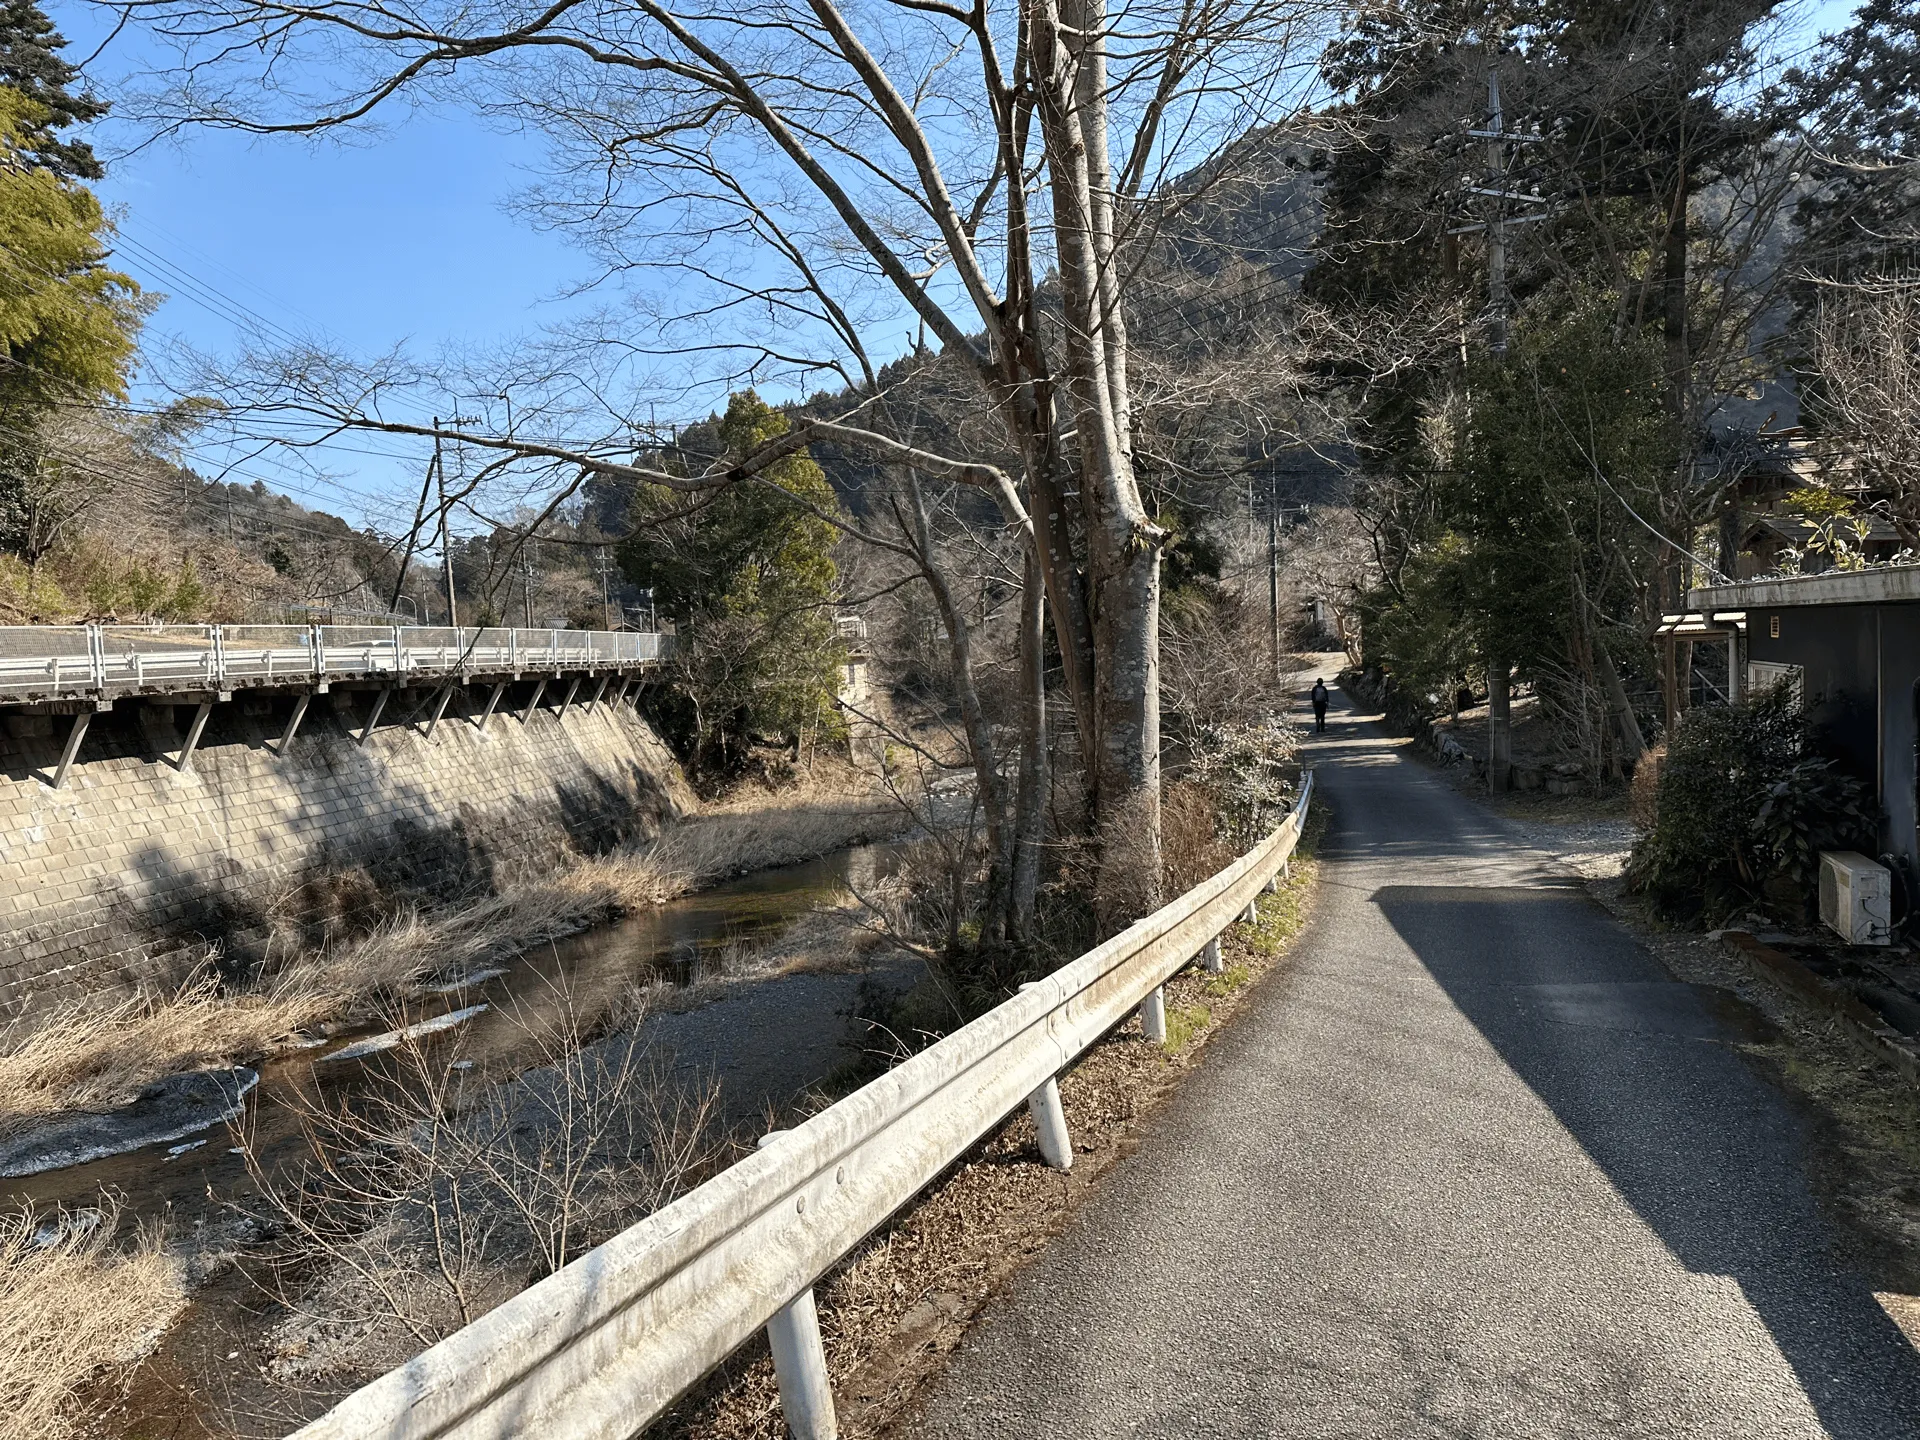
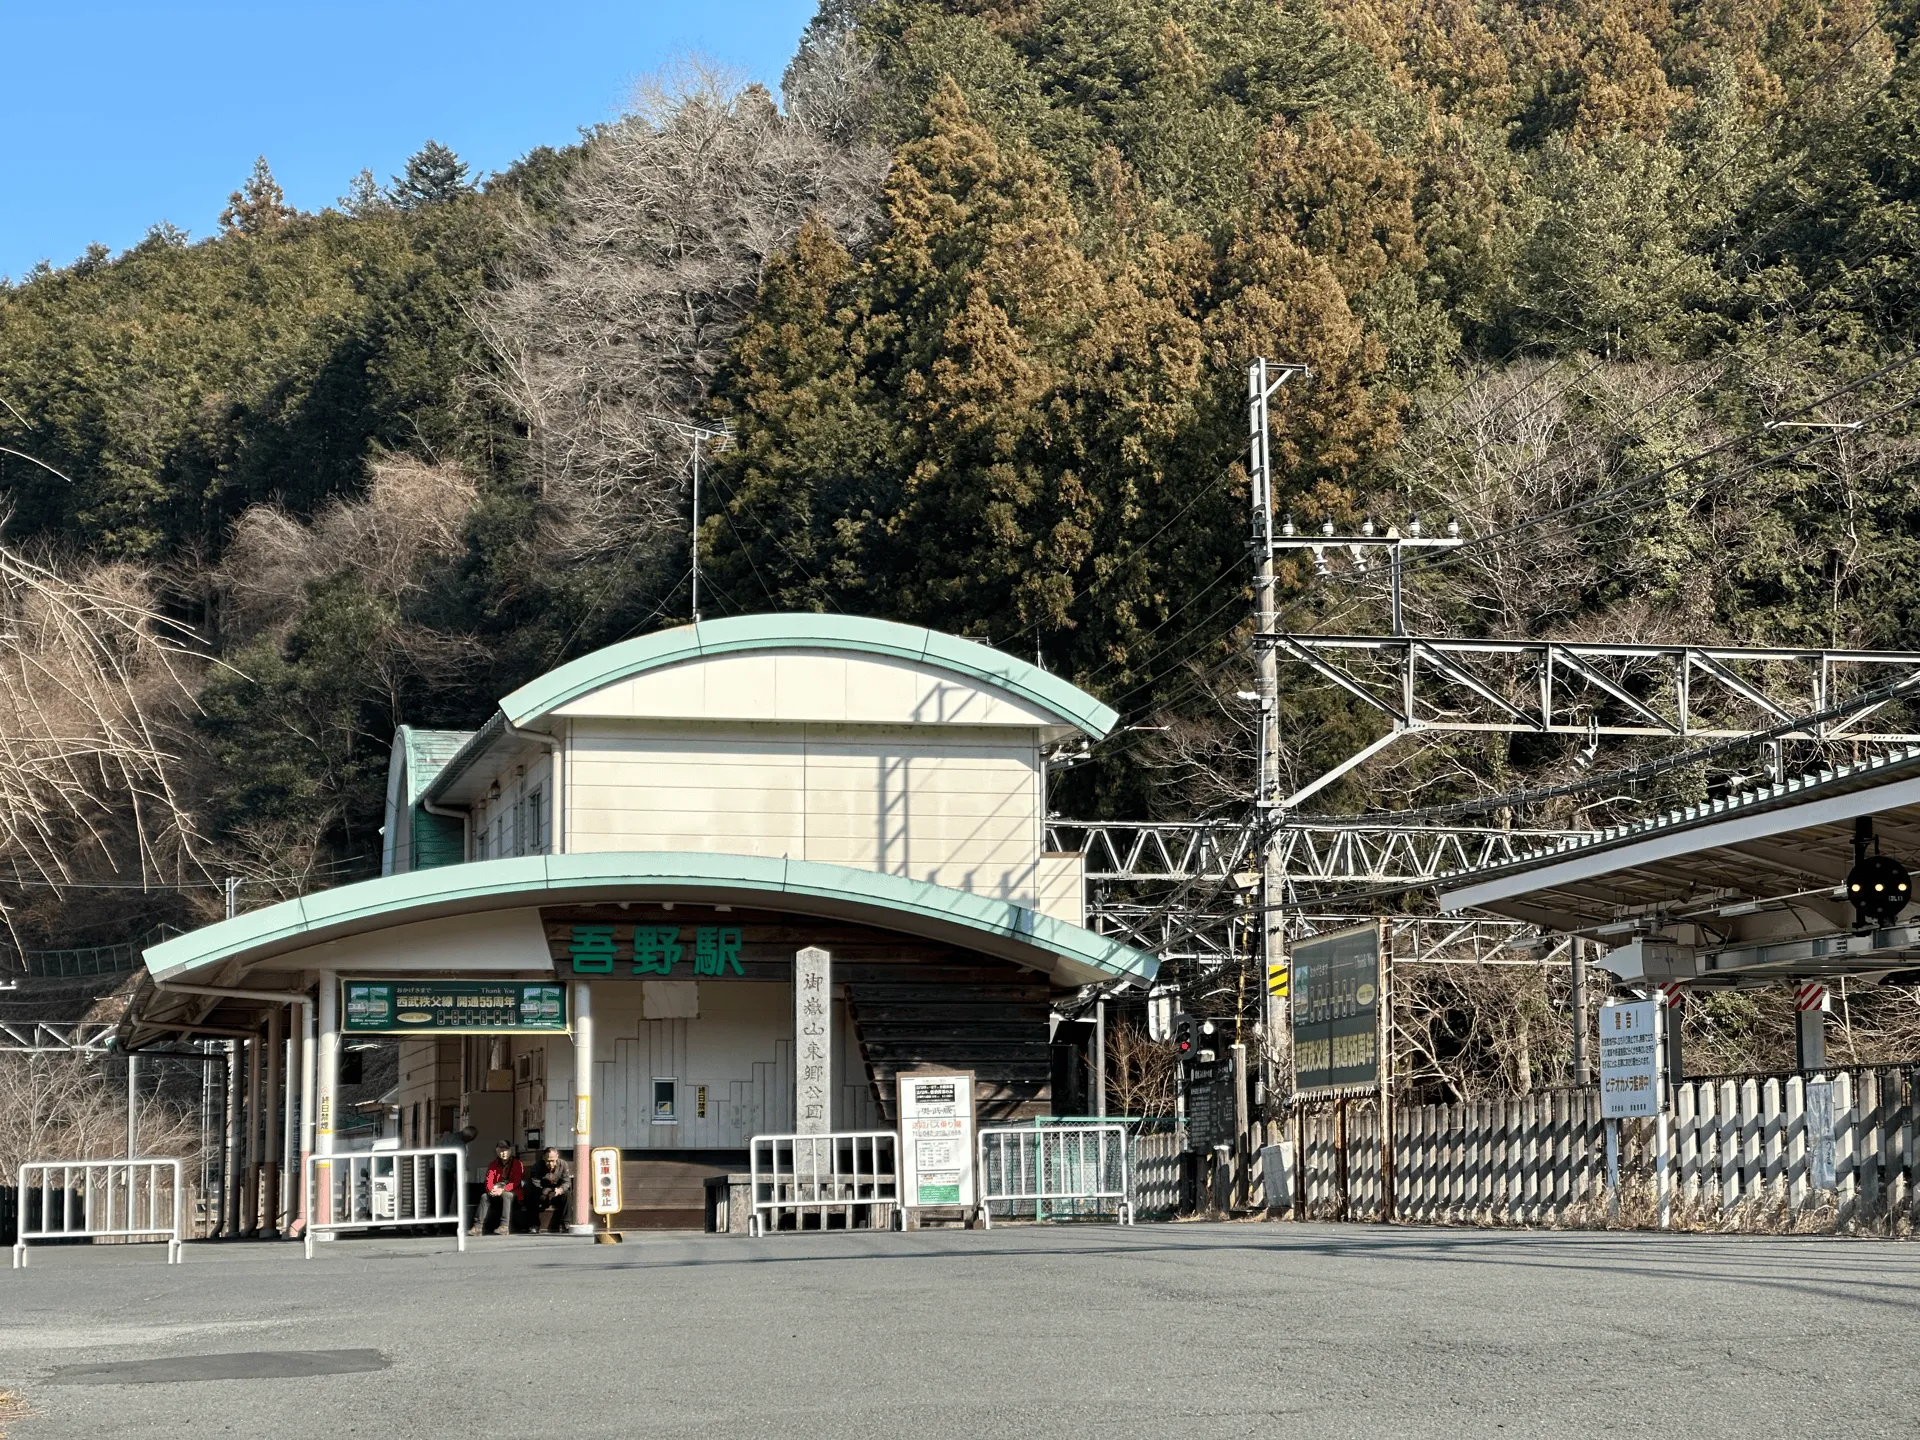
The return trip will be similar, starting at Agano station (吾野駅). Once you get to Hanno, you’ll transfer again to a second train to get back to Ikebukuro. Just keep an eye on the timetable, as there’s only a couple of trains per hour leaving Agano station.
Since this is a station-to-station course, I wouldn’t recommend doing this hike via car. If you wanted to though, Shomaru station does have a parking lot that costs 500 yen for 24 hours. You could park at Shomaru, do your hike to Agano station, and then catch the train back to Shomaru station.
If you were more interested in the Nenogongen temple, that does have a car park so you could park there and do a small hike of the surrounding area.
With only a max elevation of 851m, this course is hikeable nearly year-round without snow. I would recommend not coming in summer as it can get pretty hot. I hiked this at the end of February, and it was a pretty pleasant hike temperature-wise as Tokyo and its surrounds were starting to warm up, and Hanno had a max temp of 13 degrees Celsius.
It looks like there may be some snow in early February on the climb up to Mt Izugatake, which makes sense as that is the highest point of the course e.g. if you look at a YAMAP log from the 8th of February this year.
If in doubt, I would recommend checking YAMAP for the latest trail logs of people hiking the course. If you can’t find anything super recent, I’d also look at the trail logs for people that have passed by Mt Izugatake in particular, as sometimes people will come via other courses.
Leave a comment